
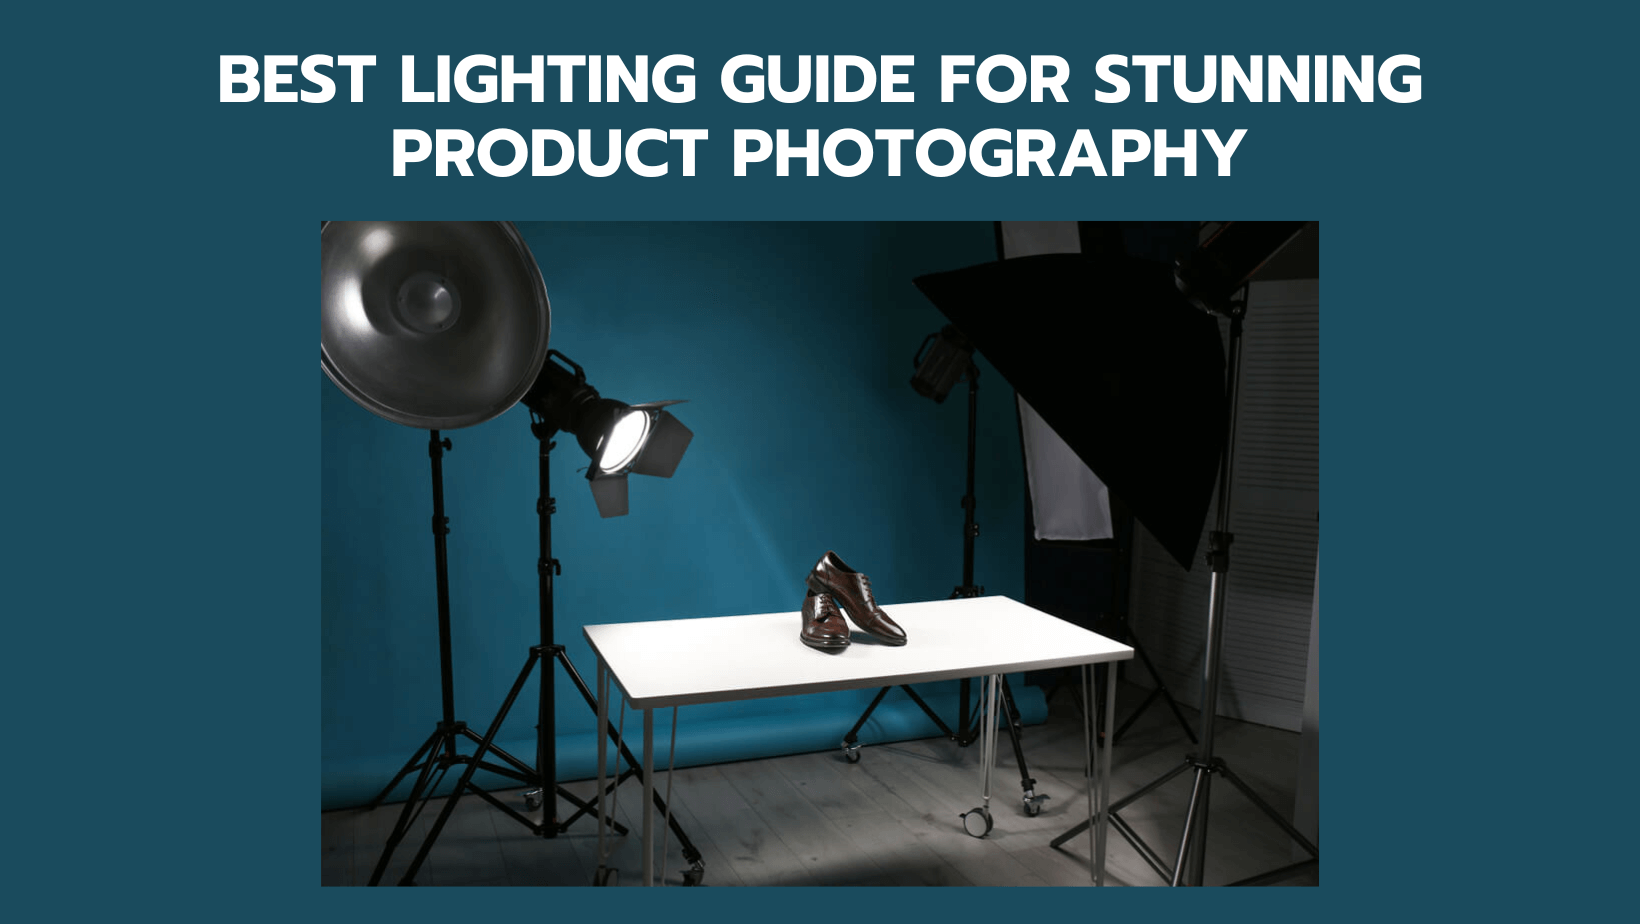
Product photography is a dynamic field and changing constantly. Product photos and their qualities are key factors when it comes to buying online. Product photos have a profound impact on online businesses like e-commerce companies. You can attract more potential customers by showcasing stunning photographs. Talking about product photo and its quality, product photography will eventually come into focus. The main goal of product photography is to present things in their most favorable light. A clear understanding on lighting is essential for capturing the true essence of your products and creating images that can lure in or engage your audience.
In this comprehensive guide, we’ll explore the art and science of lighting for product photography in details. By the end of this guide, you’ll have a solid understanding and details knowledge on various lighting techniques and the tools required to uplift your product photography to the next level.
Importance of Lighting in Product Photography:
In the world of product photography, the saying, “Lighting is everything,” couldn’t be truer. The art of capturing a product’s essence and allure lies in how it’s illuminated. Lighting is not merely a technical aspect; it’s the magic wand that transforms a mundane item into an object of desire. Let’s explore why lighting is of paramount importance in product photography.
Highlighting Details
Products, whether they are jewelry, electronics, or clothing, are all about the details. Lighting plays a pivotal role in accentuating these intricate features. Whether it’s the texture of fabric, the sparkle of gemstones, or the sleek lines of a gadget, proper lighting brings out these elements in a way that captivates the viewer. The way that light and shadow interact gives the product depth and dimension, giving it a pleasing, appealing appearance.
Making Emotion and Mood
Your product photography’s lighting has the ability to create an atmosphere and elicit feelings. Bright, steady lighting exudes a sense of transparency and cleanliness, which is ideal for items that emphasize simplicity and purity. Contrarily, dramatic lighting can provide a sense of elegance or mystery and is perfect for upscale clothing or specialty goods. You may tell a visual story and emotionally engage your audience by skillfully adjusting the lighting.
Increasing Sales
Every product photo has the intention of increasing sales at its core. Your bottom line will be directly affected by photos that are of a high standard and utilize lighting well. When a product is easy to see and understand, customers are more likely to buy it. A well-lit image not only highlights the advantages of the product but also inspires confidence in potential customers. They are reassured that they will receive exactly what they see.
The key to effective product photography is lighting. It goes beyond technical expertise; it’s a type of art that can elevate the commonplace. Lighting is the hidden ingredient that can turn your product photographs into captivating works of art. It can do everything from highlighting features and creating the proper mood to defining brand identity and ultimately boosting sales. The next time you pick up your camera to take a product photo, keep in mind that the choice of lighting is what will captivate your audience.
- Types of lighting for product photography: Lighting is a powerful instrument that can change how things are viewed in the world of product photography. For creating attractive product photos, it is essential to comprehend the many forms of lighting that are available and how to apply them efficiently. Let’s examine the main lighting styles used most frequently in product photography:
Benefits of Natural Lighting:
Soft and Diffused: Natural light produces soft and diffused illumination that reduces harsh shadows and highlights, especially during the golden hours of early morning and late afternoon.
Cost-Effective: Free makes it a cost-effective option, especially for novices.
Natural Aesthetic: Natural light may give your product photographs a real, organic feel, making it perfect for some products, such those with outdoor or lifestyle themes.
Disadvantages:
Inconsistency: The weather, time of day, and location can all have an impact on how quickly natural light changes.
You only have a small amount of control over the strength and direction of natural light.
Dependence on the weather: Arranging photo shoots around the weather might be difficult.
Benefits of Artificial Lighting
Consistency: Regardless of environmental variables, artificial lighting offers predictability and consistency.
Control: To suit your artistic vision, you can adjust the artificial light’s brightness, direction, and quality.
Versatility: A variety of lighting arrangements are possible because to the large selection of artificial light sources that are accessible, from strobes to continuous lights.
Disadvantages:
Cost: Equipment for high-quality artificial lighting can be pricey, particularly for professional settings.
Learning Curve: There may be a learning curve involved in mastering the use of various artificial lighting options.
Heat: During prolonged shooting sessions, the heat produced by some artificial lights might be uncomfortable.
For the best match for your product and intended look, experiment with different artificial light sources like strobes, continuous lights, and LED panels.
Natural and artificial light combined
To get the desired effects, photographers frequently combine natural and artificial light sources. As an illustration, natural light can be used as the main source and artificial fill light can be used to manipulate the shadows and highlights. The advantages of both natural and artificial lighting can be provided by this hybrid strategy, which also offers flexibility and creative control.
Decorative Lighting
Although white and neutral lighting is frequently preferred, colorful lighting can occasionally be employed in inventive ways. Artificial lighting can be enhanced with colored gels or filters to give your photos subtle tints or hues. This method is useful for creating moods or emphasizing particular aspects of a product.
Diffused and Reflective Lighting: The light quality in product photography is greatly influenced by modifiers like softboxes, umbrellas, grids, and reflectors. Reflectors bounce and redirect light to lessen shadows and increase highlights, whereas softboxes soften harsh light.
Photographers can adapt their lighting settings to the particular requirements of each product when they have a firm grasp of the various lighting types and modifiers. The type of goods, desired atmosphere and equipment accessibility all influence the lighting method choice. As their skill level increases, photographers are better able to use light as a tool to create eye-catching and polished product photos.
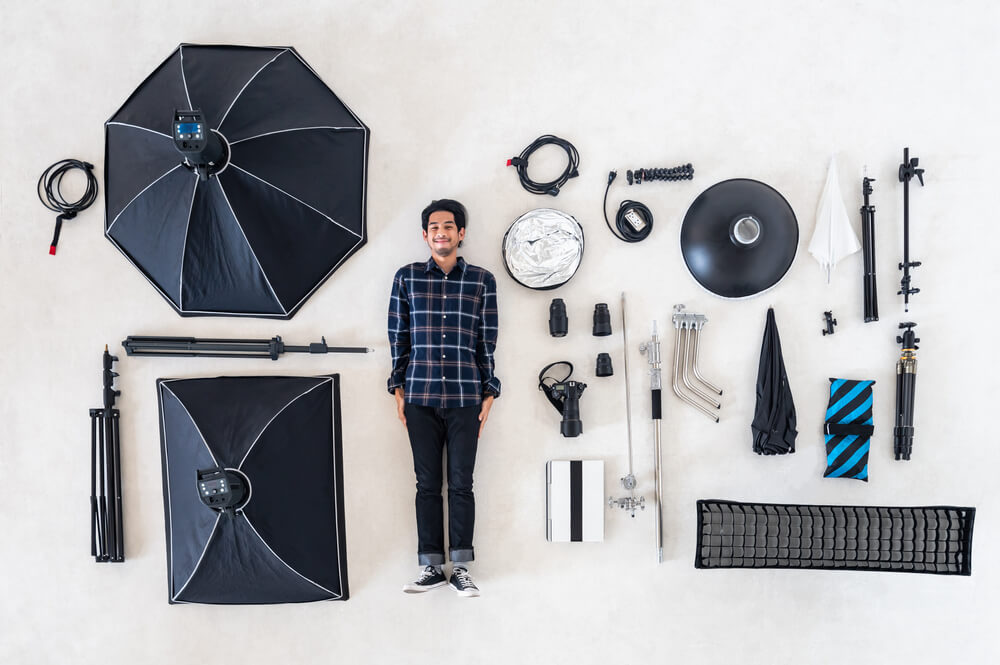
- Essential Lighting Equipment’s:
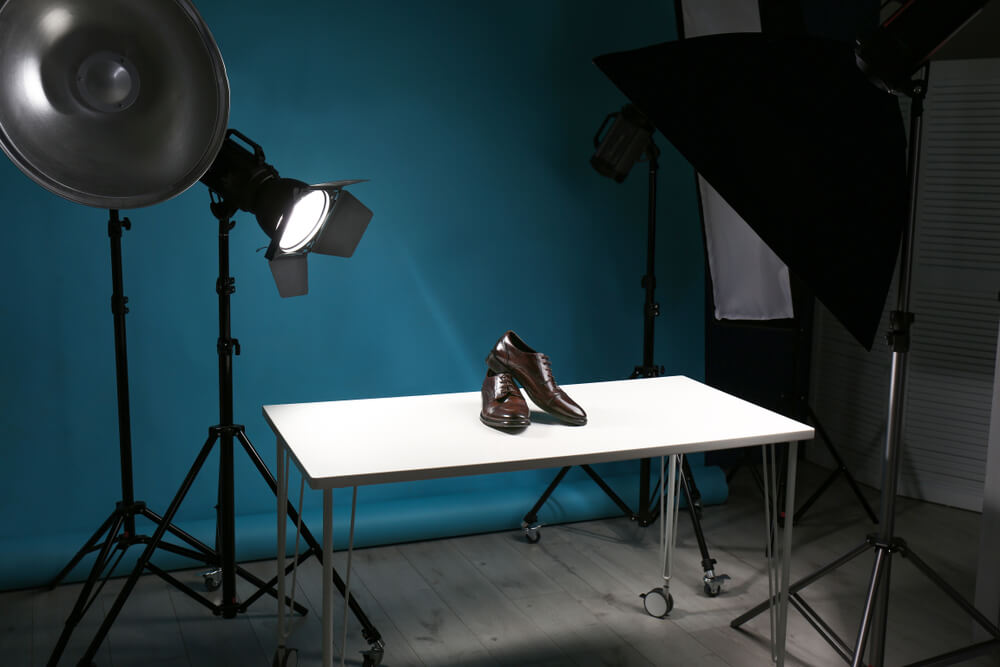
In the area of product photography, getting the ideal shot frequently depends on having the appropriate lighting equipment available. The quality and appearance of your product photos can be considerably impacted by the lighting equipment you choose. This article will discuss the fundamental lighting gear that every product photographer needs to have on hand.
Light Sources:
The cornerstone of any product photography arrangement is the main light source. Here are a few crucial choices:
Strobe Lights: These powerful flash equipment produce a burst of intense, brief light that is perfect for stopping motion and producing predictable outcomes in a controlled setting.
Contrary to strobes, continuous lights emit a continual, steady light. They are in handy for circumstances involving video or still photography when you need to know the precise impact of the light before capturing a picture.
LED Lighting: LED panels have become more well-liked because of how versatile and energy-efficient they are. They can be adjusted for color temperature and available in a variety of sizes, so they may be used in a variety of shooting situations.
Light Modifiers: Light modifiers are extras that control and shape light’s quality. Modifiers are crucial, including:
Softboxes: Square or rectangular objects known as softboxes are attached to your light source. They soften and spread the light, producing an attractive, uniform illumination with little shadows.
Umbrellas: Modifiers that are reasonably priced and adaptable are umbrellas. They are available in reflecting and shoot-through styles, giving you options for various diffusion and lighting effects.
Grids: Attached to softboxes or beauty dishes, grids help direct the light, limiting spillage and keeping it focused on the subject.
Beauty Dishes: Concave reflectors with a center diffuser are what are known as “beauty dishes.” They produce a defined yet soft light that is frequently used for product photography of beauty and fashion.
Light Stands and Supports: To position your lights correctly, you need lighting stands and supporting hardware. Important items include:
Light Stands: Solid light stands of various heights are essential for positioning your lights at the proper altitudes and angles.
Booms and Arms: These accessories enable innovative lighting installations by extending and positioning lights beyond the reach of the stand.
Use clamps and mounts to firmly anchor any extra lighting accessories, such as reflectors or modifiers, in place. This avoids unintentional falls while you’re shooting.
- Lighting setups: The core of product photography is lighting. The way you light your subject can be the difference between an ordinary photo and a breathtakingly beautiful work of art. It’s crucial to comprehend lighting setup concepts in order to create compelling product shots that highlight your things to their fullest potential. We’ll examine some lighting configurations frequently employed in product photography in this guide.
Flat Lay Photography: In flat lay photography, products are taken from above, usually on a level surface. This design is perfect for exhibiting tiny goods, accessories, and clothes.
Flat Lay Photography Lighting:
Natural Light: To take use of gentle, diffused natural light, place your setup close to a sizable window. Reflectors or white foam boards can assist diffuse the light so there are fewer shadows on the merchandise.
Artificial Light: When natural light is unavailable or insufficient, provide equal and controlled illumination with softboxes or umbrellas.
Light Tent or Light Box: A light tent or light box is an enclosed enclosure with diffused walls that softens light and reduces harsh shadows, which makes it excellent for small, highly reflective objects like jewelry or glassware.
Light Tents and Lighting: Use strobe lights or continuous lighting to uniformly illuminate the interior of the tent by positioning lights outside and directing them through its dispersed walls.
Backgrounds and Surfaces: The presentation of your product can be greatly impacted by selecting the proper background and surface. Common choices include reflecting surfaces like acrylic or glass, seamless paper rolls, and textured backdrops.
Background and surface lighting:
Backlighting: When photographing against a white or colored backdrop, place a light source behind the backdrop to produce a smooth and seamless appearance.
Colored Lighting: To create a special impression, experiment with colored gels or filters on your lights to project colored colors onto the product or background.
Three-Point Lighting: In both product photography and filmmaking, three-point lighting is a traditional setup. There are three main lights on it:
Key Light: This is the main light source, which is positioned to one side of the object to produce depth and shadows.
Fill Light: Placed on the side opposite the central light, the fill light balances the scene by minimizing shadows.
Backlight or Rim Light: Located behind the product, the backlight enhances its curves and gives it a sense of depth by separating it from the background.
- Lighting Technique: The art of lighting is a talent that can genuinely distinguish your work in the field of product photography. A product can look its best when the textures, colors, and fine details are highlighted by the use of the correct lighting approach. We’ll go through several key lighting strategies in this manual to help you improve your product photography.
Soft Lighting: The absence of strong shadows and the creation of an even, appealing appearance are the hallmarks of soft lighting. It’s a well-liked option for goods that have a simple, approachable appearance.
Technique: To generate gentle, wraparound lighting, use large light sources, such as softboxes or umbrellas, near to the product. Additionally softening the light are diffusion materials like cloth or diffusers.
Hard Lighting: In contrast, hard lighting produces strong, pointed shadows and pronounced highlights. On materials with delicate details, it’s particularly helpful for highlighting texture and shape.
Technique: Set up a concentrated strobe or bare bulb or other small, intense light source to put strong, direct light on the item. This method highlights textures and increases drama.
Diffused Lighting: Lighting that is diffused incorporates aspects of both soft and harsh lighting. While preserving some texture and dimension, it softens the shadows. This method is flexible and appropriate for a range of product categories.
Technique: Position a light source behind a softbox, umbrella, or diffusion panel that diffuses light. Your product’s appearance is balanced and appealing thanks to the diffuser’s spreading and softening of the light.
Reflective Lighting: Reflective lighting bounces light off objects to produce soft, aesthetically pleasing illumination. This method works wonders for removing harsh shadows and creating a natural appearance.
Technique: Set up a sizable white bounce card or reflector opposite your main light source. Reflected light adds richness and fills in shadows without producing garish highlights.
Backlighting: Backlighting, also referred to as rim lighting, is the process of positioning a light source behind the object to highlight its edges and give the impression that it is distinct from the surroundings. It’s perfect for drawing attention to the product’s shape and silhouette.
Technique: Place a powerful light source behind and just above the product, such as a strobe or flash. Make adjustments to the intensity to add a soft edge glow.
Lighting with color: When you wish to portray a certain mood or ambiance, colored lighting can produce a striking and distinctive effect.
Technique: Cover your lights with colorful gels or filters to cast colored shadows on the item or background. To obtain the required visual impact, experiment with several color palettes.
- Tips for achieving perfect lighting: The key to great product photography is lighting control. The subtleties of the light can make or destroy your photographs. The following helpful advice will assist you in getting the ideal lighting for your product images:
Recognize the Inverse Square Law: As distance increases, light intensity rapidly decreases. For softer, more adjustable illumination, keep your light source close to your subject.
Color Temperature and White Balance: Pay attention to color temperature and adjust the white balance on your camera as necessary. Make sure the colors in your pictures look realistic and natural.
Lighting Ratios: To adjust highlights and shadows, experiment with different lighting ratios. When trying to generate balanced and pleasing lighting, a 2:1 or 3:1 ratio is frequently used.
Controlling Shadows: Diffusers, reflectors, or additional lighting can be used to manage and control shadows. The attraction of the product might be increased by softening harsh shadows.
Light Position and Angle: Your product’s appearance is greatly influenced by the angle and position of your lights. To successfully emphasize textures and features, try using different angles.
Using Fill Light: Fill light can be used to soften sharp shadows and produce even illumination. Your merchandise can look cozier with soft fill lighting.
- Editing and post processing: Although lighting is crucial when photographing products, the process doesn’t finish when you press the shutter. Post-processing, which includes editing and retouching, is an essential step in making sure your product photographs are presentable and polished. For editing and post-processing your product images, keep the following in mind:
Color correction: To make sure the product’s colors appear true to life, it is frequently required to adjust saturation and color balance. Be aware of any color shifts brought on by your lighting configuration.
Exposure and Contrast: Adjust the exposure to highlight details and make sure the product is well-lit. To emphasize texture and produce impact, adjust contrast.
Crop and Composition: Crop your photographs to eliminate extraneous elements and concentrate on the product. Make sure the composition is appealing and emphasizes the salient aspects of the product.
Background Cleanup: To preserve a clear and distraction-free image, clean up the background by removing any extraneous objects or blemishes.
Retouching: Retouching could entail getting rid of flaws in the product, including dust or scratches. Striking a balance between preserving authenticity and showcasing the product in its best light is crucial.
Sharpening: Application of sharpening techniques will improve details without adding noise. This phase is especially crucial for close-up photographs when the product texture is crucial.
Consistency: Apply the same post-processing techniques to all of your product photographs. This guarantees a unified appearance and strengthens your brand identification.
File Format and Resolution: Whether you plan to use your photographs for print catalogs, e-commerce websites, or social media, save them in a high-resolution format that is appropriate for the intended application.
Backup Your Work: Constantly maintain copies of your unedited, original photographs. In the event that you need to go back and edit the images, this precaution may just save your life.
Feedback and iteration: Don’t be afraid to ask colleagues or clients for their opinions. The post-processing procedure frequently includes iteration and improvement.
Keep in mind that editing should improve your product photographs while preserving their authenticity. Avoid over-retouching that presents the product incorrectly. Your post-processing abilities will improve with experience and focus, and you’ll be able to take captivating product photos that are of a professional standard.
Conclusion:
In the world of product photography, lighting expertise is comparable to possessing superhuman abilities. Your choice of lighting for your items has the power to bring them to life, enthrall your audience, and ultimately increase sales. We’ve covered both the art and science of lighting in our extensive guide on lighting for product photography, from knowing the different kinds of lighting sources to mastering key methods. The importance of editing and post-processing in product photography was also highlighted, emphasizing the need for color correction, exposure changes, background removal, and other tasks. You should keep in mind that lighting is a skill that develops with practice and experimentation when you begin your product photography projects. The goal is to use the interaction of light and shadow to tell the tales of the products, not merely to photograph them. With the information and ideas from this manual at your disposal, you are prepared to start down the road to superb product photography. So make your things visible, let your imagination run wild, and watch as your audience sees your images come to life.


