
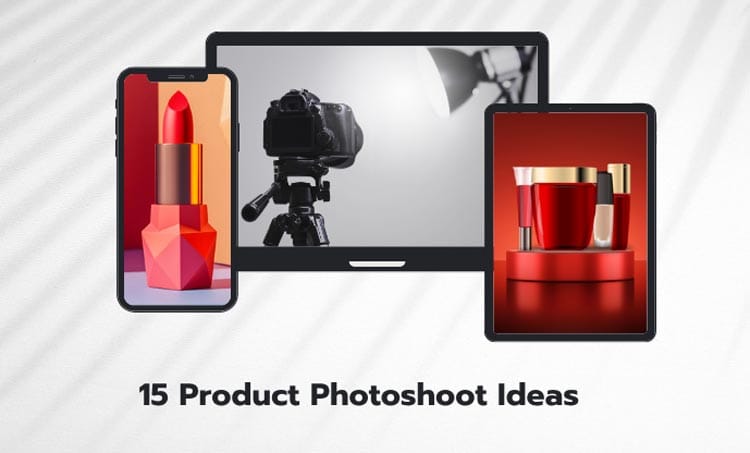
Are you ready to step up your product photography to suit the needs of 2026? In the fast-paced world of e-commerce and social media, product photography is not just vital; your company must stand out in a sea of digital competitors.
Product photography is like a digital handshake for your business; it’s the first thing potential customers see. It can make or break a sale or make people leave. A clear, interesting picture can make someone want to “add to cart,” yet a dull picture might make them leave faster than a boomerang.
Product photography has changed a lot since the days when all you had to do was take simple pictures of things. People now want more than just a picture of a product. They want an experience. They want every pixel to be immersive, engaging, and real.
Let’s dive below for a detailed explanation!
1. Keep the Background in focus
A clean background is the best thing to make your product stand out. Whether your product is big or small, the simple background with no mess will make the product look clear and be the main thing. Usually, people take product pictures with a white background. So, of course, you have already seen that a clean background helps.
Visuals play a crucial role in product marketing. Product images showcase the items clearly. A skilled product photographer captures every detail. The fishing line must appear crisp and clear. Lifestyle shots demonstrate the product in real-world settings. Lighting techniques highlight the features effectively.
Do you have a white background? Is okay. Product photography with a clean background will be your best picture and make people look at the product every time they see the photo. You can put the product on a plain table and make sure nothing else is there. Using a plain wall or a big paper will make nice pictures too.
2. Highlight product features
You should show the best parts of your product to make people want it. Showing the special things, like how it works, what it does well, or its color, makes people interested. Turning on the product, showing its size, and its buttons are the basic ways. These simple shows can be turned amazing with the use of arrows or circles in the picture. You can give a picture of just the button that is most important.
If your product has a screen or a light, then showing it turned on will make a look happy. For a clearer look, try taking a picture of the product with its parts separate. Close-up, far away, or side angles will all make nice and clear shots. You can try different highlights, like zooming in on the logo, showing the texture, and much more.
3. Capture flat lays
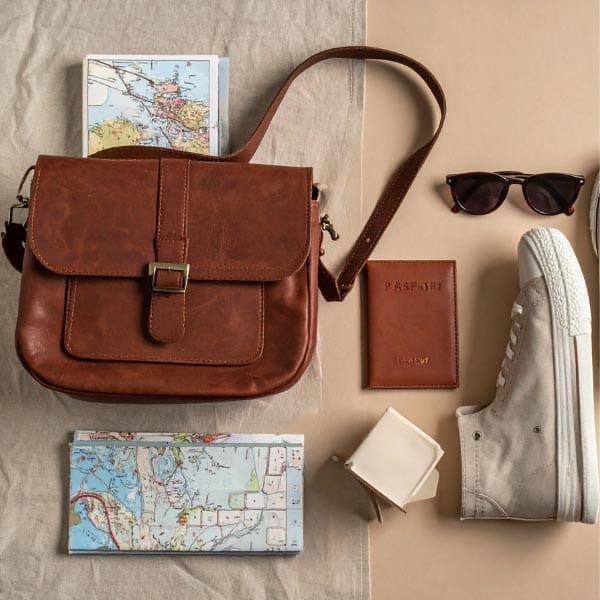
Flat lays are the best way to show all your products and their parts. Whether you are selling clothes or gadgets, putting everything flat on a surface and taking pictures from above will make a complete look. Usually, people use flatlays for selling things online. So naturally, you have already seen a nice flat lay picture.
Do you have memories of making flat lays? No problem. Product photography with flat lays will be your best seller and bring people to your shop every time they see the photographs. You can lay the product on the floor and put its parts around it. Putting other things that match, like a flower or a book, will make the flat lay more nice too.
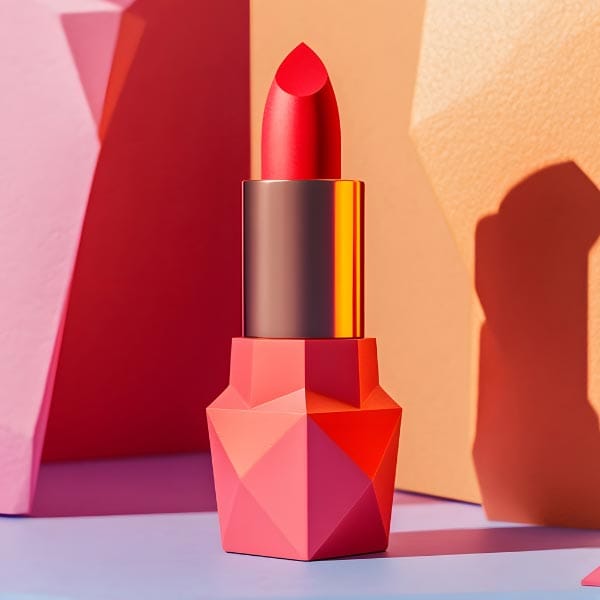
4. Create a pattern
Making a pattern with many of your products is a fun idea. Instead of showing one product, you should put many same or similar products in a repeat design. This makes the picture look full and interesting. You can use many colorful products if you sell bright things. Small products like candies or jewels are also great for patterns. Similarly, you can use the same product in different colors if you have many.
Plus, you should consider your space when making the pattern. If your pattern is big, then your shooting place should be a big floor or table. A top-down angle for this setup would make the pattern look perfect.
5. Macro shots
Macro shots are when you take a picture very, very close to the product. This is good for showing tiny details that the yes normally cannot see. The small lines, the dust, or the shine become big and clear in the photo. Usually, macro shots are used for things like jewelry or bugs. S, of course, you have already seen how close-ups can show beauty.
Do you have a macro lens? Is okay. You can try with a phone camera, as it has a macro mode. Product photography with macro shots will be a new way to see your product and show its fine details to customers. You can focus on the sparkle of a diamond or the thread of a cloth.
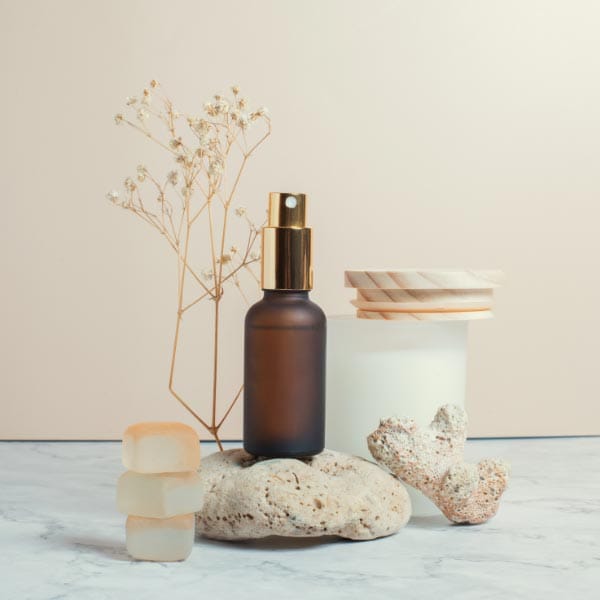
6. Select props strategically

You can use props to make your product pictures more interesting. Instead of using any props, you should pick the ones that go with your product and its use. You can use a coffee cup as a prop if your product is a book or a laptop. Plants and fabrics are also great prop items. Similarly, you can use tools like a hammer or a brush if your product is for fixing or painting.
Background removal enhances product focus. Holiday product designs attract seasonal buyers. Product shoot ideas create engaging visuals. Product styling ensures the items look appealing. Studio lighting adds clarity and depth. A black background makes the product stand out. Social media posts showcase the products effectively.
Also, you should think about your product when picking the props. If your prop is a plate, then your shooting should be for a food product. A kitchen background for this would make the images look just right.
7. Strange angles

Trying strange angles can make your product look unique and cool. Instead of always taking pictures from the front, you should try from down low or up high, or even from the back. This can show the product in a way people never see. You can take a picture from the bottom looking up if your product is tall. Or from the top if it is flat.
Visual interest drives consumer attention. The holiday season boosts product demand. An AI product photography platform automates image creation. 360 product photos provide a complete view. 3D product visualization enhances user experience. Lifestyle product photography highlights real-world usage. Natural-looking product photos increase authenticity.
Do not worry about it looking weird! Strange angles are not going to make your product look bad. Sometimes, the strangest angle makes the best picture. It can make a simple product look like art.
8. Use optimal lighting
Good lighting is the most important thing for product pictures. Lights make the product look clear and show its true colors. Without good light, the product can look dark or the colors can look wrong. Usually, the best light is natural light from a window. S, of course, you have already tried to take pictures during the day.
Do you have a window? No problem. You can use a lamp or a ring light. Product photography with good lighting will make your product look its best and make customers trust what they see. You can put the product where the light hits it softly, not too bright and not too dark.
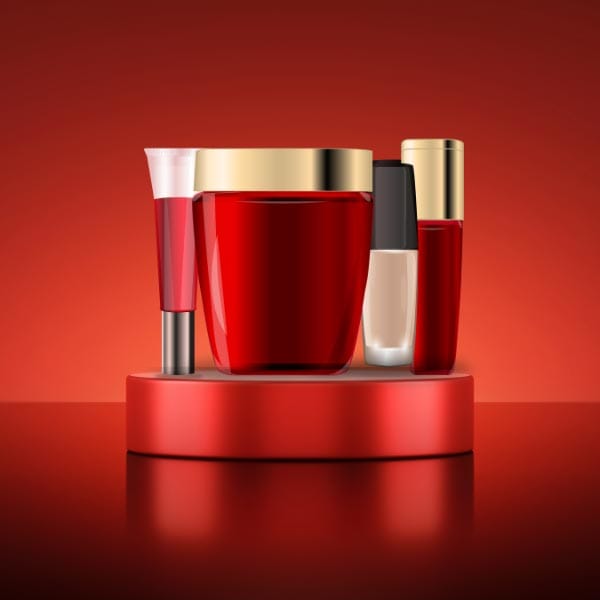
9. Use reflective surfaces

Reflective surfaces like mirrors or shiny metal can make your product pictures look double and deeper. The reflection of the product that the surface makes looks artistic and smart. You can put your product on a glossy table or hold it near a mirror. Seeing the product two times in one picture makes people look more.
High-key lighting creates bright, even shots. Colored lighting adds a creative touch. A camera phone captures convenient photos. Camera gear improves photo quality. Amazon Brand Registry protects brand assets. Brand reputation influences consumer trust.
Plus, reflective surfaces can make a small space look bigger. If your shooting place is small, then using a mirror can trick the eye. It is a fun way to be creative without needing a big studio.
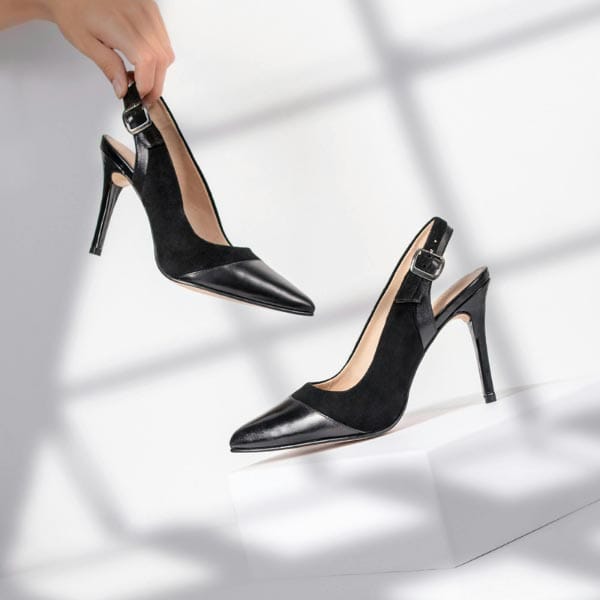
10. Add Motion
Adding motion to your product pictures makes them look alive and exciting. Instead of a still product, you can show it moving or being used. This is good for products that do something, like a spinning top or a pouring drink. You can throw the product in the air or have a hand picking it up.
A little blur can show the motion well. It tells a story and makes the customer imagine using the product. It is more fun than a boring still picture.
11. Collaborate with a stylist

Working with a stylist can make your product pictures look professional and nice. A stylist is a person who knows how to make things look good together. They can choose the best props, the best background, and the best way to place the product. This helps you because you might not know all this.
Even if you are a photographer, a stylist can make your work easier and less heavy. You can focus on taking the picture while they set up the scene. It is good teamwork. Social media accounts promote brand visibility. Visual language communicates the brand’s message.
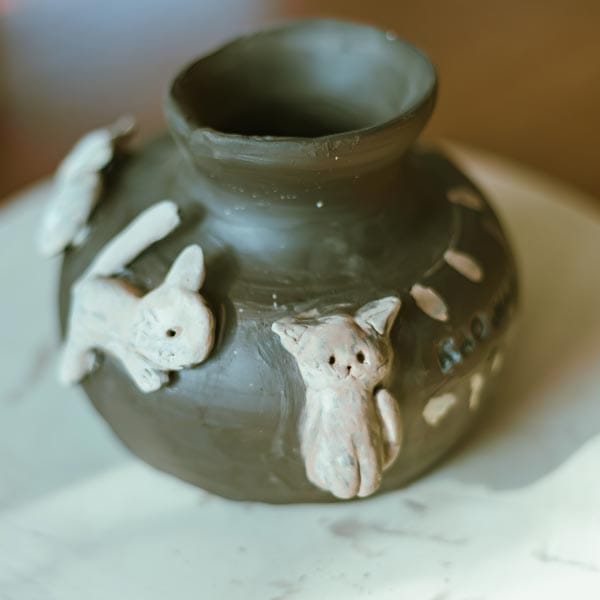
12. Focus on texture

Showing the texture of your product can make customers want to touch it. Texture is how the surface feels, like rough, smooth, bumpy, or soft. You can take close-up pictures to show the weave of a fabric or the grain of wood. Good light from the side can make the shadows show the texture well.
If your product has a nice texture, then make it the star of the picture. Let people see what makes it special. This can be the reason they buy it.
13. Hang products
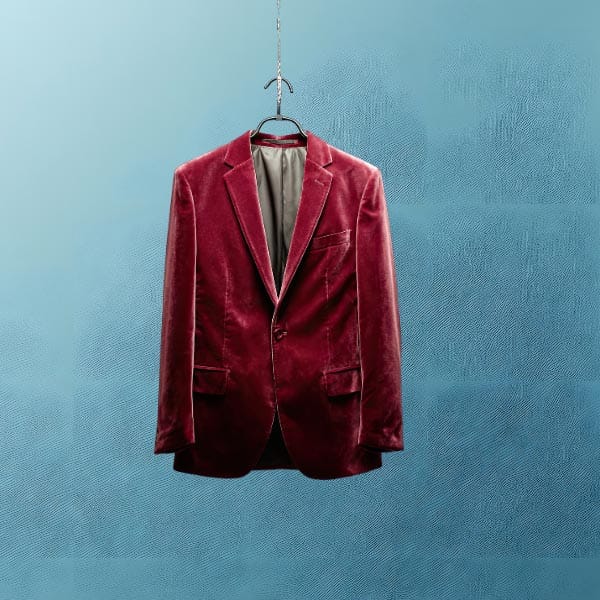
Hanging your product in the picture can make it look like it is floating and special. Whether your product is a dress, a dreamcatcher, or a lamp, hanging it up will make a look different. The air around it and the way it hangs will make it feel light and nice. Usually, people hang clothes on a hanger. So naturally, you have already seen a hanging product.
Do you have a place to hang? Is okay. You can use a string or a stick between two chairs. Product photography with hanging will be a unique memory and make your product stand out in the shop. You can hang it against a plain wall or in front of a window.
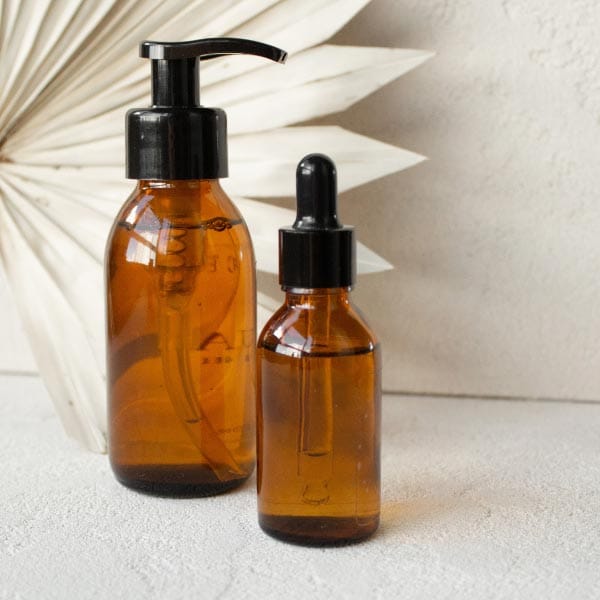
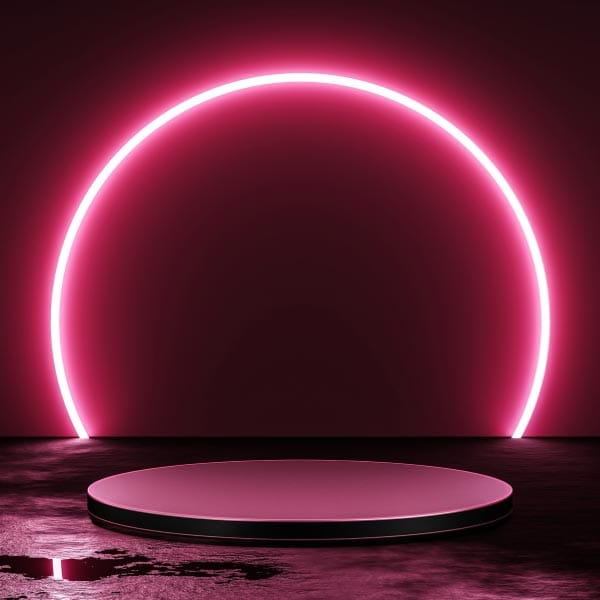
14. Unique Backgrounds
Using a unique background can make your product pictures less boring. Instead of a plain background, you should try a brick wall, colorful graffiti, or a field of flowers. The background should match the feeling of your product. If your product is fun, use a bright background. If it is rustic, use a wood background.
Remember not to let the background take attention away from the product. The product should still be the main thing. But a nice background can make the whole picture prettier and memorable.
15. Try other types of product photography
You can try other types of photography to make your product pictures better. Instead of always doing the same picture, you should pick the type that matches your product and what it does. You can try lifestyle photography if your product is for the home or for people to use. Pictures of food are also a good type. Similarly, you can try architectural photography if your product is for buildings.
Trying different types of photography can show your product in many ways. Standing, close-up, or with people are the basic types. These simple types can be made special by using different props and places. You can do a close-up shot to show small details.
FAQs
What are the top product photoshoot trends on Pinterest in 2026?
Pinterest is now the place to go for creative product photography ideas, with simple styles, natural light, and lifestyle images being the most popular. Brands should focus on real, relatable product representations when delivering stories with pictures. Neutral backgrounds, product-focused compositions, and bright colour pops are all popular styles right now.
How can I create stunning product photos at home in 2026?
For home product photographs, it’s all about using what’s around you, like natural light and modest objects, to make a scene that looks good. In 2026, the focus is on backgrounds that are clean and clear of clutter, as well as imaginative ways to use surfaces like marble, wood, or textiles to add texture. Adjustable lighting or even homemade diffusers can make photographs look better and improve the home setup.
What are some easy yet effective product photography ideas to try at home?
Use reflective surfaces like glass or mirrors for depth, and add plants and fabrics for a softer look. For Instagram, opt for flat lays or stylised images with harmonious colors, and incorporate shadow effects to enhance mood.
What are the best product photography ideas for Instagram in 2026?
Instagram thrives on bright, eye-catching images. In 2026, trends include dynamic angles, motion (like hands holding products), and user-generated content. Flat lays and lifestyle-themed product shots remain popular for a cohesive grid.
Final Thought
Product photography and good ideas are like best friends. Basic pictures have many problems that need good ideas to fix them and make a nice final picture. The normal problems in product pictures are bad background, dark lighting, wrong color, dust on the product, and lots more.


