
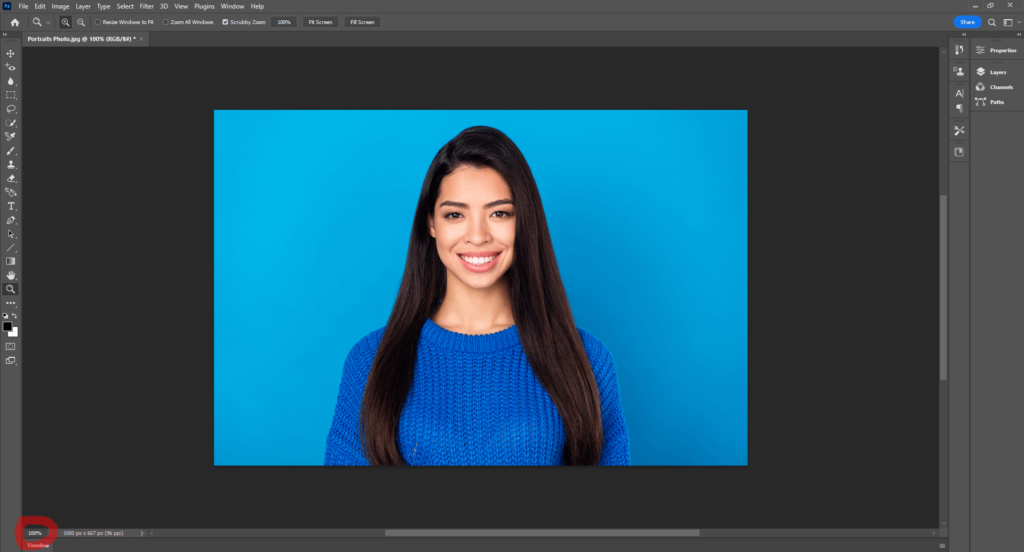
Zooming all through pictures in Photoshop Elements is an errand you perform regularly while altering pictures in the picture window, and while working in different windows, for example, the Camera Raw window and the Full-Screen view. Zoom in photoshop in is essential when you need to alter or see a segment of a picture definitively. You then need to zoom out to contrast the edits with the whole picture.
Where To Find The Ongoing Zoom Level
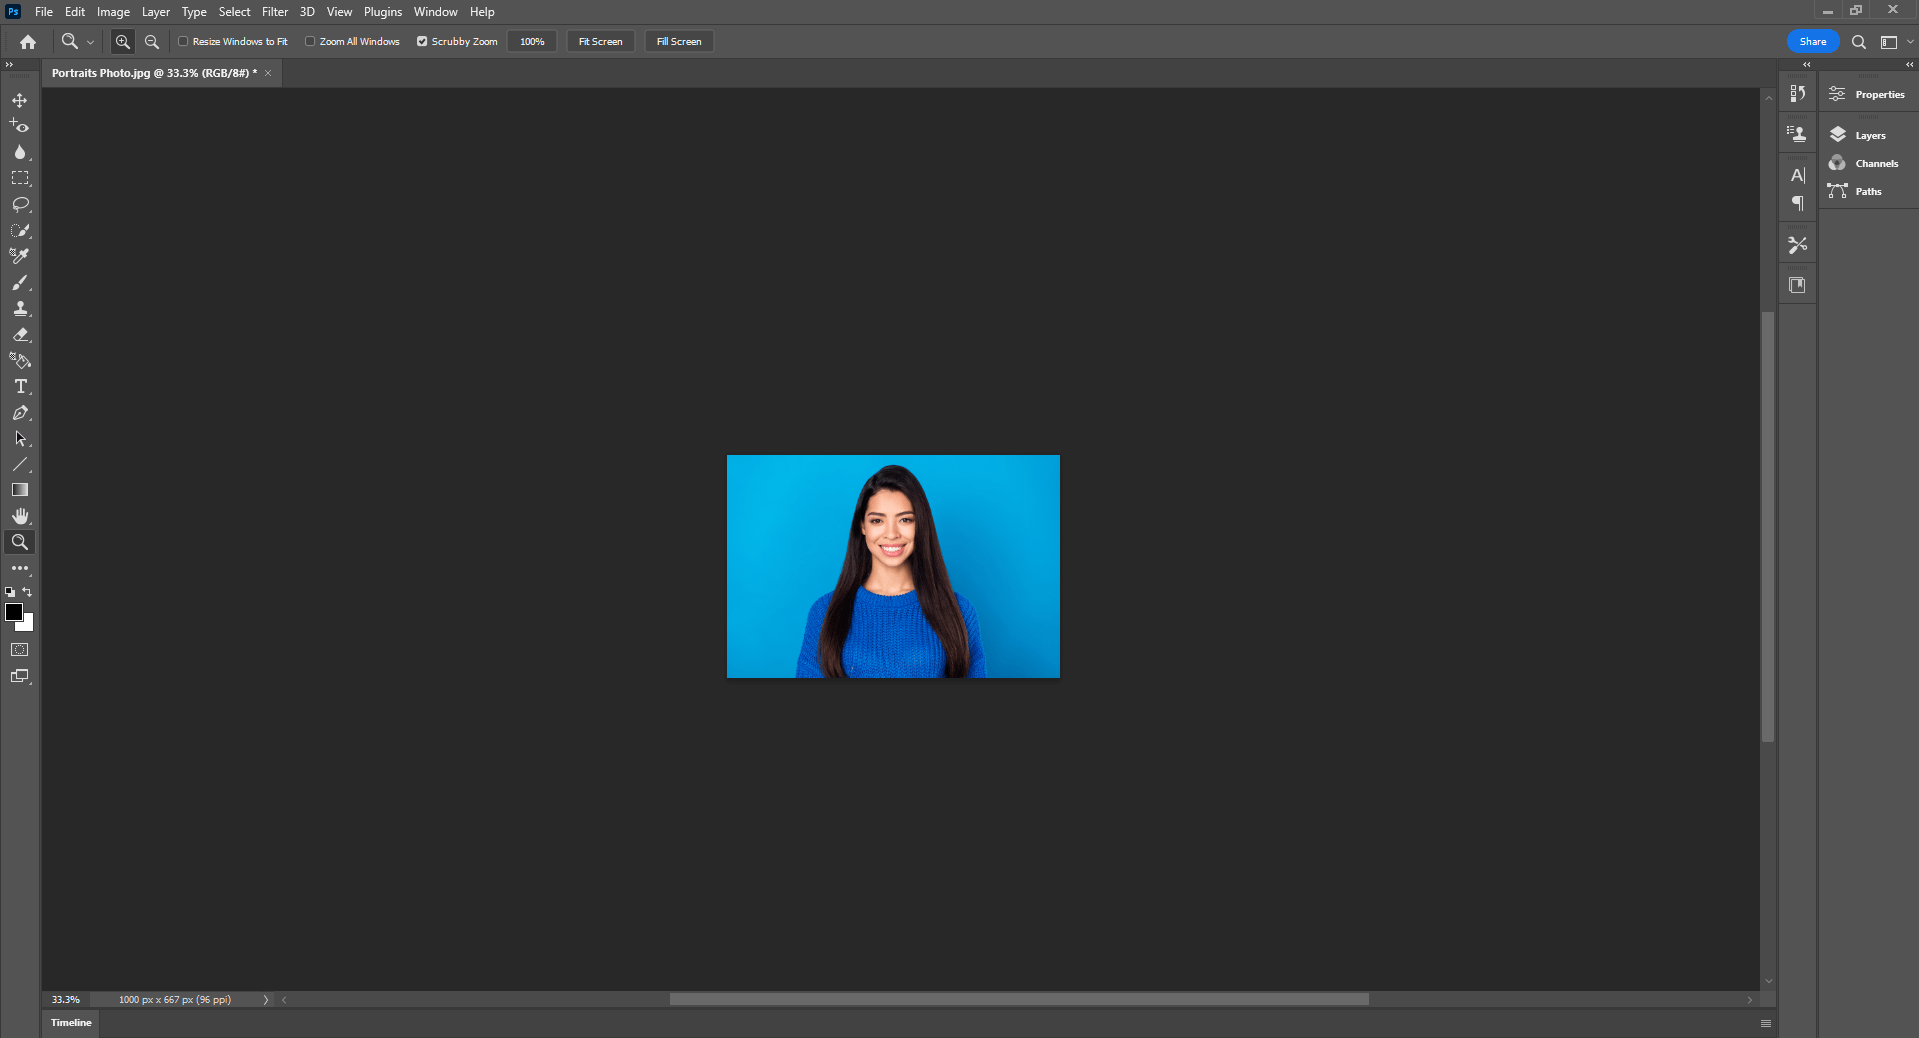
At the point when you first open your picture, Photoshop zooms the picture out so it fits totally on the screen. Furthermore, we can see the ongoing zoom level in the archive tab at the top. For my situation, it’s 33.3%. Your worth might be unique.
Changing The Zoom Level

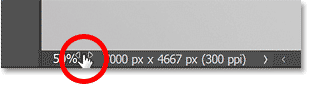
The zoom level is likewise shown in the lower left of the archive. In any case, the thing that matters is that we can change the zoom level from here.
Double-tap on the ongoing worth to feature it. Then, enter another worth, similar to 50 for half. Press Enter on a Windows PC or Return on a Mac. Also, the picture immediately leaps to the new zoom level.
Zooming With The Scrubby Slider
What’s more, here’s the principal tip. If you drift your cursor over the zoom level in the lower left and hold down the Ctrl key on your console, or the Command key on a Mac, your cursor will change to an inadequate slider.
You can then haul to the option to zoom in or drag to one side to zoom out. Furthermore, if you add the Shift key (so that is Shift+Ctrl for Windows or Shift+Command for Mac) you’ll zoom in or out in bigger 10% additions.
Photoshop’s Zoom In and Zoom Out orders
One more method for zooming all through a picture is by going up to the View menu in the Menu Bar and involving the Zoom In and Zoom Out orders.
I’ll pick Zoom In, and Photoshop zooms the picture in a piece nearer. The main issue with these orders is that you would have to continue onward back to the View menu and reselect them to zoom in or out further.
The Zoom In And Zoom Out Keyboard Alternate Ways
Fortunately, each order has a keyboard shortcut. Also, these are two of the most helpful alternate routes in Photoshop to retain. To zoom in, press and hold the Ctrl key, or the Command key on a Mac, and afterward press the in addition to sign (+). What’s more, to zoom out, hold the Ctrl key, or Command on a Mac, and press the short sign (- ).
Photoshop’s Zoom-Level Presets
Watch out for the zoom level in the record tab as you press Ctrl++ for Windows/Command++ For Mac to focus on the picture, and Ctrl+- for Windows/Command+- for Mac to zoom out. Notice that the zoom level leaps to explicit qualities.
And afterward, press Ctrl++ for Windows/Command++ for Mac to zoom in, and the zoom level will leap to 33.3%. Keep zooming in and the zoom level leaps to half, then 66.7%, and afterward 100%. What’s more, assuming that you press Ctrl+-for Windows/Command+-for Mac over and over to zoom out, the zoom level leaps from 100% back to 66.7%, then, half, 33.3%, and afterward back to 25%.
These are not arbitrary qualities. These are the zoom levels that provide us with the most dependable perspective on the picture. Any time we’re seeing the picture at a zoom level under 100%, we’re not seeing the pixels in general. So Photoshop needs to redraw the picture with fewer pixels while as yet attempting to make it look as exact as could be expected.
However, if you’re zoomed in at a worth other than one of these presets, the picture will look milder on your screen than it truly is.
For instance, on the left is the picture zoomed in to an odd worth, like 51.25%. What’s more, on the right is the picture zoomed in to half (one of the presets). Notice how her eyelashes look gentler on the left and keener on the right. That is because the half-zoom level on the right is giving us a more precise view.
So at whatever point you want a more honed perspective on your picture, utilize the console easy route Ctrl++ for Windows/Command++ for Mac to zoom in, or Ctrl+- for Windows/Command+- for Mac to zoom out to the closest preset level (25%, 33.3%, half, 66.7%, 100%, etc).
The Fit On Screen Order
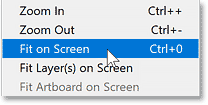
To return to survey the whole picture immediately, go up to the View menu and pick the Fit on Screen order. Furthermore, notice that it has a console easy route, Ctrl+0 or Command+0 on a Mac.
Yet again I’ll pick Fit on Screen, and presently the whole picture is apparent.
The 100% View
Yet, to get the most potential precise view, we want to see the picture at a zoom level of 100 percent. What’s more, you can leap to 100 percent whenever by going up to the View menu and picking 100 percent. Or on the other hand by pressing the keyboard shortcut, Ctrl+1 or Command+1 on a Mac.
While we have the View menu open, notice that all of the primary Zoom orders share a similar key for their shortcut. It’s the Ctrl key for Windows and the Command key for Mac. When that’s what you realize, all you want to recollect is to add the, in addition, sign to zoom in, the short sign to zoom out, 0 to fit the picture on the screen, and 1 to leap to 100%.
I’ll pick 100%, and the picture leaps to the 100% zoom level. It’s vital to comprehend that viewing the picture at 100% is the best way to see a really precise perspective on your picture with the entirety of its detail. At 100%, every pixel in the picture is shown by a single pixel on your screen. Furthermore, that isn’t correct with some other zoom levels.
So if you are honing the picture or doing anything where you want the most potential exact view, make certain to see it at 100%.
For the present, I’ll return to fitting it on the screen by pressing Ctrl+0 for Windows/Command+0 for Mac.
Utilizing the Zoom Tool
Until this point, we’ve discovered that we can zoom in and out involving the Zoom In and Zoom Out orders. Also, you’ll utilize these orders constantly. However, they do have one major disadvantage. They can zoom in on the focal point of the report window.
To control what portion of the picture we’re zooming in to, we utilize Photoshop’s Zoom Tool, found close to the lower part of the toolbar. You can likewise choose the Zoom Tool from your keyboard by pressing the letter Z.
With the Zoom Tool dynamic, your mouse cursor changes to an amplifying glass with or more signs in the center.
Click on the region with the Zoom Tool to zoom in, and click over and over to zoom in nearer. The Zoom Tool involves similar preset qualities as the Zoom In and Zoom Out orders that we took a gander at before (like 25%, 33.3%, half, 66.7%, 100%) so you’re getting the most reliable view.
To zoom out with the Zoom Tool, press and hold the Alt key on your console, or the Option key on a Mac. The addition to the signing will change to a short sign.
Then, click on an area to zoom out, and click over and over to zoom out further.
Zooming In Beyond 100%

You can zoom beyond 100%. Nowadays Photoshop allows you to zoom as far as possible into 12800%, although you might need to have your eyes looked at if you want to zoom in that nearby. Yet, when we go past 100%, we’re not seeing any more detail. We’re simply making the pixels bigger.
The Pixel Grid
If you keep zooming in increasingly close past 100%, you’ll ultimately see a diagram around the pixels known as the Pixel Grid. The network won’t be noticeable when you save or print the picture. It’s only for reference. Also, it will vanish when you zoom back out.
You can impair the Pixel Grid by going up to the View menu, picking Show, and afterward, Pixel Grid to deselect it. To turn it back on later, simply return to the View menu and reselect it. By and by I simply leave it on because I seldom zoom in close enough for it to show up.
The Most Effective Method To Briefly Change To The Zoom Tool From Your Keyboard
So the Zoom Tool is perfect for focusing on a particular region. Yet rather than choosing it from the toolbar each time you want to zoom in or out, a superior way is to get to the Zoom Tool briefly from your console.
Simply hold down the spacebar and the Ctrl key on a Windows PC, or the spacebar and the Command key on a Mac. Macintosh clients might have to hold the spacebar first, then the Command key, to stay away from contention with the MacOS working framework.
You’ll approach the Zoom Tool however long the keys are held down so you can tap on an area to zoom in. Discharge the Alt or Option key to change back to zooming in, and discharge all the keys to change back to the past device so you can continue to work.
Dragging A Selection Diagram To Zoom In
If you switch Scrubby Zoom off by unchecking it in the Options Bar, then, the Zoom Tool acts more like the Rectangular Marquee Tool. You can snap and drag a choice diagram around an area.
Also, when you release your mouse button, Photoshop in a flash focuses on that area. If you like to fill in as such, you can leave Scrubby Zoom unrestrained. Be that as it may, if you like Scrubby Zoom better, just reselect it in the Options Bar.
Zooming With The Scroll Wheel
At long last, another method for zooming in and out is by utilizing the parchment wheel on your mouse. What’s more, this works with any device dynamic, in addition to the Zoom Tool.
Drift your cursor over the area where you need to zoom in. Press and hold the Alt key or the Option key on a Mac, and look over the wheel up to zoom in or down to zoom out.
Also, if you add the Shift key, you’ll limit the zoom values to only those presets we checked out before that give you the keenest and most precise view. What’s more, that is the essentials of zooming in and zooming out in Photoshop.
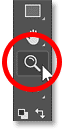
Choosing The Fit On Screen And 100% Preview From The Toolbar
Here’s one final tip. If you at any point need to leap to the Fit on Screen or 100% preview yet can’t recollect their keyboard shortcuts, you can rapidly get to them from the toolbar.
FAQs
What is the shortcut to zoom in Photoshop?
Press and hold the Alt key on a PC (or the Option key if you’re using a Mac) on the keyboard, and twist the scroll wheel to zoom in or out.
What does Ctrl +A do?
Ctrl + A is used to select all text on the current line. If the ongoing line has no text, all text inside the Command Prompt will be chosen.
Final Words
These are a portion of the ways of zooming in and out photographs in Photoshop. With the above-mentioned ways to zoom in on Photoshop, you simply need to pick the ideal way that will work best. Hope you have found this article very useful.
Thanks for reading.


