
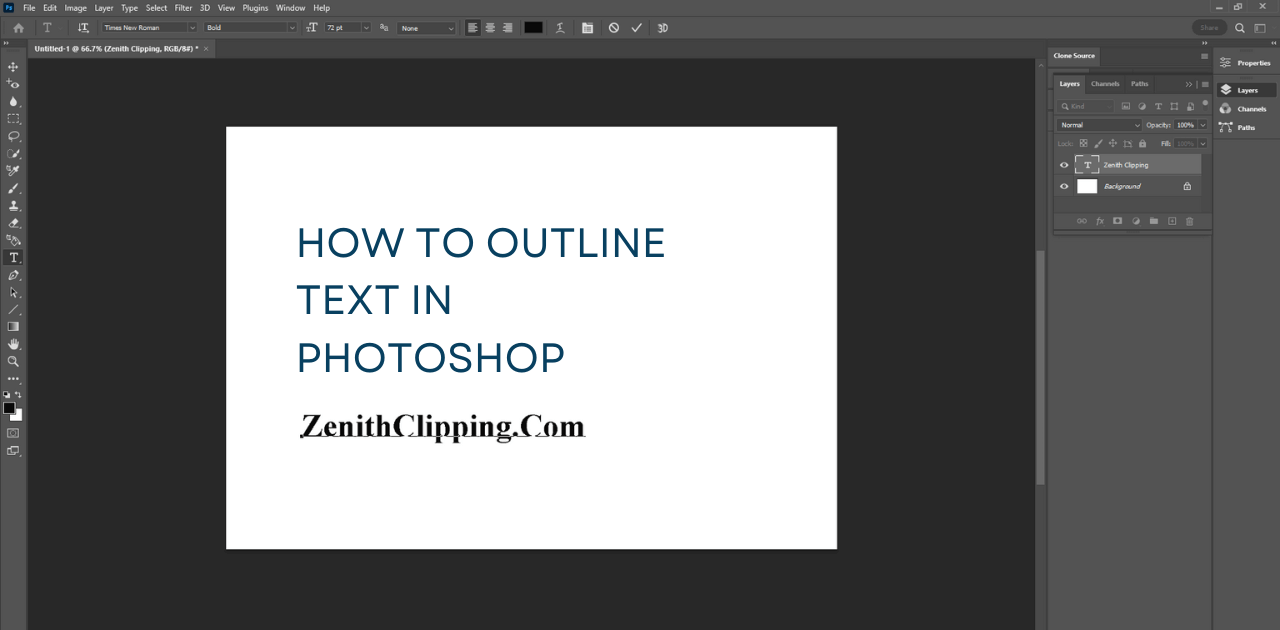
One of the most widely recognized utilizes of Photoshop is working with text, whether it be to make banners, alter pictures, or try and simply make interesting typography plans. One way you might need to adapt your text is by adding a diagram around it, which we’ll be going over in the present instructional exercise. The fastest method for outlining text in Photoshop is by adding a framework. It’s speedy and simple, regardless of whether you’re a Photoshop fledgling — it’ll probably turn out to be one of your number one impacts starting now and into the foreseeable future. So let’s discuss how to outline text in Photoshop.
The Most Effective Method To Outline Text in Photoshop
This strategy utilizes Layer Styles to make a stroke, which likewise permits the Type Layer to stay editable. You can likewise utilize the means beneath to add a stroke to any object on your material.
- To begin, select the Type tool (Horizontal or Vertical) and type in your text.
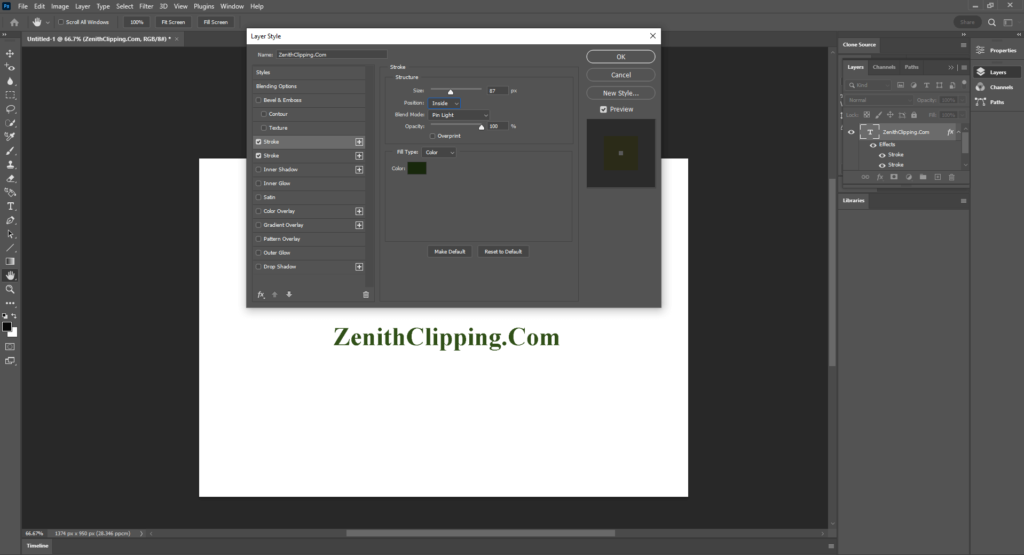
- Right-click on the Type Layer and pick Blending Options from the menu. Or then again, on the other hand, go to Layer > Layer Style > Stroke.
- In the Layer Style discourse box, select Stroke under the rundown of styles on the left. The choices under Stroke give you unlimited authority over the presence of the text line. Set the size or width to your ideal line weight by utilizing the slider or by entering your worth physically.
- Then, you’ll pick a position for the stroke. The right position changes the presence of the impact when text is joined with other layer components. There are three decisions: Inside, Center, and Outside.
- Utilize the Blend Mode to control how the shaded stroke will associate with the varieties or layers under the stroke. This will influence the last look when you follow through with something like spotting the text over a beautiful picture, to name one model. You can likewise utilize the Opacity slider to set the straightforwardness of the text line.
- Photoshop strokes can be loaded up with strong tones, vivid angles, and designed borders, too. If you would like a strong variety, click on the variety tile to open the Color Picker. Pick your ideal shade and hit OK.
If you think it looks tasteless, just sit back and relax. You can make more brilliant framework text in Photoshop — all that you need to do is try to track down additional fascinating outcomes.
How to Outline Part of a Text Layer in Photoshop
In this model, we’ll utilize this text frame technique to make an unpretentious impact that would be perfect for any multi-media show needing some flair.
- To begin, make another report in Photoshop. Utilize the Rectangle tool to make a shaded foundation layer. You have your experience variety chosen as of now; all that you require to do currently is pick a similar variety for your text layer.
- Type your text layer in, very much like previously. A big part of your text ought to be over the pigmented piece of the material; the other part ought to be over the other half.
- Presently, add your Photoshop text line, guaranteeing that your Stroke tone matches the part of the canvas that isn’t covered by our yellow square shape — for this situation, plain old white. Right-click on the text in your Layers board, pick Blending Options and relegate your Stroke to line weight and a position.
- Click OK, and it ought to seem to be something we have happening above.
This essential plan format can be changed to suit an assortment of ventures: flyers, birthday cards, digital scrapbooking, and even website architecture. You can involve it coupled with our textual style family frame stunt depicted beforehand, staying a photograph or two under the text layer for a truly tasteful, clean impact.
How to Outline a Font in Photoshop
The text in the above Photoshop text frame picture is a straightforward sans-serif textual style. Another thought is taking fancier text styles and making delightfully framed textual styles that have all the earmarks of being empty inside.
Frame text styles are utilized all over the place — logos, signs, boards, and so on. You can track down a ton of free layout fonts on the web and afterward blend and match them in your ventures.
One method for making your own Photoshop frame text style is to frame any text style and afterward make its inner parts vanish, leaving just a boundary around the text, swearing off the fill completely. You can layer this realism on top of a picture for an alluring, eye-catching title.
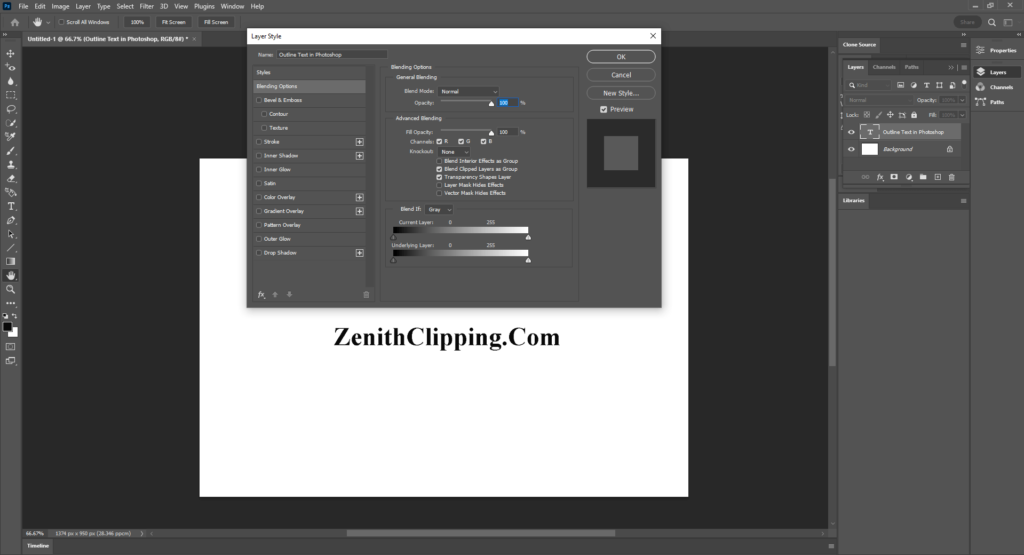
- To start, begin with a fresh start and type your text. Right-click on the Type Layer and select Blending Options once more.
- Go to Layer Style > Stroke. Select position as Outside. Set the Size slider to any line weight that you need and your Opacity to 100. Click OK.
- In the Layers tab, bring down the Opacity of the text to 0%. Your stroke diagram ought to in any case serious areas of strength for hold.
This is a straightforward model, yet there are numerous ways of getting inventive with framed text styles and various impacts. In the following area, we are going to explore another chance: somewhat illustrated text in Photoshop.
How Does Your First Outlined Text Look?
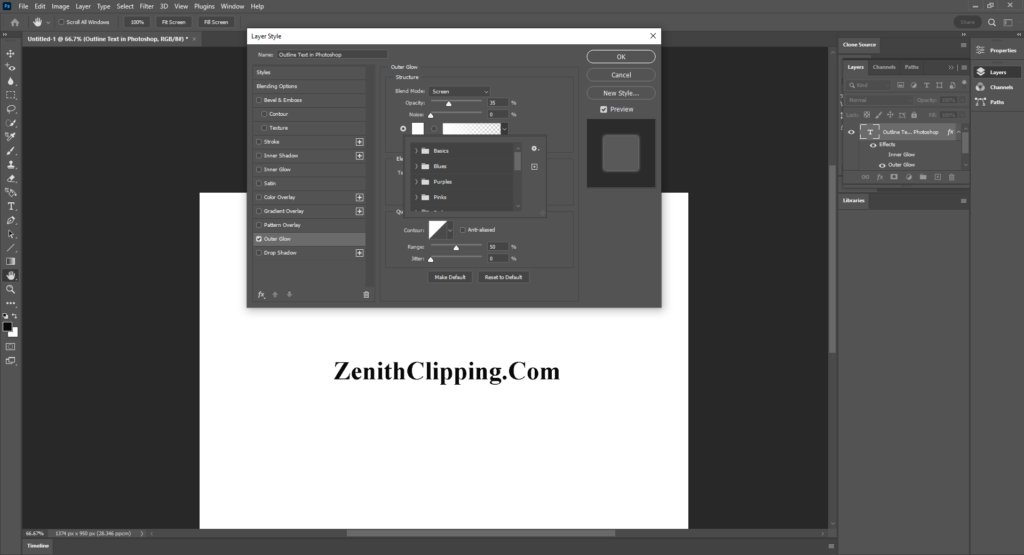
There are numerous ways of outlining the text, however, an essential stroke is the clearest approach to doing it in Photoshop. You can constantly join the text with any Layer Style to add compound impacts.
This technique is flexible; Photoshop permits you to reorder any text that you need into an un-rasterized Type Layer, altering anything that you want to supplant effortlessly. The Layer Styles stay in one piece, and the report review will refresh itself naturally with the new text that you’ve quite recently glued.
Framing permits you to feature the limits of text, shapes, and even pictures. It’s a truly flexible procedure, so we ask you not to stop here. You can likewise make custom shapes and join them with text impacts for something truly amazing.
Final Words on How To Outline Text In Photoshop
Whether you’re making a logo, business card, an imaginative plan, or need to make your text stick out, doing it in Photoshop in only a couple of steps is conceivable. Even though the cycle can be different relying upon the form you’re running, outlining a text is easy, and it can have numerous advantages.
We trust this guide assisted you with figuring out how to frame text in Photoshop and make it particular.
FAQs
How do you outline in Photoshop?
To outline a picture in Photoshop, double-tap on your layer to open the Layer Styles board. Select the “Stroke” style and set the stroke type to “Outside”. From here essentially change the colour and width of your framework to suit the look you need!
How do you shadow text in Photoshop?
At the point when you need to add a drop shadow to text or pictures in Photoshop, it’s not quickly clear how to make it happen. That is because drop shadow impacts are concealed inside the layer-style settings.
To add a drop shadow to text or pictures in Photoshop, first select the ideal layer, then, at that point, click the “FX” symbol at the lower part of the Layers board. From the given Layer Styles, select “Drop Shadow” to apply it to your text or picture. The Layer Styles exchange box will open, offering extra settings like size, delicate quality, and shadow position.
Presently there is an assortment of impacts that you can use to work on the vibe of your drop shadows in Photoshop. Whether you believe that a basic dark shadow or need should zest it up with variety, it’s undeniably done effectively in the layer styles discourse box.
What are the 3 types of outlines?
Whenever you have decided on your primary concerns, collect a functioning blueprint. The diagram can go from a basic sketch of what your exposition will resemble partially by point frame total with subject sentences. The thought is to give yourself a visual graph of where your paper will go. The framework shows the succession of your paper and the principal thoughts to remember while composing. Three kinds of blueprints are generally utilized which are full-sentence outline, alphanumeric outline, and decimal outline.
How To Outline A Logo In Photoshop?
If you’re hoping to enliven your logo, adding an outline in Photoshop is an extraordinary method for doing as such! The extraordinary thing about illustrating designs is that you can transform your logo into simply a blueprint or add a line to your current logo. With countless styles to browse, you can find the ideal layout search for your logo easily. Although we will cover a few additional specialized approaches to framing a logo, here’s the easiest way for getting things done if you need a speedy and simple technique.
To outline a logo in Photoshop, first, ensure the logo has a straightforward foundation, then double-tap on the logo layer to open the Layer Styles. In the Layer Styles set, the style to Stroke set the stroke to fill to “Strong Color,” and changes the width as the need might arise. So now you have outlined your logo!
Which tool is used to outline?
In Photoshop CC, you can make an outline utilizing any of the selection tools, including the Lasso and Marquee Tools. For instance, if you draw a circle with the Elliptical Marquee Tool, you can switch it over completely to a stroke by choosing Stroke from the Edit menu. A rectangular and circular selection is transformed into strokes.
How do you outline text in Photoshop without fill?
You can leave the outlined text with no fill by basically cutting down the layer fill to 0%. That’s what to do, select the text layer, and in the Layers panel set the Fill worth to 0%.
How do I make the background of the text transparent?
At the point when your project requires a transparent background for imprinting on stock or adding to different pictures, it’s really simple to do. When you send out your transparent background picture as a PNG, this record design keeps up with the background transparency.
Steps for making and saving text on a transparent background:
- Open a fresh canvas in the aspects you want.
- In the Background Tools menu on the left tab segment, click Background Tone.
- Click the Transparent checkbox under the variety continuum. Your canvas is currently transparent.
- Add your text to the canvas and change it as wanted.
- Click Download and be certain to select “PNG image” as the file type.


