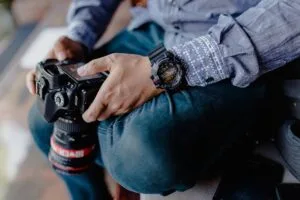
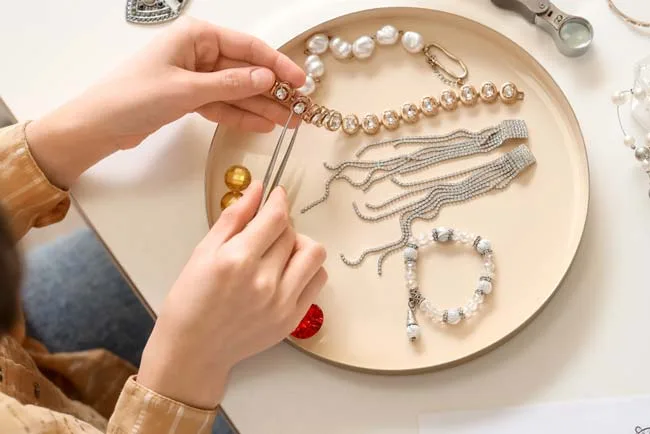
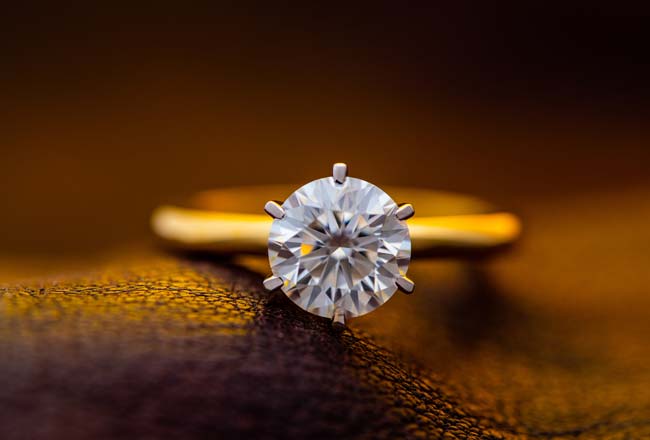
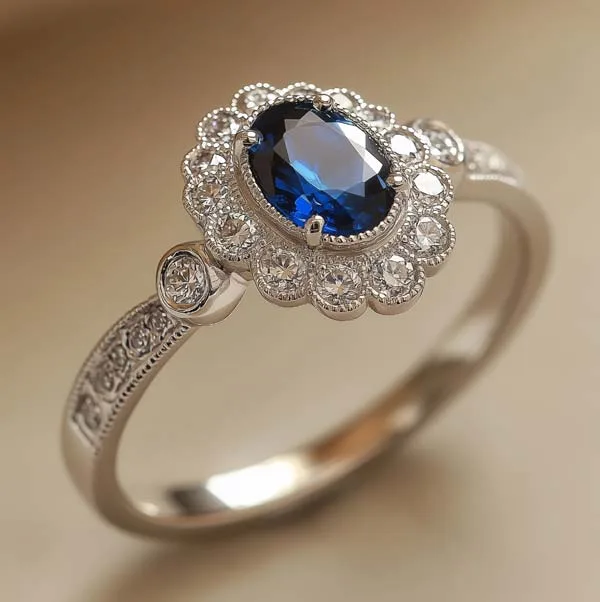
Small details make jewelry special. Milgrain tracing and contrasting textures are examples. Crisp, detailed product photography persuades customers easily. E-commerce jewelry shops need excellent images. DIYing jewelry photography is a challenge.
You need to avoid reflections and smudges. You must manipulate lighting effectively. You need to create visually captivating images. Learn the ins and outs of taking outstanding photos. These tips will make your images look professional. They show the best details of your offerings. Use these DIY tricks for better shots.
Let’s dive below for a detailed explanation!
1. Clean the Jewelry
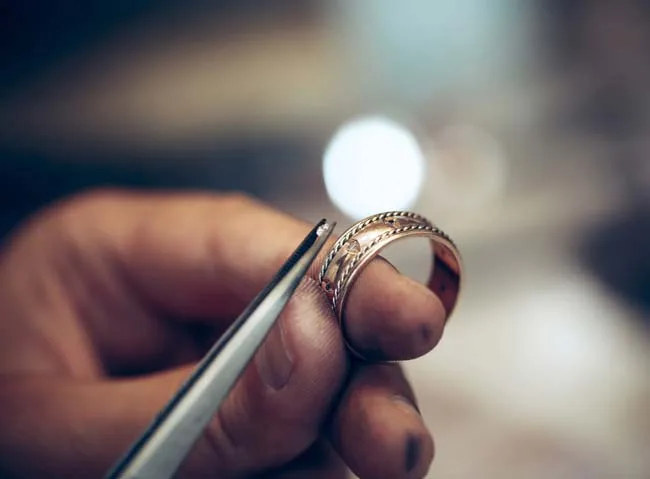
The safest method for cleaning jewelry is mild dish soap and warm water. Always use a soft brush. Make sure that the approach you choose is safe for your materials. This method keeps fragile gemstones from getting harmed. This method works for most gold, platinum, and diamonds. Mix warm water with a few drops of mild dish soap. Soak the jewelry for 10 to 15 minutes. Use a soft toothbrush to scrub away grime. Pay attention to crevices in gemstone backs. Rinse the jewelry thoroughly under lukewarm water.
Dry-polish the jewelry with a microfiber cloth. Sterling silver needs a dedicated silver polishing cloth. Pearls and opals should not be soaked. Wipe them gently with a soft, damp cloth. Handle clean jewelry with cotton gloves. This procedure avoids fingerprint reflections. Remove jewelry before swimming or exercising. Store each piece separately. Consider an annual professional cleaning inspection.
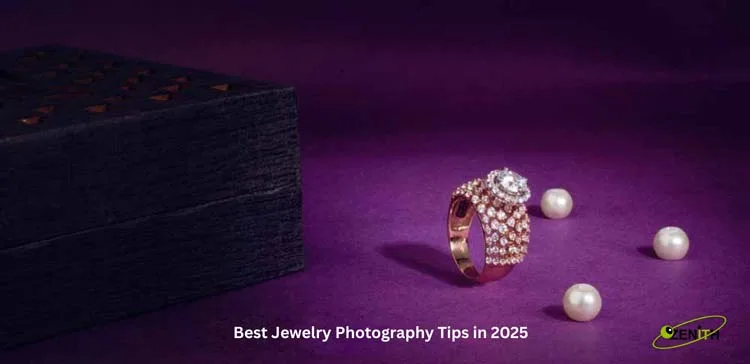
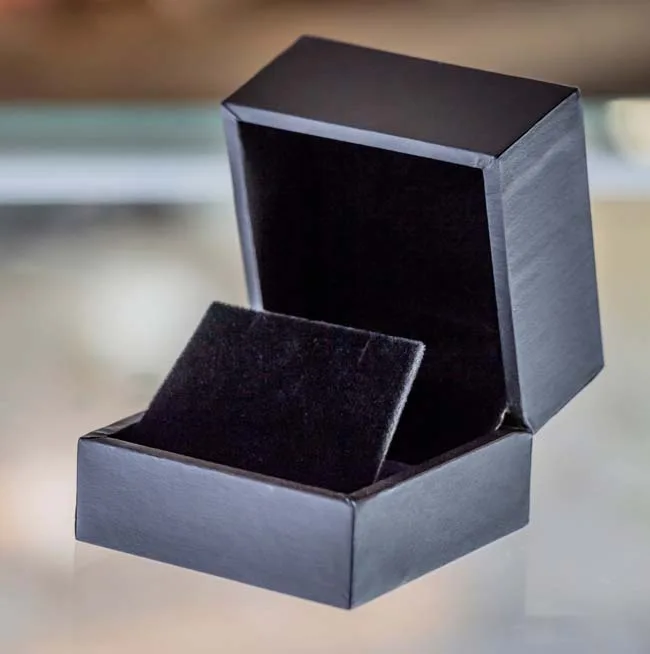
2. Choose a Simple Background
The best simple backgrounds are white, black, and neutral gray. They keep the focus entirely on the product. They are versatile for different platforms. You can use textured surfaces like marble or wood. A plain white background is the industry standard. It eliminates all distractions easily. You can use a white foam board with a paper sweep. A black background provides high contrast. This technique makes shiny metals look dramatic.
A mid-tone gray offers a softer alternative. Marble stone adds a luxurious element. Soft fabrics add a soft, elegant, textured backdrop. Consistency in background selection is key. Use the same type of background for jewelry photography. This maintains a cohesive brand image. Simple backgrounds need careful lighting. Always use soft, diffused lighting. Keep props minimal and subtle. They should enhance the photo easily.
3. Set up your lighting
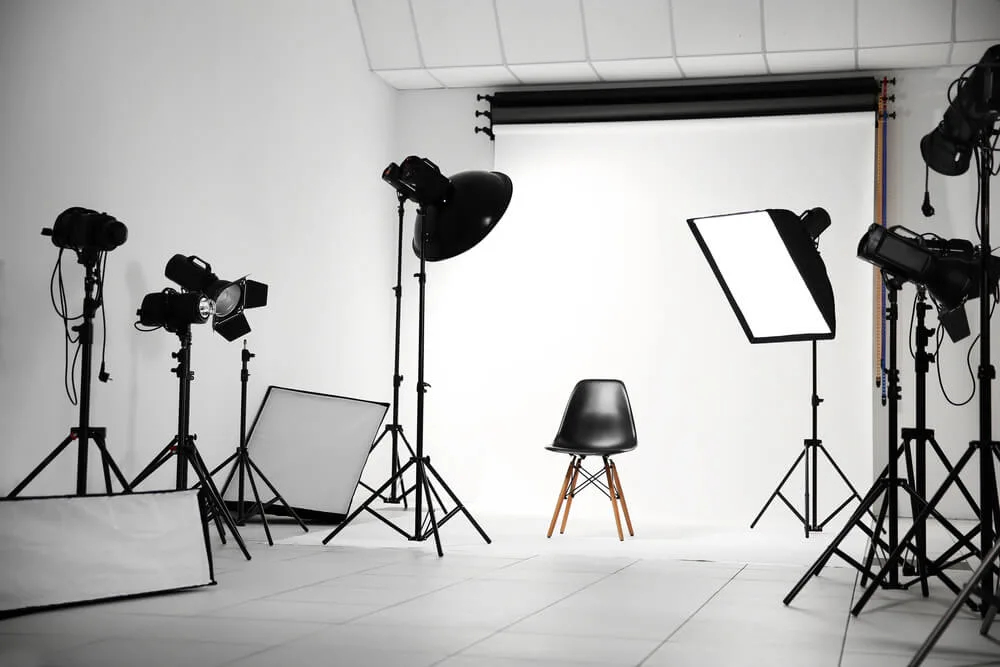
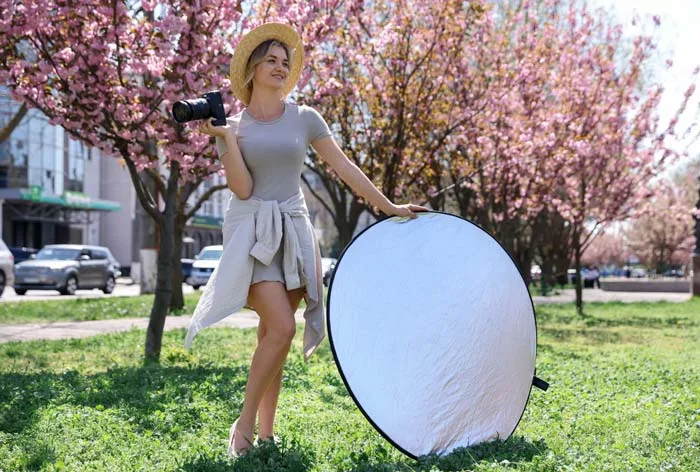
The key to lighting jewelry is using soft diffused light. This minimizes harsh reflections. A light tent softbox setup is highly recommended. You can also use natural window light. Position your setup easily near a large window. Always avoid direct harsh sunlight. Diffuse the light with a sheer white curtain. Use a reflector on the opposite side. This bounces light back into the shadows. You can always count on artificial light to give you the same results.
Use continuous LED strobe lights. Employ a light tent with softboxes. A softbox acts as a large soft light source. Position your main light at a 45-degree angle. Add a second light reflector. Use additional small white or black foam boards. This controls reflections strategically. A polarizing filter manages glare well. Set your camera’s white balance to match your light source. This ensures true-to-life colors. These are essential jewelry photography tips.
4. Use a Tripod

Using a tripod is essential for jewelry photography. It provides stability for sharp images. This technique is crucial for macro photography. A tripod eliminates camera shake blur. It ensures crisp focus and maximum sharpness. A steady camera allows optimal camera settings. You can use lower ISO settings and smaller apertures. This feature captures all fine details in sharp focus. A
A tripod ensures consistency easily. It keeps your camera in a fixed position. This functionality is vital for a cohesive online store. It facilitates advanced techniques like focus stacking. It frees your hands for adjusting lighting props. The stable base allows creative control. Always use a remote shutter release timer. Turn off image stabilization features. Consider a geared head for precise adjustments.
5. Use a Macro Lens
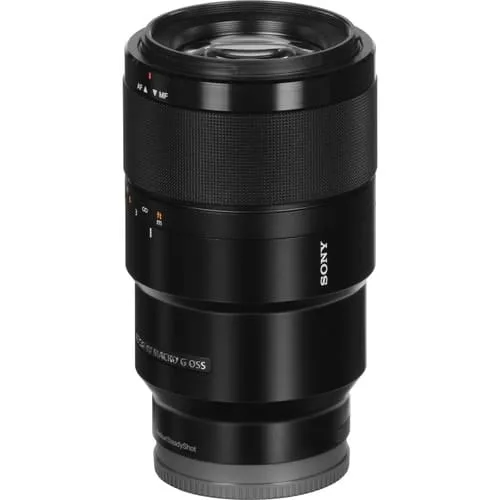
A macro lens is necessary for taking professional pictures of jewelry. It captures images of small things and makes them look like they are life-size. It shows off beautiful textures and fine work in great detail. The magnification ratio of a true macro lens is at least 1:1. This lets you take photographs that are exceptionally clear and sharp. Macro lenses may focus on items that are quite near to them. This is a nice feature for filling the frame.
A good macro lens reduces distortion. This lens can be used in many ways. The best focal length is between 90 and 105 mm. This always gives you a comfortable distance to work. Use manual focus to have exact control. A narrower aperture lets you control the depth of field. For the best sharpness, think about focus stacking. This method works best with a tripod focus rail. Use special macro lighting tools. This process makes sure that the light is equal. These are some important strategies for taking great pictures of jewellery.
6. Aperture
Aperture is the opening in your camera lens. It controls the amount of light entering the sensor. It always dictates the image’s depth of field. A small aperture is recommended for jewelry photography. This ensures most intricate details are sharp. Aperture size is measured in f-stop numbers. Low f-stop numbers mean a larger opening. This creates a shallow depth of field.
High f-stop numbers mean a narrow opening. This creates a deep depth of field. The entire jewelry piece must be in focus. This showcases its quality in detail. Experts suggest an aperture between f/11 and f/16. Focus stacking always achieves maximum sharpness. Aperture is part of the exposure triangle. You must compensate with a slower shutter speed. This method achieves proper exposure. A wider aperture creates beautiful soft background blur bokeh.
7. ISO
ISO determines your camera sensor’s sensitivity to light. It is a critical part of the exposure triangle. Keep the ISO as low as possible for jewelry photography. ISO 100 or 200 is typical. A low ISO minimizes digital noise grain. Higher ISO settings introduce graininess. Jewelry requires pristine clarity.
Low ISO maximizes detail sharpness. It yields the cleanest, most detailed files. It preserves quality for editing. Ample diffused lighting is key. Bright light sources allow you to use a low ISO. Always use a tripod. You will use a slower shutter speed for correct exposure. Avoid the Auto-ISO setting. Set the ISO for yourself in manual mode. This option guarantees the lowest possible setting.
Know More: To be successful, business marketing needs to connect with people on an emotional level. It’s easy to use strong visual storytelling. Make sure you know exactly what your USP niche is. Create a story for your brand that is interesting. Tell the story of craftsmanship. Put ethics for sustainability first. Make the most of your Shopify online shopping experience. Add videos and pictures with high resolution. Use automation to make your processes more efficient. Give customers the chance to personalise their orders to make them feel special. Put money into quality photography and video.
Use a mix of clean product shots. Lifestyle Shots. Leverage social media platforms like Instagram. Create valuable blog post guides. Partner with micro-influencers. Build a segmented email list. Explore new technology like augmented reality. Gather user-generated content reviews. This builds trust and credibility. Run targeted ads easily. Track your performance with analytics. Monitor pricing for profitability. Excellent customer service is key. Use the Etsy Marketplace for reach.
8. Zoom
Zoom can refer to optical zoom or digital zoom. Use optical magnification for high-quality shots. Always avoid digital zoom entirely. Optical zoom changes the focal length. It brings the subject closer. This process causes no loss of image quality. Use a dedicated macro lens for high magnification. This results in a sharp, detailed image. Such clarity is essential for e-commerce. A longer focal length offers a greater working distance. This prevents casting shadows on the subject.
Digital zoom crops and enlarges a portion of the image file. It significantly reduces the resolution. This results in a pixelated, low-quality image. Avoid digital zoom for professional jewelry photography tips. Frame your shots by always using a macro lens. This achieves true optical magnification. Crop images in post-processing if needed.
9. Vary your angles
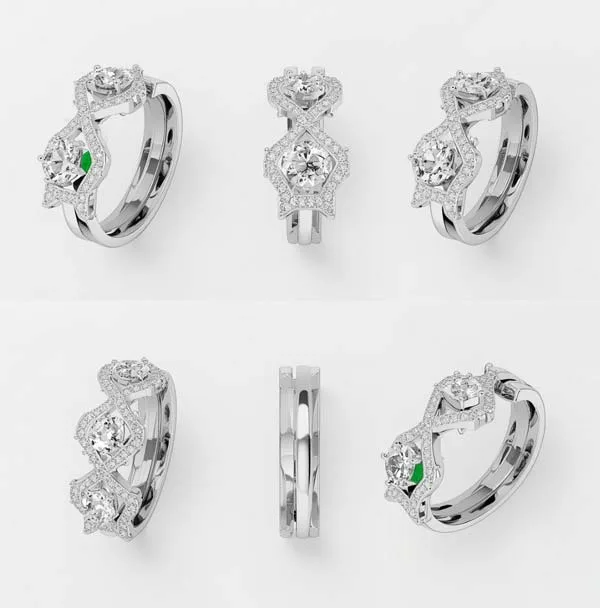
Varying your camera angles is crucial for jewelry photography. It allows customers to examine shape, texture, and craftsmanship. This diverse perspective builds trust easily. The eye-level shot is the standard catalog view. It presents the item realistically. The top-down view emphasizes the overall shape design. This format works well for rings and pendants. The side profile is essential for showcasing depth and height.
The extreme close-up highlights intricate details. This shot communicates high-quality craftsmanship. A low angle can make the jewelry look substantial. An angled shot adds dynamic diagonal lines. Experiment with different viewpoints. This creates an engaging portfolio. Consider using 360-degree photography for a full view.
Know More: Props and styling elements add visual interest. They provide a sense of scale and tell a brand story. Jewelry stands and mannequin stands display items well. Dental wax can hold rings upright. Clear acrylic risers add height and dimension. Natural stone crystals provide a striking contrast. Fabrics like velvet, silk, and linen add elegance. Natural flowers add a romantic touch. Wood surfaces add warmth and a natural feel.
Hand models add a human touch. They help you get a greater sense of scale. Things we use every day make up our lifestyle. Mirrors make interesting reflections. Geometric shapes give things a modern look. Replica Surfaces help you choose a background. The prop shouldn’t take the stage. Adding these things to your gold pendant silver chains is easy. A microfiber towel is best for cleaning.
10. Experiment with Light Effects
Experimenting with light effects creates stunning artistic images. It highlights specific features easily. Backlighting for gemstones makes them glow. Such illumination emphasizes color clarity and internal structure. Side lighting accentuates surface textures and metalwork. Such illumination gives the image depth. Incorporate reflections creatively. Use a mirrored high-gloss surface. This feature adds visual interest. Light painting uses a long exposure time. It offers incredible control over highlights.
Use colored gels over your light sources. A warm gel enhances gold richness. Cool tones enhance diamond brilliance. Water ice creates intriguing shadow patterns. Use a carefully controlled spotlight for drama. Avoid harsh, unwanted glares. Use a tripod for stability. Slow shutter speeds are often necessary. A lightbox setup helps control light easily. Consider a Foldio light box for small studio work.
11. Use Reflectors and Diffusers
Reflectors bounce light into shadowed areas. They add detailed brightness. Diffusers soften the light source itself. They eliminate harsh glares and strong shadows. Using them together is key. This technique achieves professional results. A diffuser’s primary role is to create a large soft light source. The result is ideal for reflective surfaces.
Place a translucent material between the light source and the jewelry. This spreads the light out easily. It creates a gentle, even illumination. The result reduces glare and harsh reflections. Diffusers help prevent overexposed hot spots. Light tents are made of diffusion material. They provide 360-degree soft lighting. This technique is excellent for small reflective items. These are essential jewelry photography tips.
12. Capture the Details
You must use a macro lens and a tripod to capture intricate details. The key is to achieve sharp focus. This gives customers an immersive tactile sense. A macro lens is essential for life-size magnification. Always stabilize with a tripod. This ensures crisp, sharp focus. Autofocus struggles with tiny subjects. Switch to manual focus easily. Use a small aperture for maximum depth of field. Focus stacking creates ultimate sharpness. This method gives high-resolution imaging.
Utilize precise spot lighting. This adds sparkle to gemstones. Always keep the ISO low. This feature ensures images are clean and free of digital noise. High-resolution macro shots reveal every flaw. Clean and polish the jewelry before the shot. Capture clasps, fastenings, and engravings. Detail how stones are set. Showcase the metal texture. This procedure proves the craftsmanship. These tips lead to professional-quality photo jewelry.
13. Use a Remote Shutter Release
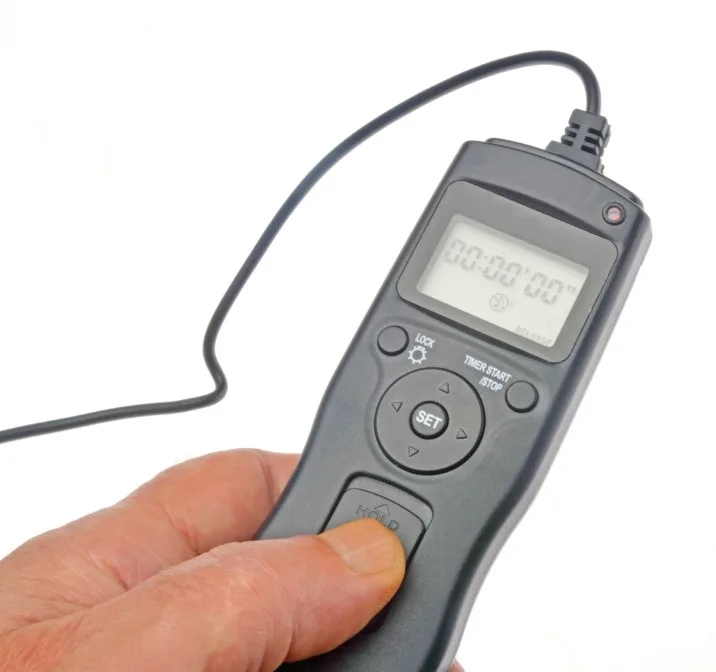
A remote shutter release is a critical tool for macro photography. It triggers the camera without physical touching. This eliminates camera shake easily. It ensures the sharpest possible images. It is a must-have accessory. A remote release eliminates minute vibrations. This item ensures maximum sharpness. It facilitates long exposures and slow shutter speeds. This procedure is necessary for proper exposure.
A remote release aids in focus stacking. This technique requires precision. Wireless remotes offer convenience and flexibility. You can adjust lighting props easily. Use the camera’s self-timer as an alternative. A smartphone app can also trigger the shutter remotely. Tethered shooting connects the camera to a computer. Invest in a compatible remote for professional results.
14. Shoot with Natural Light When Possible
Shooting with natural light is an excellent, cost-effective way. It achieves professional-looking jewelry photos. The sun provides a soft, even light. The result enhances true color brilliance. Position your setup near a large window. Always protect your skin to avoid direct harsh sunlight. Direct sun causes overexposure and strong shadows.
Position your setup at a 90-degree angle. Use a diffuser if the light is too harsh. This softens the light rays and reduces glare. Use white reflectors to bounce light back. This fills in the dark areas. Shoot on bright overcast days. Overcast days offer naturally diffused light. Manage white balance for accurate colors. Use your camera’s auto white balance. Natural light produces beautiful organic images. These are great jewelry photography tips.
15. Consider Using a Light Box for Controlled Lighting
Using a lightbox provides a controlled lighting environment. This ensures consistent professional-looking images. It minimizes shadows and reflections easily. This technique is standard for e-commerce. A lightbox creates an evenly lit environment. This saves time in post-production. The translucent walls diffuse light. This reduces harsh shadows and unwanted reflections.
Most lightbox models come with clean, seamless background. This keeps the focus entirely on the jewelry. Many lightbox models are portable and collapsible. They create a portable mini-studio. Assemble the box easily. Insert the seamless background. Position your light sources outside the box. Aim the lights at the translucent sides. Place your jewelry in the center. Use a tripod and the right camera settings. Shoot from multiple angles always. Post-process efficiently.
FAQs
What are the best techniques for capturing intricate details in jewelry photography?
A macro lens and a tripod are necessary for stability. For sharpness, use a small aperture and a low ISO. Shoot in RAW format and use manual focus. Use soft, diffused light and reflectors in the right places.
How can you make the lighting better for jewelry photos so they look professional?
Put gentle diffused light first. This controls reflections and cuts down on strong glares. Use a light tent to control reflections. Use reflectors to add sparkle to the fill. Don’t overexpose yourself to get clear details.
What camera settings are ideal for photographing jewelry with sharp focus and clarity?
Use a small aperture like f/11 or f/16. This maximizes the depth of field. Set a low ISO like 100 or 200. This minimizes digital noise. Adjust the shutter speed for balanced exposure.
How do you choose the right background for jewelry photography?
The background should support the jewelry easily. Create contrast to make the item pop. Maintain brand consistency always. Plain white is the industry standard. Black and dark gray give a luxurious feel.
Final Thought
It’s easy to strengthen your jewelry photography skills. Zenith Clipping specializes in stunning visuals. We showcase every detail of your designs. Our expert team ensures your product photos stand out. This helps your sales and marketing efforts. Contact us to bring your brand to the next level.