
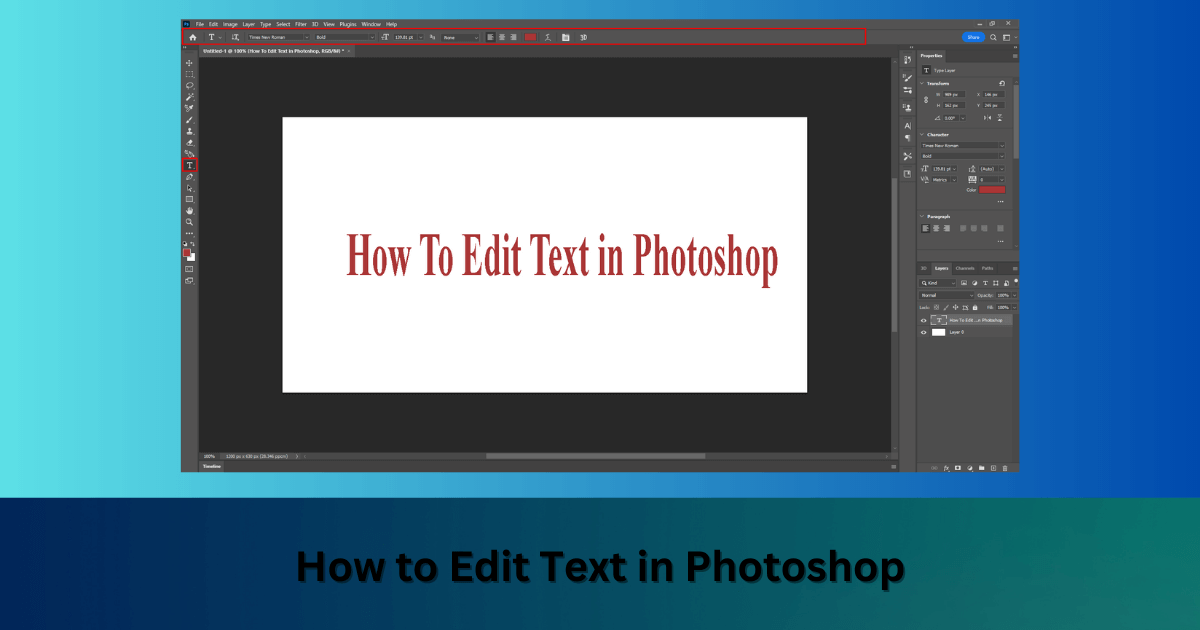
There are different ways you can edit the text in Photoshop while changing the position, variety, and other imaginative viewpoints. With the assistance of the Type Tool, composing text over a picture should be possible in short order. Here’s probably the easiest tutorial for editing text in adobe Photoshop.
The Most Effective Way To Add Text In Photoshop
To add and edit the text in Photoshop, select the Horizontal Type Tool (T) from the toolbar. Click on your material to make another Text Layer, and then, start composing your ideal text. Once complete, press the ESC key or the mark of approval in the upper bar to focus on your changes.
Expect you need to brighten up your text somewhat more, there are a lot of ways you can do that. Whether you need a single word, a section, vertical text, or imaginative impacts like bent or illustrated text, you’ll figure out how to do everything here!
Step 1: Open Your File
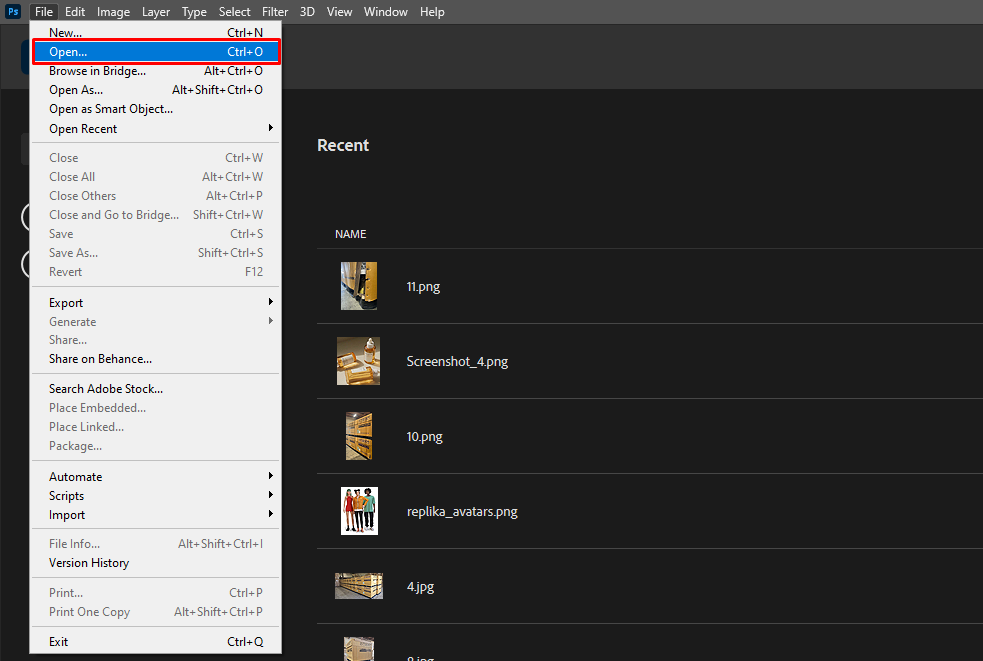
To begin, open your desired image in Photoshop. You can do this by navigating to File > Open or using the keyboard shortcut Ctrl + O (Windows) or Cmd + O (Mac).
Step 2: Select the Text Tool
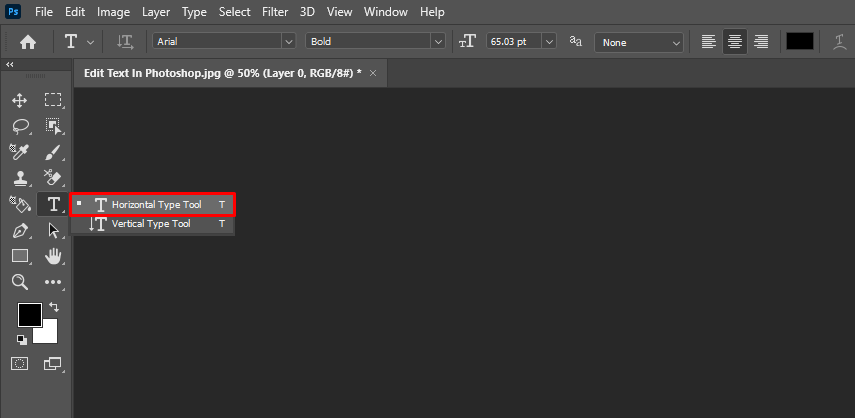
- With your image open, Click and hold on the “Text Tool” icon (capital “T”). A flyout menu might appear, allowing you to choose the specific Text Tool you want: > Horizontal Text Tool (T): This is the most common tool for adding standard horizontal text.
> Vertical Type Tool (Alt+T, Option+T on Mac): This lets you type along a path or
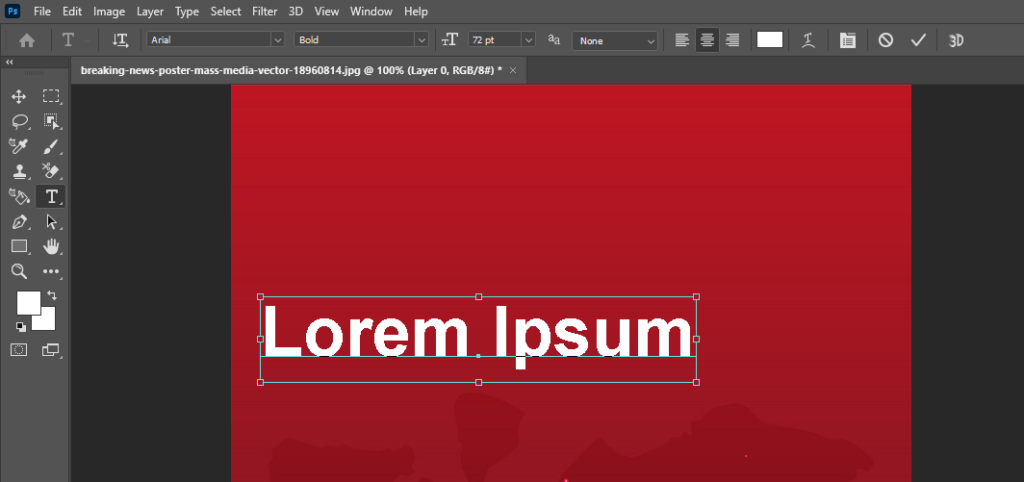
- Click to Create Text Box: Click on the area of your image where you want the text to appear. A rectangular text box will be created.
Step 3: Type Your Text
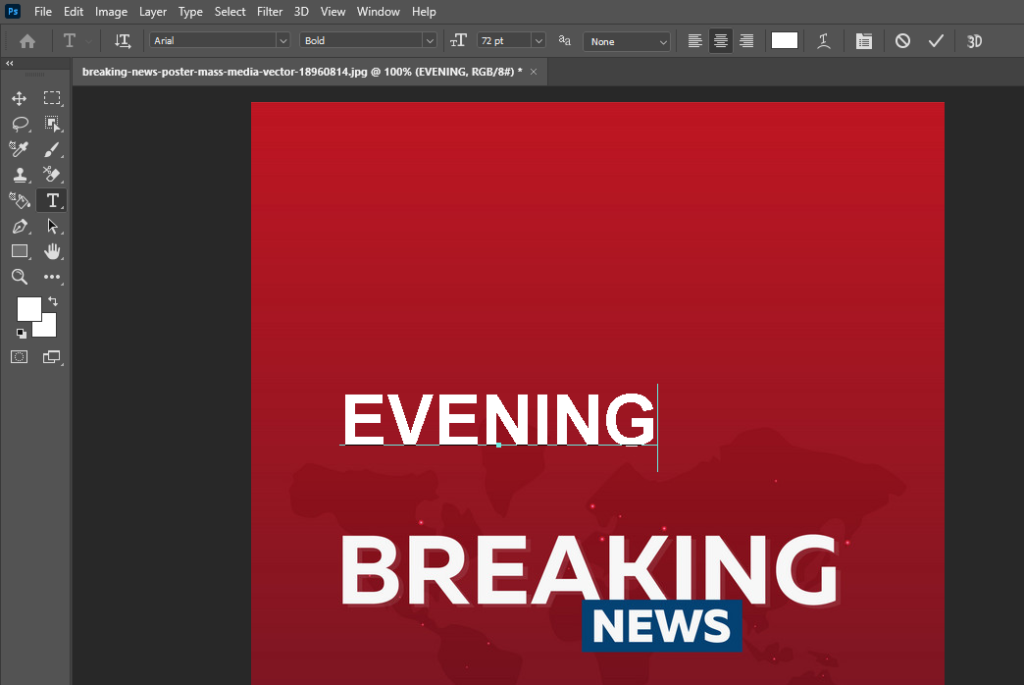
Click on the image where you want the text to appear. A text box will appear. Type your desired text. Let’s type “Evening” and press ENTER.
Step 4: Editing Text
- Type your desired text: Simply click inside the text box and start typing.
- Edit within the Text Box: To make changes, click directly on the specific text you want to modify. You can then:
> Delete or replace characters: Use the backspace or delete key to remove characters, or type over existing text to replace it.
> Use keyboard shortcuts: Classic keyboard shortcuts like Ctrl+C (copy), Ctrl+V (paste), and Ctrl+X (cut) work within the text box.
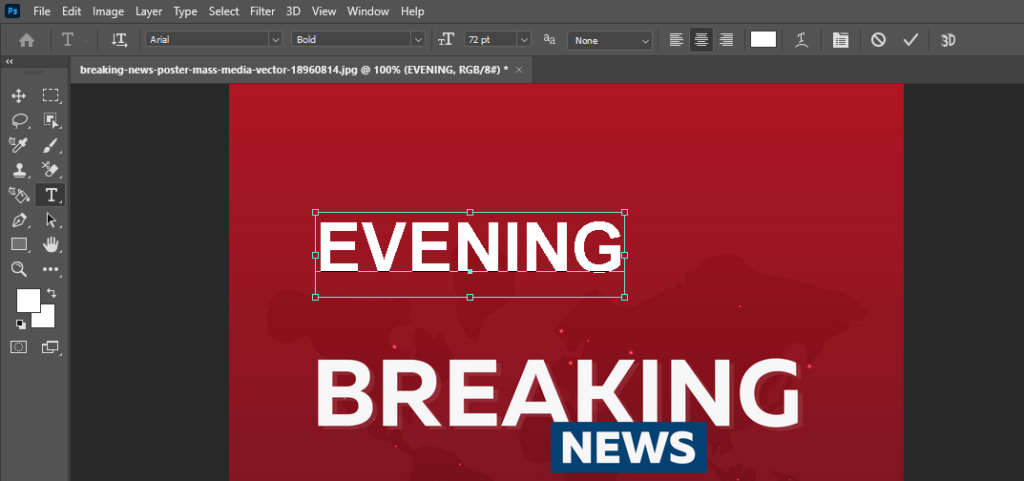
- Once you’re done typing within the box, click outside of it to confirm your edits.
Step 5: Advanced Editing with the Character Panel
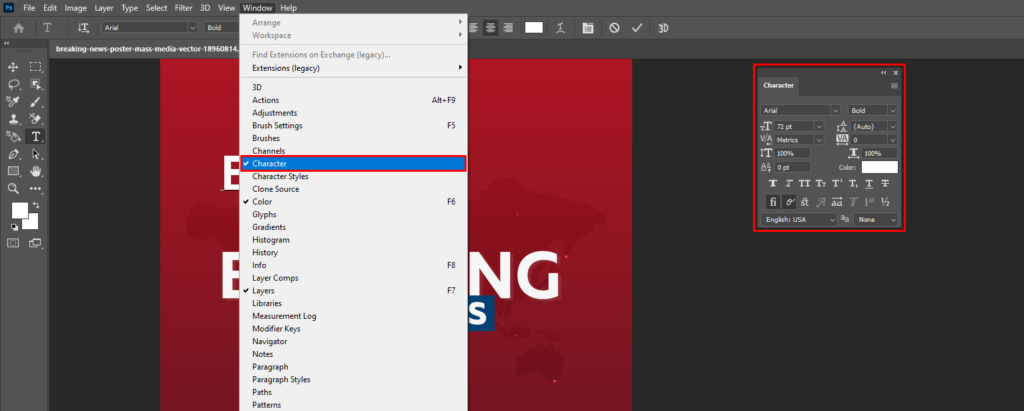
- Open the Character Panel: Go to the top menu and go to Window > Character. This panel provides more detailed control over individual characters within your text.
- Formatting Options: The Character panel lets you adjust properties for selected characters, including:
> Font style: Bold, Italic, Underline, etc.
> Baseline Shift: Moves the text position relative to the baseline.
> Character Spacing: Adjusts the space between individual characters.
> Language: Specify the language for spell-checking purposes.
Basic Formatting with the Options Bar in Photoshop
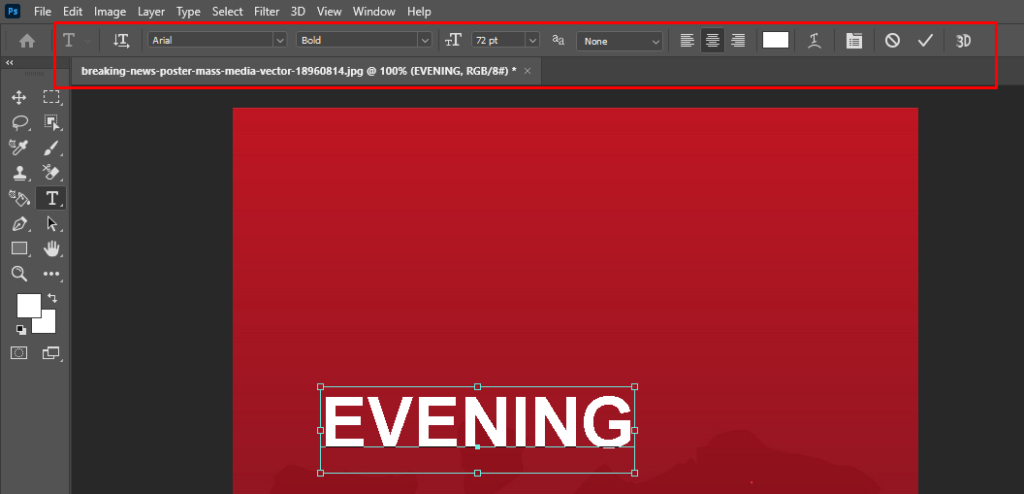
The Options Bar in Photoshop acts as your quick control center for basic text formatting. Here’s a closer look at the functionalities:
1. Font Family:
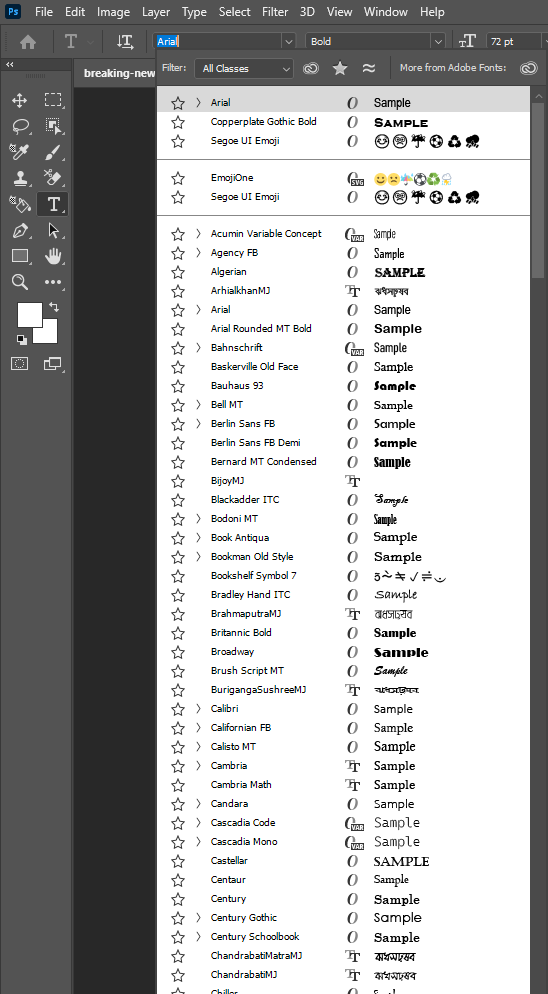
- Click on the dropdown menu that displays the current font family name.
- A list of available fonts will appear. You can either scroll through the list or start typing the desired font name to filter the options.
- Preview the font changes as you hover over different font choices in the dropdown list.
- Select the font family that best suits your project’s style.
2. Font Size:
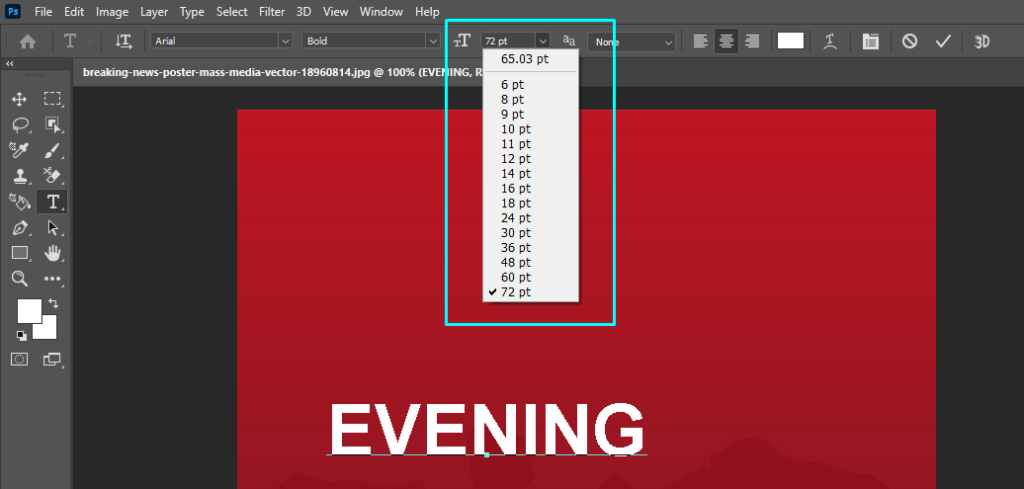
- Locate the font size displayed on the Options Bar. It might be a numerical value or an abbreviation like “pt” (points).
- Click directly on the font size value. A text field will appear where you can type a specific size (e.g., 24pt).
- Alternatively, click and hold on the font size value and drag the slider that appears to the right. This allows for visual adjustment of the text size.
3. Text Color: How to Change Text Color in Photoshop
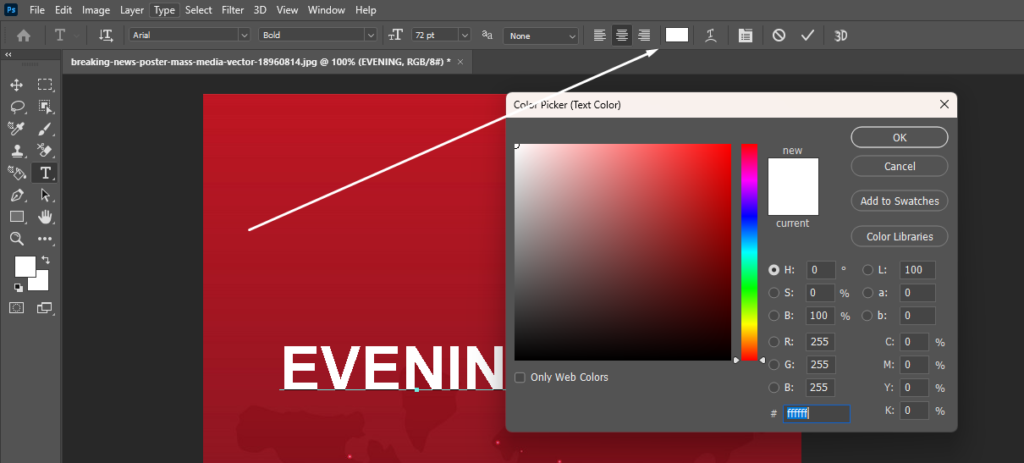
Whether you’re adding a title, a caption, or a creative element, choosing the right color for your text is essential. In Photoshop 2024, changing text color is a breeze, and here’s how you can do it in two effective ways:
- Look for the color swatch next to the font size on the Options Bar. It will currently display the color of your text.
- Click on the color swatch to open the color picker window.
- The color picker provides various ways to choose a new color:
- Predefined Colors: Click on a color swatch from the grid to select a pre-defined color.
- Color Sliders: Adjust the Hue (color spectrum), Saturation (intensity of color), and Brightness (lightness/darkness) sliders to create a custom color.
- Enter Color Values: If you know the specific color code (e.g., in HEX format like #FF0000 for red), you can type it into the color value field at the bottom of the picker window.
- Once you’ve chosen your desired color, Click “OK” in the color picker window. The new color will be instantly applied to your text.
4. Alignment:
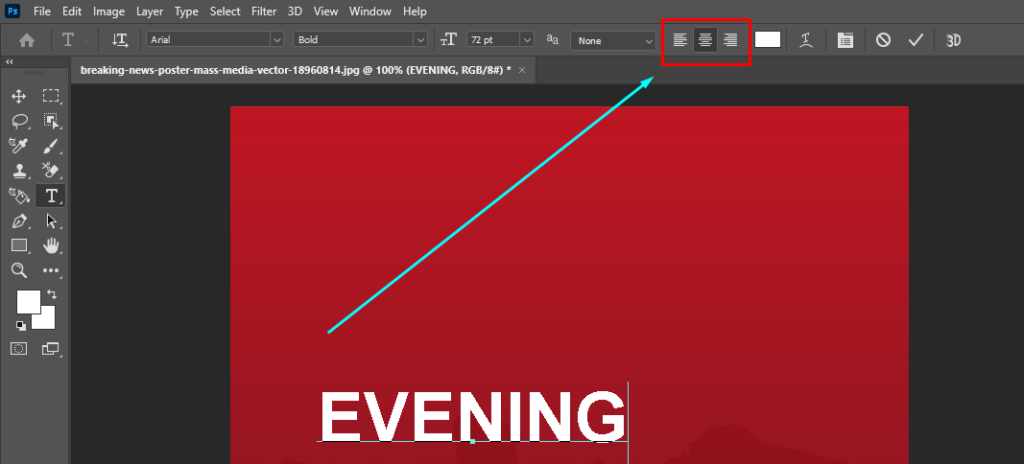
- Look for the alignment buttons on the Options Bar. These typically display icons representing left, center, and right alignment.
- Click the corresponding button to set the alignment of your text:
- Left Alignment: Text aligns to the left edge of the text box.
- Center Alignment: Text is centered horizontally within the text box.
- Right Alignment: Text aligns to the right edge of the text box.
FAQs
How do I edit existing text in Photoshop?
For detailed edits beyond typos, use the Options Bar (font, size, color, alignment) and Character Panel (advanced character formatting) after clicking outside the text box. This powerful combo lets you refine your existing text for a polished look.
Why can’t I edit my text in Photoshop?
If you can’t alter the text in Photoshop, because your layer is locked. To open the layer, select it on the Layers board and click the lock symbol. You can then alter the text inside that layer.
How do I change text already saved in Photoshop?
If you have a type layer, initiate the Horizontal Type Tool, explore muse over text, and snap once, that will enact text so you can alter it. After altering text affirm utilize a checkmark in the options bar or keyboard shortcut Ctrl + Enter.
How do you remove rasterized text in Photoshop?
To remove rasterized text press Ctrl + Z if you have recently rasterized a picture as the past advance. Go to Photoshop History, where you can return the picture state to any recorded point. Click on the state before you rasterize to fix rasterize in Photoshop.
How do you edit the text in a JPEG in Photoshop?
The best way to alter a text inside a JPG is to cover up it and add another text. It is impossible to alter text inside a JPG document.
Final Word
So now you know the intricate details of editing text in Photoshop. Whether you need to make titles, or long texts, or practice your visual depiction, it’s all conceivable with the tips framed here.


