
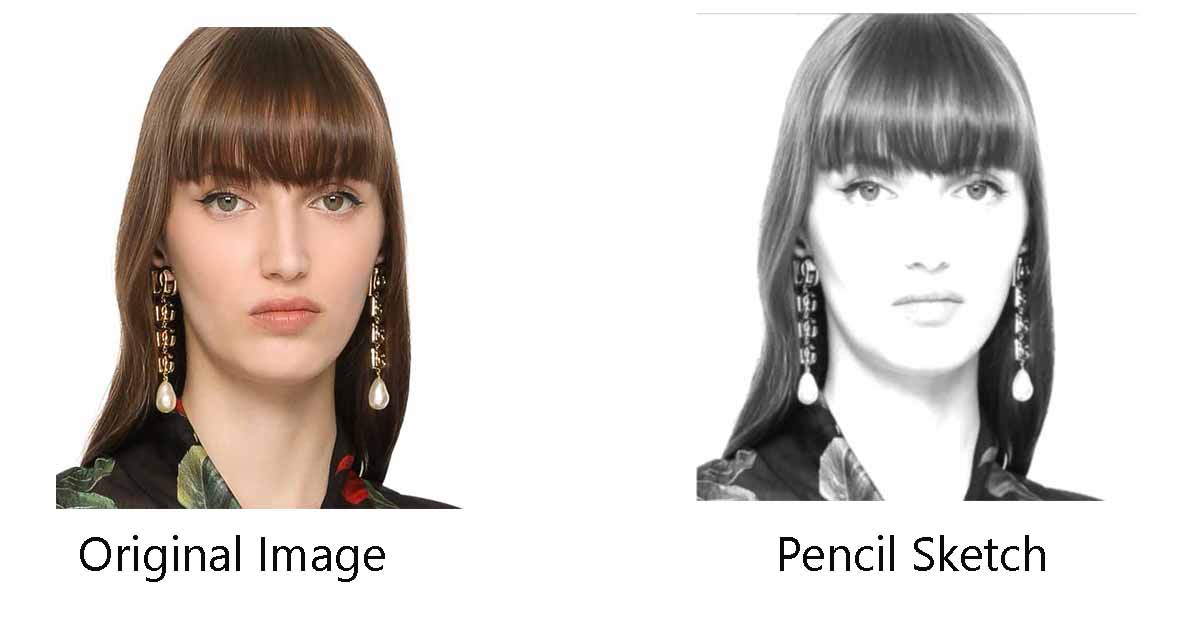
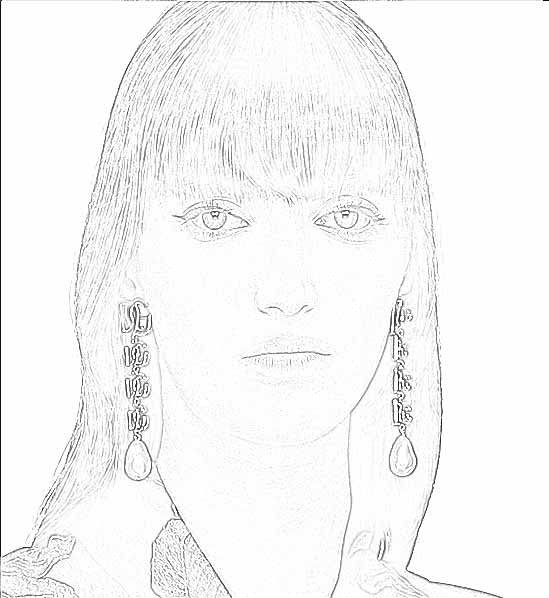
The intended photo that I’m using for the experimental steps is given below. Also, remember that this tutorial is compatible with Photoshop CC 2019 and earlier versions, all the way back to Photoshop CS6. So, you are OKAY to go with it if you are using any of these versions.

1. Duplicating The Background Layer
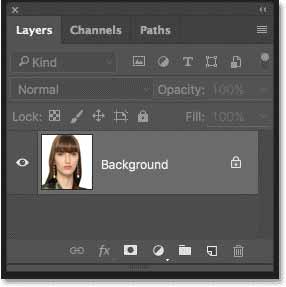
Let’s get started with our pencil sketch drawing! First off, open your image in Photoshop and take a look at the Layers panel. You will see your image sitting on the Background layer, which is currently the only layer in the provided document.
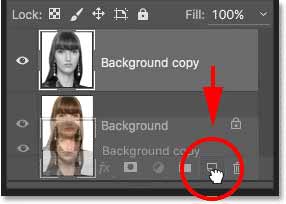
Duplicate the Background layer by right-clicking on it to begin the procedure. Then, drag it down toward the icon of the New Layer.
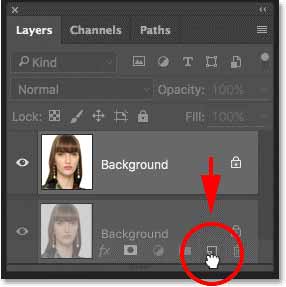
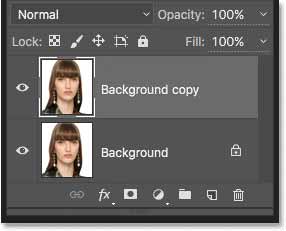
Then, release the mouse button when you are hovering over the New Layer icon. Photoshop will quickly create a duplicate of the Background layer, label it “Background copy”, and position it above the original. You’ll see the new layer appear in the Layers panel!
Tip for You: You can also do this by selecting ‘Duplicate Layer’ or by using the keyboard shortcut Ctrl+J (Windows) or Command+J (Mac).
In this way, we will create a copy of the layer, which we will use to create our first pencil sketch effect.
2.Desaturate The Layer / Removing the Colours of Your Photo:
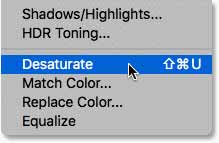
Let’s remove the colour from our ‘Background copy‘ layer. To do this, head up to the Image menu at the top of the screen and select Adjustments, then Desaturate. Alternatively, use the quick keyboard shortcut: Shift+Ctrl+U (Windows) or Shift+Command+U (Mac). This will drain the colour from the layer in an instant!
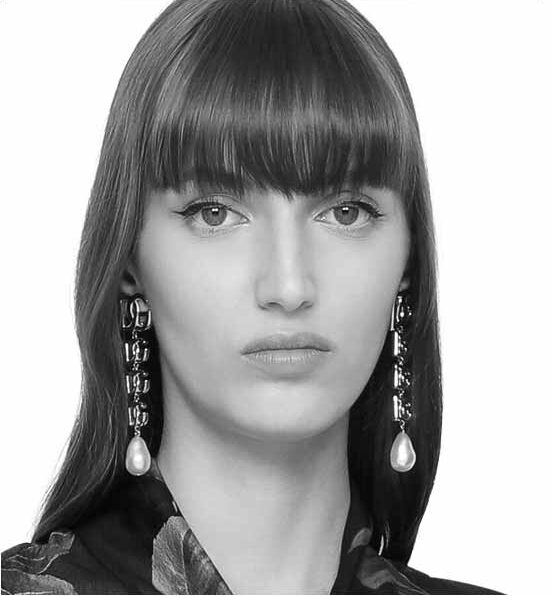
Here is what my selected image looks like after going through the desaturation process:
3. Time to Duplicate The Desaturated Layer:
Let’s double down on our desaturated layer! You can select it in the Layers panel and drag it to my favorite icon – New Layer. In this way, you will create a carbon copy which will give us a fresh canvas to work with.
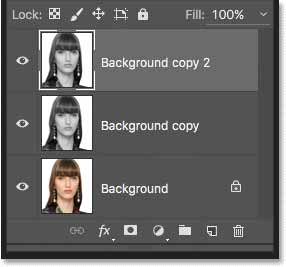
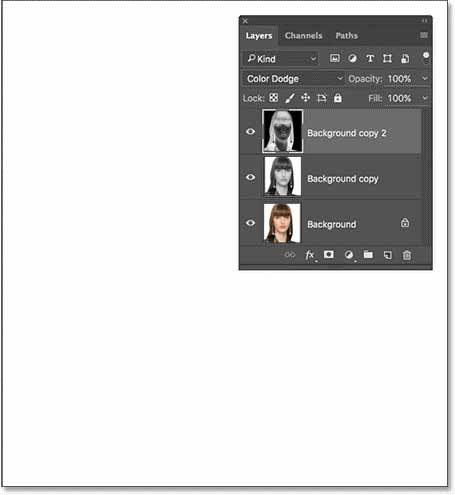
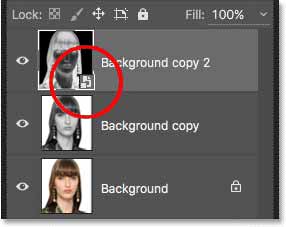
When you release the mouse button, Photoshop instantly creates a duplicate of the layer. It will label it “Background copy 2” and position it above the others in the Layers panel. You now have a brand new copy to work with.
4. Let's Invert The Layer Now:
Now, let’s flip the script on our layer’s brightness levels. For this purpose, we will make light areas dark and dark areas light using Photoshop’s Invert command. So, go to the Image menu, select Adjustments, and then choose Invert. Alternatively, use the quick keyboard shortcut: Ctrl+I (Windows) or Command+I (Mac). This simple step will give our image a cool and inverted look.
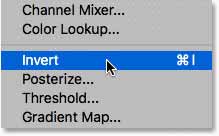
Boom! These simple steps will invert the image which will give us a film negative effect.
5. Let's Get Creative with Color Dodge
Time to mix things up in Step 5 of creating a sketch drawing. In the Layers panel, find the Blend Mode option in the top left corner. It is set to Normal by default but we are going to change that. So, let’s just click on the word “Normal” and a menu will pop up with other options. Then, immediately select Color Dodge from the drop-down list.

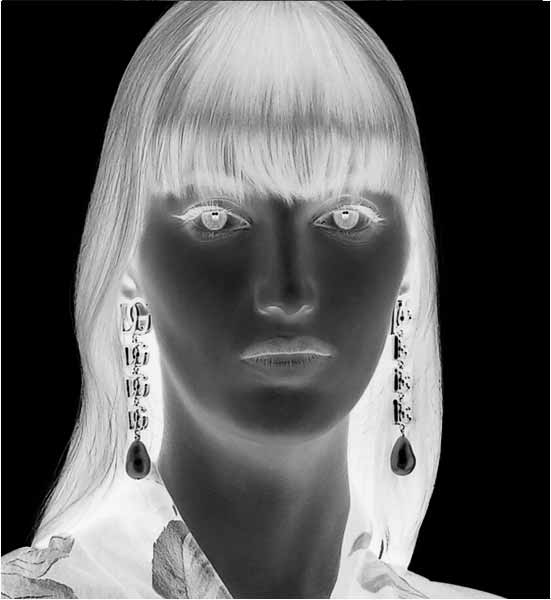
It is the perfect time to get ready for a dramatic change. When you switch to Color Dodge, your document will essentially become a blank canvas. It is almost entirely white. However, you will see a few specks of black here and there depending on your image. It is a fresh start.
6. Make The Layer Into A Smart Object!
Now it is time to add some blur to our layer. We are going to create the main part of our sketch effect by using Photoshop’s Gaussian Blur filter. But here is the twist – we are not going to apply it as a regular filter. Instead, we will use it as a Smart Filter. It will give us more flexibility and control. In this way, we can easily adjust the blur effect later if needed.
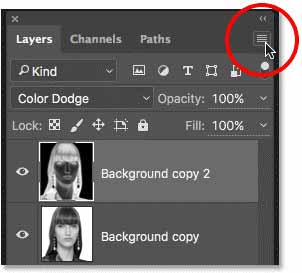
So, are you ready to make our layer a Smart Object? Look for the tiny menu icon in the top right corner of the Layers panel and give it a click! This will open up a menu with some handy options, and we will use it to make our layer super smart.
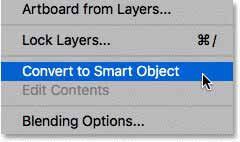
Great! Now, simply select ‘Convert to Smart Object’ from the menu that pops up.
You might not notice a big change at first glance, but take a closer look at the Layers panel and you will see a small Smart Object icon in the corner of the layer’s preview thumbnail. This tiny icon is a subtle indicator that our layer has indeed been transformed into a Smart Object:
7. Time to Blur:
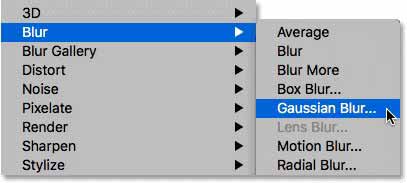
Now that our layer is a Smart Object, we can apply the Gaussian Blur filter. To do this, move to the Filter menu at the top of the screen and select Blur. Then, choose Gaussian Blur from the submenu. This will open up the Gaussian Blur filter dialog box, where we can adjust the settings to get the desired effect.
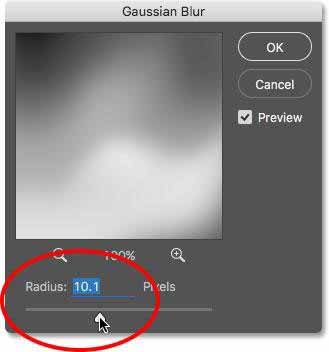
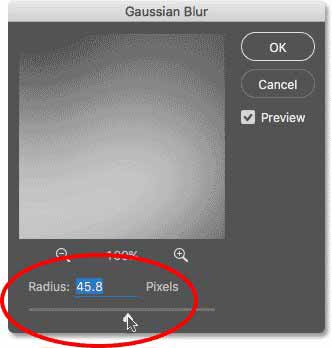
Now we are in the Gaussian Blur dialog box. We simply need to add some blur to our Smart Object layer to create our main sketch effect. The Radius slider at the bottom of the box is our control centre – drag it to the right to increase the radius value and intensify the blur. “The further you drag, the stronger the blur will be.” It is that simple.
The amount of blurring you apply will totally transform the effect. If you go for a lower radius value (like around 10 pixels) you will get a sketch with super fine and thin lines. It is great for creating a more delicate and hand-drawn look. On the other hand, larger values will give you a more realistic result which will be closer to a photograph. So, it is all about finding the right balance to achieve the style you are after.
I have ended up with a sketch effect featuring incredibly fine lines with a lower radius value:
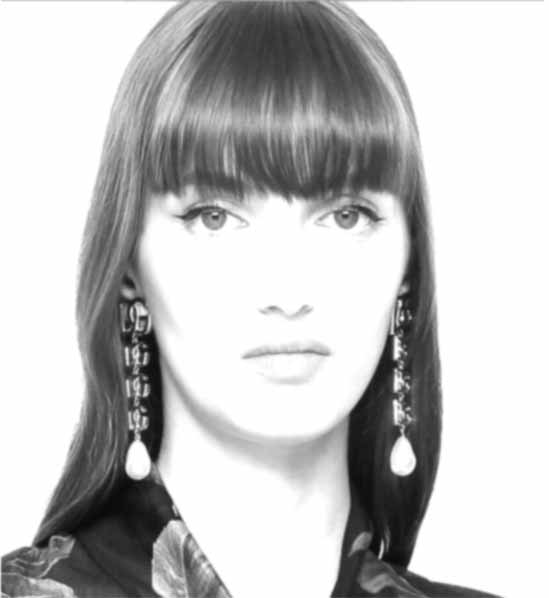
The effect changes dramatically if I crank up the radius value to around 45 pixels. The lines get thicker and softer and it will give the image a more dreamy and painterly quality of Photoshop sketch. It is a different style. You can see the results below:
The effect becomes more realistic (resembling the original photo) as I increase the radius value. The key is to find the sweet spot that works best for your image and desired effect. In my case, I prefer the second version because it has a more photo-realistic look.
So, feel free to experiment and adjust the radius value to your liking! When you are satisfied with the results, click OK to close the Gaussian Blur dialog box and move on to the next step.
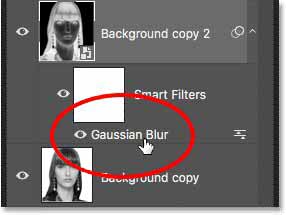
Let’s take a look at the Layers panel again. Now, we see the Gaussian Blur filter listed as a Smart Filter under our Smart Object. If you ever want to make adjustments to the effect, it is easy.
Just double-click on the words “Gaussian Blur” to reopen the dialog box and tweak the Radius slider to your heart’s content. In this way, you can fine-tune your sketch to perfection.
8.Addition of Levels Adjustment Layer:
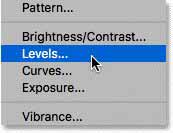
Click the New Fill or Adjustment Layer icon at the bottom of the Layers panel to add a Levels adjustment layer. This icon looks like a half-black and half-white circle.
Now, a list will appear. You need to click on Levels to create pencil sketch drawing images:
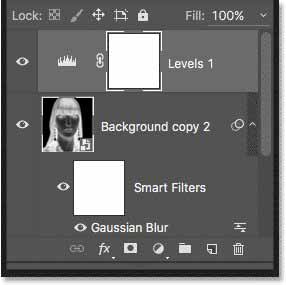
Photoshop automatically adds a Levels adjustment layer and labels it “Levels 1.” It will be positioned at the top of the layer stack in the Layers panel. This new layer is now the active layer and is ready for us to make some adjustments and fine-tune our sketch.
9. Multiply the Effect:
The Properties panel displays the options and controls for the Levels adjustment layer, but we don’t need to change any of those settings. However, we can simply switch the blend mode from Normal to Multiply to darken our sketch. That’s it! This quick change will make our sketch stand out even more.
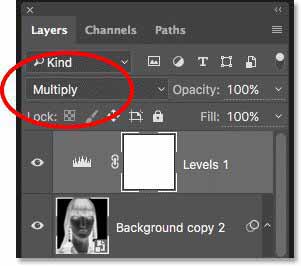
Our sketch takes on a dramatic and darker tone when we apply the Multiply blend mode. This mode is part of a group that intensifies the image and the result is immediate. Now, our sketch has a richer and deeper appearance.

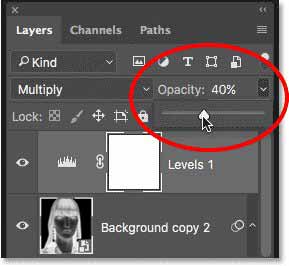
If your sketch looks too dark after applying the Multiply blend mode, don’t worry. You can easily adjust the level of darkening by changing the opacity of the Levels adjustment layer. To do this, go to the Layers panel and find the Opacity option. It is conveniently located right next to the blend mode option. From there, you can fine-tune the opacity to get your sketch looking just right.
You can see an improvement in the given picture:

Thus, we have managed to strike a better balance in terms of brightness after reducing the opacity.
Final Words:
Let’s wrap up our Photoshop sketch session now because we have successfully turned a picture into a pencil sketch in Photoshop with the above-mentioned simple steps. Moreover, we have learned how to create a pencil sketch paint colour effect. However, the quality of the sketch may vary according to your skill set and picture. So, always remember that practice makes your photo sketch perfect.
Keep experimenting with different settings to achieve the desired pencil sketch hand effect!


