
Have you ever wondered why some product photographs leave you mesmerized and tempted while others just fall flat?
Indeed, where capturing the best lighting product photo is a skill to hone, finding the perfect light to illuminate it acts as the essence. It either makes your product look mesmerizing or totally ruins the details. From choosing the right type of light to exposing the best-blended array, there are a number of key elements that combine to skyrocket your product. In this guide, you will learn a few illuminating lights that will supercharge your product shots with the correct sprinkle of light.
So, let’s walk through the article and learn the basics of lighting that will not only elevate your product photography game but also let your products bask in the spotlight.
What Is Product Photography?
Guess what? Visiting an online store and reading the entire details instead of looking at the product. Sounds ridiculous? That’s exactly where the power of product photography comes into being.
Product Photography is a whole new world of capturing visuals and photographs that not only feast the eye of the audience but also showcase minute details for sales purposes. So, whether you are a seasoned photographer or an e-commerce store owner, the right product lighting photography is your lucky way to buckle up your game by multiple folds.
It helps:
-
- Better visualize your product
-
- Add correct depths and dimensionality
-
- Avoid glare, shadow, and distracting background, etc.
What Do I Need For The Best Lighting Product Photography? The Prime Equipment
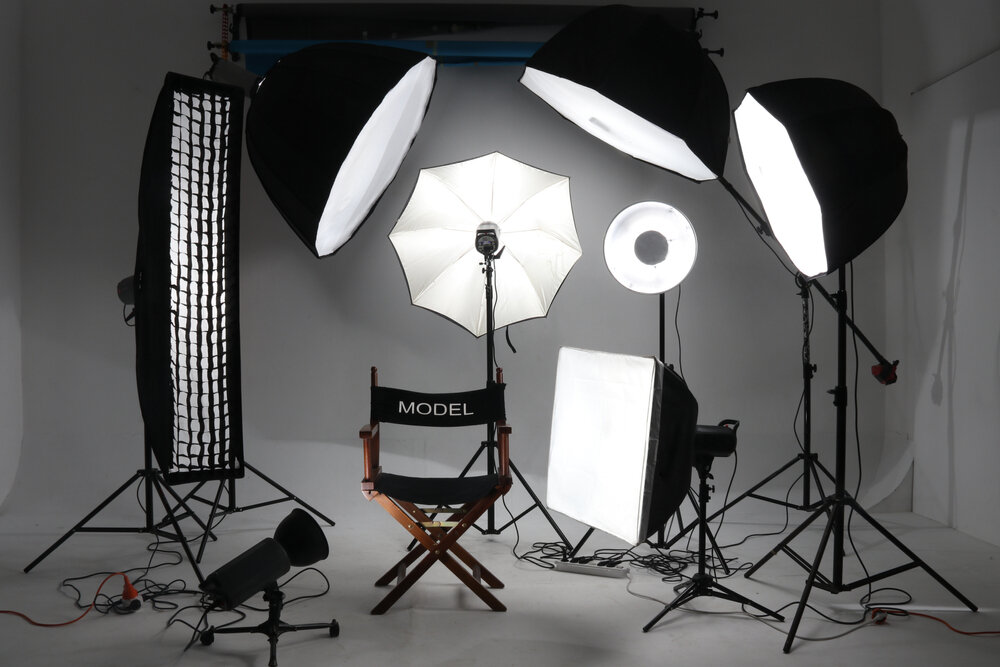
Setting the stage of product photography requires you to have a dynamic lighting kit that allows your product to steal the show by showcasing all its details in high resolution. A few essential components of the lighting kit are:
-
- Lighting tent
One of the prime things present in the lighting kit is the tent. It is a translucent fabric supported by a photo frame that helps diffuse the sharp light, thus reducing sharp shadows and hotshots.
-
- Tripod Stands
Guess what, clicking a perfect shot, and your hands start to shake out of nowhere? Can you risk the perfect shot?
Surely no!
Therefore, a tripod stand is the most essential piece of equipment to add. It acts as a safe platform to capture your product with a consistent frame, thus allowing the perfect shot to be seized without any hassle.
-
- Diffusers
And here comes my favorite ingredient in the whole show- the dreamy diffusers.
These magical objects help tame the harsh light hitting your product into a soft, glowy ambiance. What happens is that as light passes through translucent diffusers, the sharp rays are blended in an array of soft, gently muted light that wraps around your targeted product in the most precise manner.
-
- Umbrella
Just like diffusers, umbrellas are also used to create soft but enhanced lighting conditions in a studio, thus illuminating the product details in the finest way.
However, instead of diffusers that act as translucent material, umbrellas use the reflective surface mechanism to achieve one.
-
- The Right Camera
Last but not least, you need to have a perfect camera that offers control over features like aperture, shutter, and ISO, along with a wide range of lenses to freeze shot the right aesthetics. These include a macro lens, prime lens, wide angle lens, tilt-shift lens, and many more, each allowing you to showcase the product with a totally different visual and imagery.
Now that you have nailed the essential must-haves to start with product photography, let’s toggle through the elements of light and science that will help you elevate your product to a whole new level.
What Factors To Look For When Doing Product Photography?
Once you have armed all the essentials of a product photography toolkit, the next step is to fine-tune lighting conditions and other prime factors like background and try different angles that will help showcase your product the best. So, let’s delve into details and see what happens when visuals meet imagery in the best way out.
1. Types of Lighting
The first, and let me say, the gold mine factor of all, is choosing the right product photography light. It helps illuminate the path of product photography in the smoothest way out that orchestrates a masterpiece. However, choosing the right one is a hard nut to crack.
So, here are a few common lighting used in a product photography setup.
Natural light
The most commonly used light by beginner photographers is natural light, but playing with it has never been easy.
The best way to use sunlight is to photograph the product in the golden hours when the sun is shining to its fullest. It helps add a soft and even illumination to the product, thus allowing the photographer to capture all its details.
Artificial Light

However, if natural light is not a go-to option for you, then you need to settle for the second option- artificial light. Within this category, you have a lot of options.
-
- Continuous light
While setting up lighting for photography, continuous light has been among the favorite choices of photographers. In it, once the light is turned on, it remains on until you turn it off, unlike flashes, which turn and illuminate the product for a few seconds.
Consequently, you can check all the details, contrast, and harsh shadows falling on your product, thus adjusting them and dialing in the best shot instead of taking lots and lots of photos and finding pitfalls in each one of them.
-
- Strobes and Flashgun
In addition to continuous lights, strobes, and flashguns are also leveraged as sound options to hit for as they allow you to illuminate your product with a large charge in a short burst. However, unlike continuous light, these don’t allow you to examine the product environment before, thus giving you only a short time to capture the power shot.
-
- Ring Lights
Lastly, where ring lights are a lot more common nowadays, used by nearly all YouTubers and Tiktokers, these can be used to light up your product, too.
It directs a uniform and blended illumination on your product that helps bring up all the details of your product with reduced glare and reflections.
However, the suitability of ring light depends on the type of product. For example, where these lights lighten up the small products in the best way, they pose a great challenge for capturing highly reflective surfaces.
2. Types of Background

Similarly, choosing a complementary background is also equally important, as the correct one helps your product stand out the most.
First of all, you need to figure out which background sits with your product the best, whether you need a plain background or a natural setting.
-
- Natural settings, including using on-location backgrounds to complement your background. For example, if you want to photograph a swimsuit, it would be ideal to use a combination of natural light and a swimming pool location to lighten up your product.
-
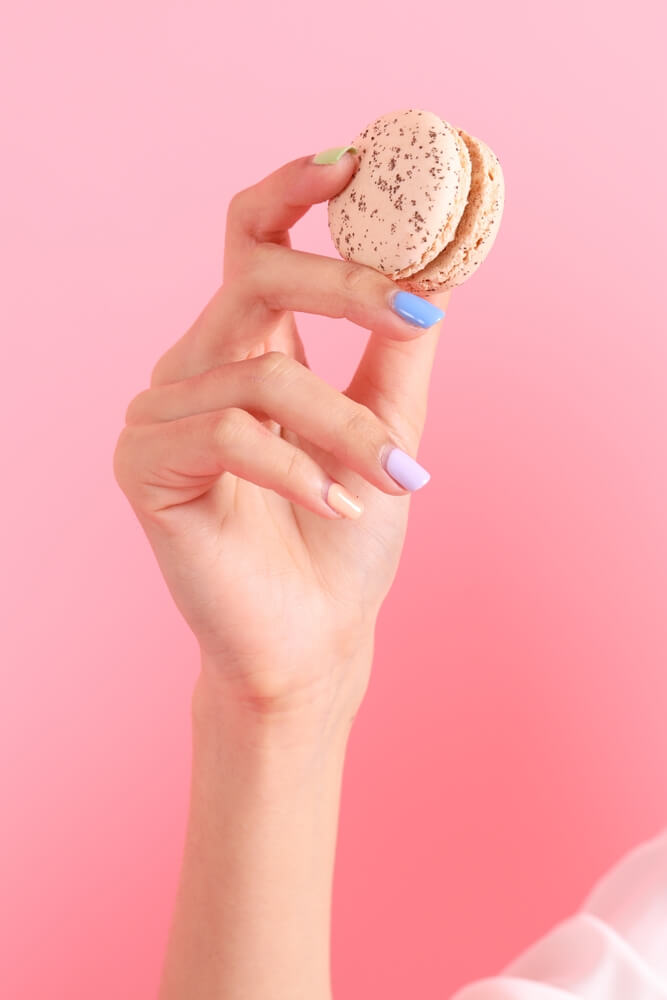
- White backgrounds are the most common option among the masses as it helps focus all the attention on your product. The whole look looks versatile and clean with uncluttered aesthetics.
-
- A grey background added a muted and subdued backdrop, full of sophistication, to your product.
-
- Black backgrounds add dramatic dynamics to your product, leaving a highly luxurious photograph. However, be cautious not to use a black background for black products.
-
- Geometric patterns add playfulness to your product. However, these backgrounds come with a significant risk of dominating the product, thus distracting the audience.
In short, choosing a well-balanced background that resonates well with your best lighting product is an art.
3. Checking out different angles and vision
Once you have chosen the best lighting set and background, now comes the practical step.
You need to check out a variety of angles and how different angles change the look and details of your product.
Generally, the 0-degree angle works ideal to get a clear photo of a product. However, if you want to add more depth and dimensions to your product, go for a 45-degree angle.
Likewise, if you want to freeze lay products, Bird’s Eye View at a 65° angle hits the best.
Additionally, you can experiment with all angles from +90 to -90 degrees and come up with the most electrifying shot.
4. Take multiple shots
Taking multiple shots is a key to success. Although there is a high chance that you will be satisfied with the initial one or two shots, it is best to take multiple shots from different angles and then choose the one that resonates best with your audience.
5. Give multiple retouches to the shots
Lastly, it’s essential to craft and re-edit the final shot multiple times to obtain a photograph that is rich in contrast and details and yet depicts a true representation of the product.
And with this, all the factors leading to the best lighting product wrap up.
A Few Additional Tips About Product Photography
In addition to the above-mentioned factors, here are a few additional tips and tricks that you should be mindful of while freezing a well-lit product photograph:
Product Photography Tips
-
- Take your time and experiment with different lights and props at a time to see which combinations pair well with which type of product.
-
- Avoid reflections as much as possible as they not only lead to unnecessary distraction but also destroy the allure and charm of the product.
-
- Try out different illumination parameters to find the best setting.
-
- Try to shoot in both natural and artificial light, and then choose the best one.
-
- Capture all the details of your product and add dimensions to it.
-
- Use props to add context to the image, but remember, don’t allow it to overwhelm your main product.
Frequently Asked Questions
Q.1 How many types of lights are needed for product photography?
The number and types of lights needed for product photography depend on the location and the photographer’s style. Generally, two light setups are used: one is the key light that illuminates the product, and the other is the fill light that blends the harsh rays and shadows.
Q.2 Which lens is best for product photography?
Macro and tilt-shift lenses are mostly used in product photography setups. The reason is that they help to add depth to the image and capture the intricate details of the image.
Q.3 Is cool light better than warm light for photography lighting products?
No.
Both cool and warm light have their own distinct attributes. Cool light grants crispness to the product, making it look more lively. On the other hand, warm light with yellow tones adds a cozy feel to the product and thus is used in home and kitchen gadgets.
Q.4 Why is a white background better for product photography?
Usually, a white background is favored for product photography. The reason is that it adds a timeless versatility to the photograph, with all the attention drawn towards the main product.
Final Verdict
All in all, embarking on the journey of product photography is not all about clicking a simple photo. You need to master the art of coming up with the best lighting product photography setup that resonates well with your product and leaves the audience spellbound.
Now that you are well abreast with all the minute details, are you ready to shine? Brace up, photograph your best product, and see it steal the show!