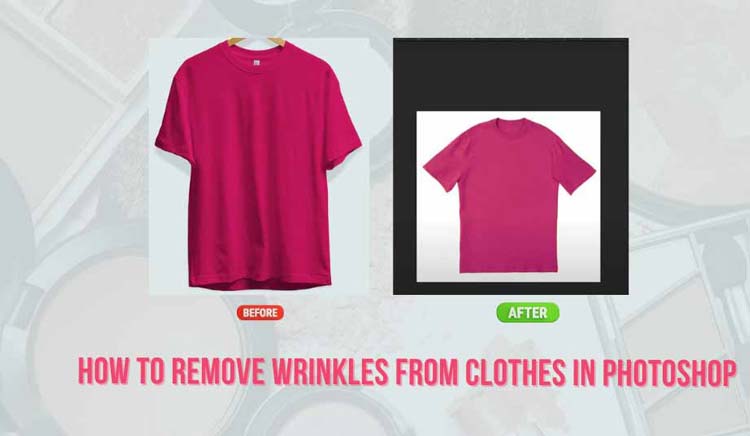
Details capture the true quality of a photograph. Rumpled fabric or wrinkled clothing distracts the viewer. These creases seem minor and are set. They instantly draw the eye in the final image. Photography experts call wrinkles “visual noise.” They steal attention from the main subject easily. Ironing before a shoot helps greatly.
Learning how to smooth fabric in Photoshop simplifies the task. It is the fastest way to “iron” digitally. This achieves a crisp, professional look. This step-by-step guide shows you the method. This demonstrates smoothing fabric, removing wrinkles naturally.
These techniques come from years of photo editing. This is essential for good product photography. It improves e-commerce images significantly. You will learn to handle deep wrinkles easily. You will always get perfectly polished results. You will achieve studio-quality images easily.
Let’s dive below for a detailed explanation!
Step 1: Open the Image
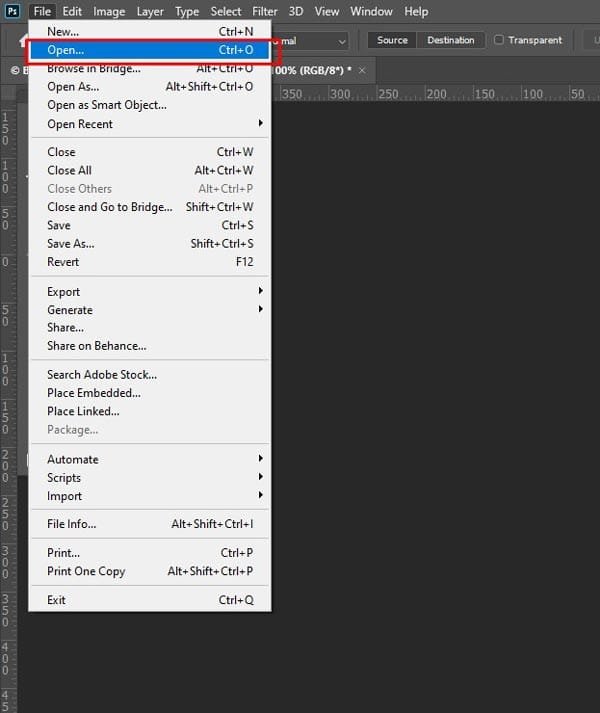
You must first open your image in Photoshop easily. Use File > Open to start the process. For Photoshop 2025 users, use the AI Generative Fill. Duplicate the background layer always. Select the wrinkle using the Lasso Tool. Click Generative Fill in the Contextual Task Bar. Enter a prompt like “smooth fabric.” Photoshop creates three variation options quickly. Review the options in the Properties panel.
For precise control, use manual healing tools. The Spot Healing Brush works on small creases easily. The Healing Brush Tool samples texture from smooth areas. The Patch Tool works best for larger wrinkles. Frequency separation is an advanced technique. It separates the image into texture color layers. This allows smoothing tones without losing realistic texture. For the best effects, use photographs with a lot of detail. This method works well for all your photos.
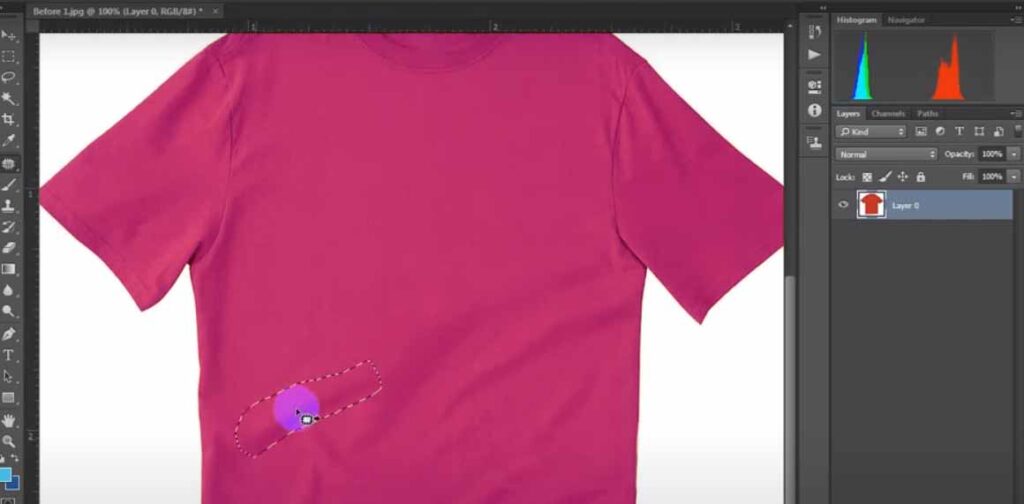
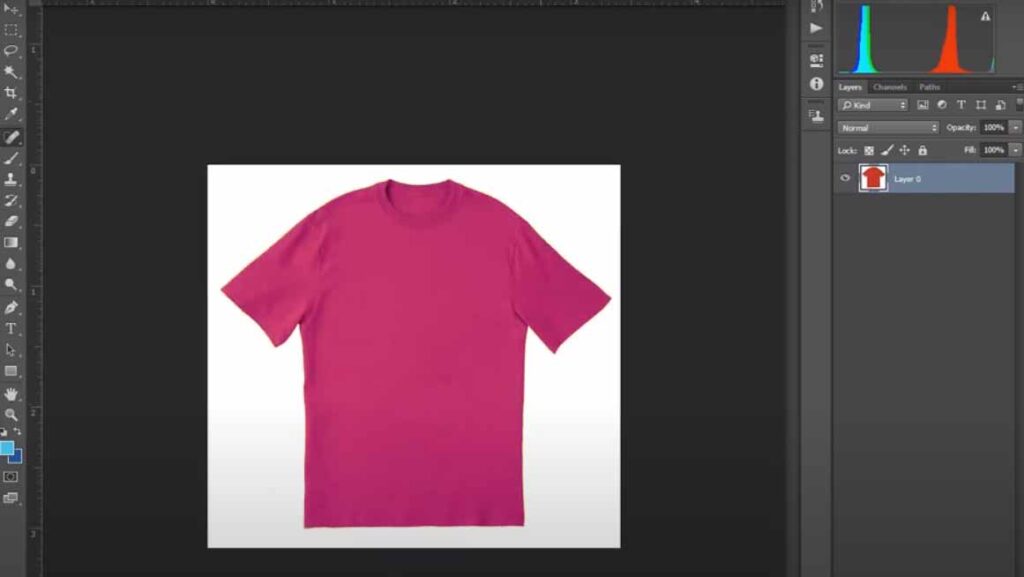
Step 2: Select the Wrinkled Area

You must select the wrinkled area easily. Use the Lasso Tool for the Generative Fill method. The selection tools are on the left toolbar. Draw a loose selection around the wrinkled area always. The selection does not need precision. It must fully encompass the creased area. Focus on one area at a time. This helps remove wrinkles from clothes effectively. Marching ants appear when you release the mouse.
The Contextual Task Bar shows up next. For manual tools, the process is different. The Patch Tool requires selecting and dragging the area. The Healing Brush does not need an initial selection. You select the tool and adjust the size. You sample a smooth area and paint over wrinkles. You manage the precise Edge manually. You can use an image masking approach for advanced work.
Step 3: Use the Healing Brush Tool

The Healing Brush Tool is highly effective for wrinkle removal. It maintains the original fabric texture easily. Select the Healing Brush Tool on the toolbar. The keyboard shortcut is J. Set the mode to normal. Select Sampled for the Source. Check the Aligned box in settings. This ensures the sampling point moves correctly. You must define a source point accurately. Move the cursor over a smooth, wrinkle-free part. Hold the Alt key (Option on Mac).
Your cursor changes to a target symbol. Click once to sample that texture. Release the Alt Option key. Paint directly over the wrinkle. Photoshop blends the smooth texture shading seamlessly. This always preserves a natural look. Resample frequently for best results. You avoid repeating textures this way. Repeat the Alt-Click process often. The Spot Healing Brush tool is different.
Know More: Photo retouching techniques fix wrinkles easily. Professionals use the Spot Healing Brush Patch Tool often. The Clone Stamp is great for localized fixes. Frequency Separation 2.0 offers advanced smoothing. Always work non-destructively using duplicate layers. The Spot Healing Brush fixes small imperfections quickly. The Patch Tool easily blends large clothing creases.
The Clone Stamp Tool maintains specific fabric patterns. Use low opacity flow for subtle application always. Frequency separation separates color texture layers. This allows you to smooth the color tone independently. You avoid losing fine fabric details this way. This is a professional retouching method. It solves various clothing issues easily. This is key for good image editing and visual editing. Other services include background removal and color change. You can also get vector conversion.
Step 4: Apply Patch Tool
The Patch Tool is great for removing large creases. It complements the Healing Brush well. Find the tool in your toolbar easily. The keyboard shortcut is J. Select the Patch Tool from the sub-menu. Ensure Source is selected in the options bar. Use Normal mode for direct pixel control. Draw a freehand selection around the wrinkles. Marching ants appear around the selection quickly.
Click inside the selection boundary. Drag the selection to a smooth area of the fabric. This sample’s smooth texture is for replacement. Release the mouse button quickly. Photoshop blends the smooth area seamlessly. Press Ctrl + D or Cmd + D to deselect. Review the results carefully. Repeat this process for all major wrinkles. Undo the action if the result is unnatural. You can combine the Patch Tool and Healing Brush Tool easily. Content Aware Fill is another option.
Step 5: Utilize the Clone Stamp Tool

The Clone Stamp Tool offers complete manual control easily. It is always an alternative to healing tools. It copies pixels exactly from the source area. Find the Clone Stamp Tool on your toolbar easily. The keyboard shortcut is S. Adjust the brush size appropriately. Keep the hardness low for soft edges. Set Opacity Flow to a low percentage. This allows you to build the effect gradually.
Hold Alt/Option to define a source point. Click once on a smooth, wrinkle-free part. Paint over the wrinkle using short, gentle strokes. Resample frequently every few strokes. This prevents obvious repeating patterns easily. The Clone Stamp Tool helps remove wrinkles from clothes effectively. You manage pixel replication precisely.
Step 6: Smooth with Gaussian Blur

Applying a direct Gaussian Blur is not recommended. It makes the photo look blurry and artificial. Use Gaussian Blur as part of Frequency Separation. This advanced technique smooths wrinkles non-destructively. It targets only the color tone of the fabric. The fine texture remains intact easily. First, duplicate the background layer twice. Name the layers “Low Frequency” and “High Frequency.” Select the “Low Frequency” layer next.
Apply Gaussian Blur from the Filter menu. Adjust the radius until the wrinkles disappear. The image will look very blurry. This isolates the color tone information. The next steps complete the process. You extract texture to the “High Frequency” layer. Change that layer’s blend mode to linear light. Then you can use the Mixer Brush Tool. This smooths colors without blurring texture. You can use Dust & Scratches for noise reduction.
Step 7: Fine-Tuning with the Liquify Tool

The Liquify Tool reshapes body parts and fixes garment fit. It is not for removing fine, detailed wrinkles. Liquify’s use on wrinkles distorts fabric texture. It looks unnatural often. Use the Liquify Tool for minor fine-tuning only. This applies to slight folds or misshaping. Always duplicate your layer non-destructively.
Open the Liquify Tool panel easily. Select the Forward Warp Tool in the panel. Adjust brush settings carefully, always. Use a large brush size. Keep brush density and brush pressure low. This ensures gentle, subtle movements. Gently push the edges of the fabric. Use single slow strokes only. Do not scrub back and forth on detailed wrinkles. Review the before and after using the preview checkbox. Click OK to accept the changes. Rely on the Healing Brush Patch Tool for crease removal.
Step 8: Final Adjustments
Final adjustments ensure a natural, professional finish. Check fabric texture consistency carefully. Zoom in to 100% or 200% easily. Use the Clone Stamp Tool to match grain. Add noise sparingly to match the image pattern. Wrinkles remove shadows and highlights. The area might look flat sometimes. Use the Dodge Burn Tool gently. This restores subtle shading, draping easily.
Use a new layer set to Overlay Layer blending mode. Review the image at different zoom levels. This ensures seamless blending. Sharpen the image as the very last step. Use non-destructive sharpening, like a high pass. Set the layer’s blend mode to Overlay. This maintains the realism of the clothing alignment. Frequency separation helps this process. These steps help remove wrinkles from clothes perfectly.
FAQs
How to remove wrinkles from clothes in Photoshop for free in 2025?
You can use free alternatives like GIMP and Photopea. These offer Clone Stamp and Healing Brush tools. AI tools like PicWish and Evoto AI work fast. Sample a smooth area and paint over the wrinkle gently.
How to remove wrinkles from clothes in a photo online for free?
You can remove wrinkles using free online AI tools. Visit the website and upload your photo. Locate the AI wrinkle remover tool easily. The AI automatically detects and smoothes the fabric. Adjust smoothing intensity for natural results.
How to remove wrinkles from clothes without using an iron?
You remove wrinkles using moisture, heat, and pressure. Steam-based methods relax fabric fibers. Use a hot shower dryer with ice cubes. Alternatives include a hair dryer and a hair straightener. Wrinkle release spray works well, too.
How can AI help in removing wrinkles from clothes in photos?
AI tools revolutionize wrinkle removal from photos. They automatically detect smooth fabric imperfections instantly. AI preserves natural texture, blending seamlessly. This offers speed efficiency for batch processing. It requires minimal manual effort.
Final Thought
Photographers and graphic designers can stop tedious work. Zenith Clipping handles apparel images daily. We offer wrinkle removal ghost mannequin services. We create symmetrical apparel photos easily. This is great for eCommerce stores. Our pros work for a low cost. We provide a free trial now. Your product photos will look better. We also offer clipping path services.