
Making image background a transparent in Photoshop is not so much boring work. Different types of tools of Photoshop are applied to remove backgrounds from different types of images. It varies in image complexity and nature. Whether you might want to make a single layer transparent, make a transparent selection, or disengage a subject on a transparent foundation, Photoshop permits you to do everything.
So, you need to transparent your object (what you need to keep in your picture) from the rest by choosing it and duplicating and sticking it to another layer. You then erase or conceal the layers you need to be transparent. Remember to save your work in PNG, jpeg will remove transparency with pure white.
So now are you ready o figure out more about How to make a transparent background in Photoshop? Then, at that point, read on!
Open The Image You Need To Have A Transparent Background
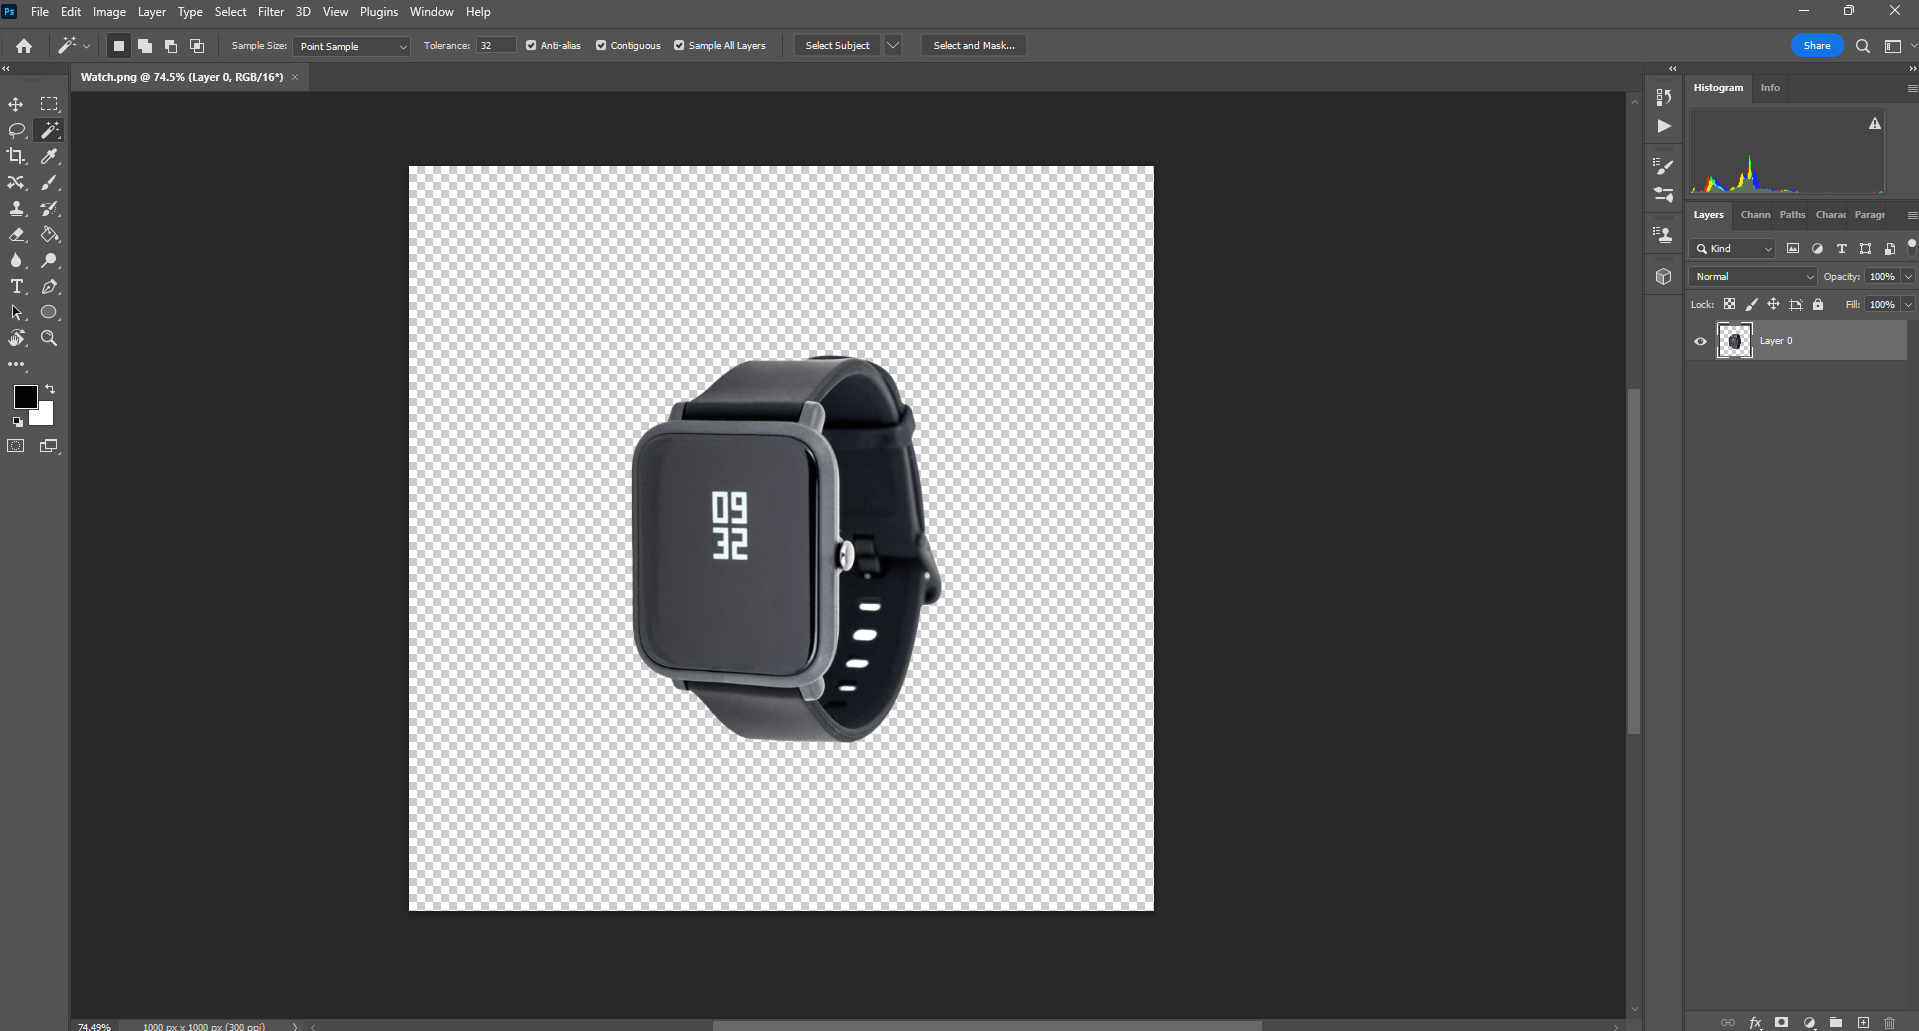
So we should make a beginning by opening the photograph in Photoshop. For this instructional exercise, we will utilize a portrait to show the interaction. For this situation, a picture in which the layout of the subject is unequivocally characterized would be generally reasonable.
Moreover, with any picture, whether it be still life, scene, or representation, high differentiation among varieties and tones of adjoining segments is significant.
Suppose I needed to choose just the subject. It will be a lot more transparent to do with such images that have high contrast, Photoshop will want to detect a distinction in variety between the subject and foundation, hence making a cleaner selection. It is dependably conceivable to do it regardless of whether you have a major contrast between your experience and subject however you should carve out the opportunity to manually make it happen.
Whenever you’ve settled on which picture will be great, open it in Photoshop by picking File > New.
Photoshop Selection Tool To Select Your Subject
Now that you’ve opened your photograph, now is the right time to settle on how you need to involve transparency in this part.
In this article, we will explore three distinct choices, all of which will talk about various manners by which you might work with transparency.
Note: the main part of this tutorial is the selection process. To be sure, the more your selection is, the more your end product will be.
Choice 1: Making a Layer Transparent
To have the option to modify the transparency of a layer, you will initially need to ensure that it is named as a Layer, instead of a Background. If it is a foundation instead of a layer, convert it to a layer by essentially tapping on the lock symbol close to the layer name.
Now that we are certain that we’re working with an editable layer, we can change its transparency by changing the haziness. Do this by choosing the drop-down menu named ‘opacity’ at the highest point of the Layers Panel, and changing the mistiness to the ideal level.
The opacity can be changed on a 0-100% level – 0% making the layer imperceptible, and 100% making it very much noticeable (in a similar state as it is initially imported).
Here I changed the opacity to 84%, for instance. By bringing down the opacity, you can see little white and dim squares behind the picture. This shows that there is no foundation behind the layer, and hence we currently have a hazy picture.
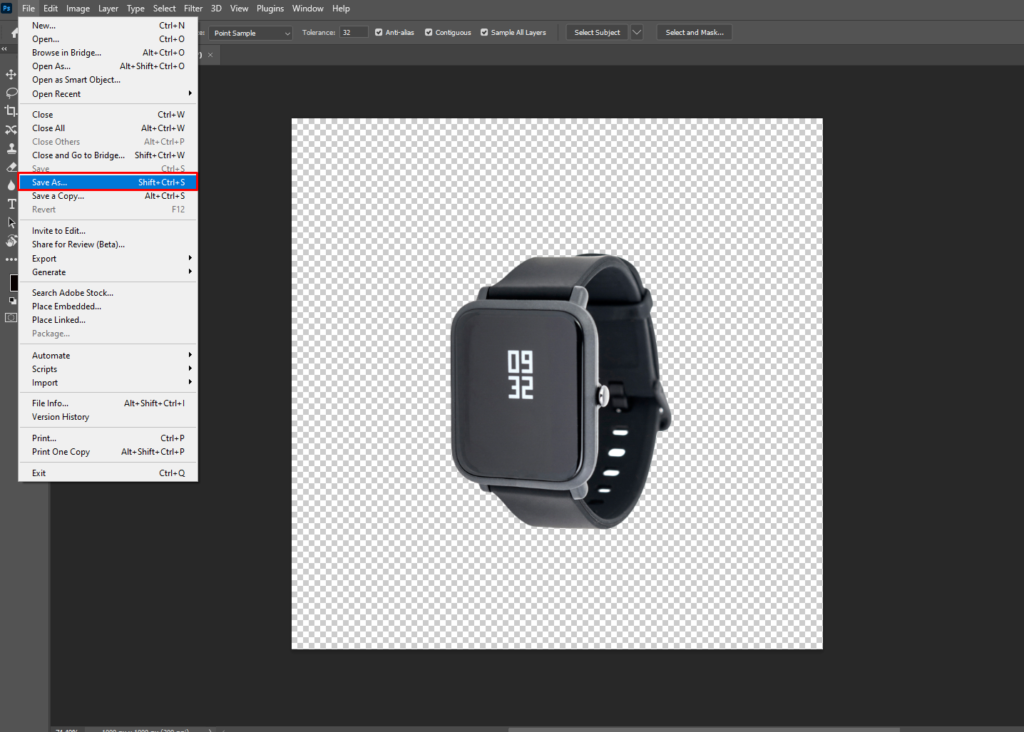
Presently save the picture as a PNG document to safeguard its transparency. (Do this by going to File > Save As, then change the record type to PNG.
Choice 2: Creating Transparent Selections
So how about we envision you need to keep the subject of the picture noticeable, yet you might want to make the foundation marginally transparent?
If your picture has unmistakable, transparent layouts you’ll probably have the option to do this utilizing the quick selection tool.
Going against the norm, if you experience issues choosing your subject, you’ll need to utilize various methods. You have for instance the Subject Selection device from Photoshop that can do perfectly or you could likewise utilize channels to separate and choose your subject.
Recollect that it is urgent to have a decent choice to disconnect your subject legitimately. Consequently, there are different video instructional exercises you might need to check.
You can involve Alpha Channels to make exact selections too. To make the selection, of the subject for instance, basically select the speedy choice device and use it by clicking and dragging with your mouse over the area you wish to choose.
The selected locale is demonstrated by being encircled with a moving white-spotted line.
While utilizing the quick selection tool, a board along the highest point of the screen will show up, which permits you to modify the properties of the device, for example, the brush size.
If you wish to add to the choice, click on the center symbol, with an or more sign, and use it to click and drag from the first selection to the border of the area you need to add to the selection.
Essentially, to deduct from the selection, then, click on the symbol on the right, with a takeaway sign, and snap and drag until the selection is the way you would like it to be.
To alter the selection right-click on the selection > select reverse. This is valuable if, for instance, you need to choose the foundation of a portrait. As exemplified here, making a selection of the subject, right-clicking, and selecting the inverse is more transparent.
Then, we will again right-snap on the selection > layer through the cut. This isolates the two distinct regions of the picture, for this situation the subject and the foundation, into two unique layers.
Since the subject and foundation have been disconnected from each other, we can modify the properties of each layer separately. Click on the layer containing the foundation of the picture and utilize the haziness dropdown at the highest point of the layers window to alter the transparency of the items in the layer.
As you can see, the subject will in any case be completely apparent, while the foundation items in the picture are to some degree transparent.
At long last, save the record as a PNG to hold its transparency.
Choice 3: Creating a Transparent Background
For this, similar standards as the past option apply, as far as choosing one region of the picture and utilizing layers through slicing to isolate the two components – foundation and subject – onto various layers. See the above choice for the subtleties of this cycle.
Presently the main contrast between this and the cycle for choice 2 (making a transparent selection) is that once you have the foundation and subject in discrete layers, we will lessen the opacity of the foundation layer completely, or on the other hand, erase the layer (right snap on the layer in the layers window > erase layer).
We can now see that the subject has been completely separated and lies on a transparent foundation. To finish off, save the record as a PNG, to hold the image transparency.
Involving These Transparent Files In Practice
All in all, now you’ve made your PNG files of these transparent pictures, how would you involve them in practice?
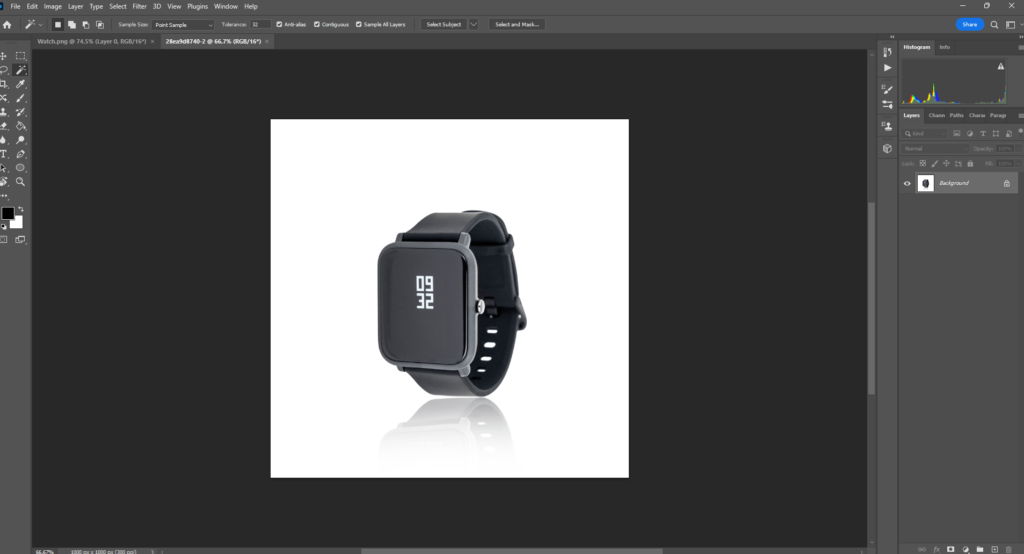
This is an illustration of the way you could welcome your subject on a transparent background made with the interaction under ‘Choice 3’ onto an alternate foundation.
With the end goal of simplicity in this tutorial, we’re about to show you how you could put the subject onto a plain-hued foundation, yet you could apply a similar cycle in any circumstance, to put your subject into any scene, for instance, or a logo onto a picture.
Here, you’ll have to open up two things in Photoshop: your PNG record of the subject (eg an individual or a logo) and the foundation picture (for instance, a plain tone or a scene). To open these, make a beeline for File > Open.
Presently, have the PNG record open, and right snap on the layer in the layers window > copy layer. This window ought to open up. Where it says objective, select the right objective from the report drop-down menu (the objective will be the picture in which you need to put your subject).
If you now head to the objective record, ie the foundation on which you intend to put the subject, you will see that the subject layer has copied itself onto the foundation report (in this model simply an orange foundation).
If the layer imports itself as a size that is too enormous or little, you can modify the size of the layer by squeezing Ctrl + T [Win] or Cmd + T [Mac] and changing the size of the subject from that point.
What’s more, that’s it! A transparent picture, that you can add into basically some other picture you need to. The main thing to recollect about working with transparency in Photoshop is to constantly save the document as a PNG to hold the transparency.
If you’re having issues saving a document as a PNG, you’ll perhaps need to change over the record from the CMYK variety mode to be in RGB mode. To do this, head to the top panel and snap Image > Mode > RGB Color.
Best Transparent Image Editing Programs
We’ve trimmed it down to a couple of the best picture-altering programs. While utilizing portable altering applications and tools remember to observe the document size and make sure that the nature of your logo stays high for distribution on desktop sites.
Adobe Photoshop
Adobe Photoshop is the highest quality level in picture altering. You can make transparent PNGs as well as do a large group of other expert picture altering. Accompanies free preliminary and month-to-month designs.
Canva
Canva is a simple to utilize internet altering tool, assisting you with making lovely plans without intricacy. We compare it to a lightweight online form of Adobe Photoshop.
Lumina
Lumina is another desktop app (Mac and PC) that connects conventional picture altering to AI innovations. In your pictures, you can delete objects, change the shade of the sky, and significantly more consequently.
Snappa
It is a fast online tool to assist you with making web illustrations for virtual entertainment, promotions, sites, and considerably more. It’s free, like Canva.
Background Eraser: superimpose
It is a mobile application that can be downloaded free for IOS clients. You can simply touch the region of the screen where you need to wipe out the foundation, and afterwards, send out your picture as a PNG document. It is very easy to use!
InPixio
InPixio is a desktop application (Mac and PC) that is intended to assist you with eliminating undesirable items in pictures. Also, they have English, French, German, and Spanish help.
Ultimate Background Eraser
This app is a comparative application to Background Remover, yet this one is for google play/Android users.
Final Words
Hope this article has provided you with useful features and guidelines that have made you clear on making an image transparent in Photoshop. Now you can utilize your transparent photographs to make a staggering selection of pictures to add to your smart portfolio!
FAQs
How do I make part of an image transparent in Photoshop?
Open your picture in Photoshop and make a selection around the area you need to change the Opacity on. Select Edit > Fill and set the Blending Mode to Clear. And then click OK.
How do I make a white background transparent in Photoshop?
Select it from the Tool Panel, and click on the white foundation to choose it. Click on the add layer mask symbol to erase the background you’ll have comparative outcomes as displayed underneath. Press CTRL + I to converse the layer veil results. You’ll see how the background is transparent.
How do I make a color transparent in Photoshop?
To make a color transparent in Photoshop, go to Select > Color Range. Click on the color you need to eliminate, then hold Shift to add extra tones to the selection. Change the Fuzziness slider until your subject is white then, at that point, click OK. Finally, press Delete to make the chosen colors transparent.
How do you remove all white in Photoshop?
To rapidly eliminate a white background in Photoshop, select your picture layer, then, open the Properties Panel by going to Window > Properties. Look to the lower part of the properties to find the “Eliminate Background” button. Now click on this button to eliminate the white foundation from your picture.
How to make a logo transparent in Photoshop?
To make a logo transparent, first, click on the “Magic Wand” tool from the toolbar. Pick the region of the logo you need to make transparent and select it. Select the “Magic Wand” settings. Pick settings that assist you with accomplishing your objective for the logo. Now click the “Delete” button on your keyboard.
Why are my PNGs not transparent?
Not all PNG documents have transparency capacity. For instance, the PNG that you have from a screenshot doesn’t have this ability. Indeed, even a PNG from Photoshop won’t have transparency capacity except if you check the transparency box. As far as I can tell, 8-bit and 24-bit don’t have transparency capacity, yet 32-bit does.


