
Ever snapped a perfect photo that seemed to be flawless only to find it was a little too blurry? The frustration is real, and we’ve all experienced it. Don’t press the delete key just yet, though! Adobe Photoshop, the photo-editing super-hero, comes into play. We’re going to show the process of restoring blurry photos in this short guide. You have unsteady hands, poor lighting, or just a bad day for your camera lens, don’t worry Photoshop has your back. With the magic of Adobe Photoshop, you can sweep away blurriness and expose the sharp details hidden in your images. With only a few simple steps and some experiment, you can turn your less-than-perfect photos into visual masterpieces. In this guide, we’ll be providing you a comprehensive detail on how to fix blurry pictures in Photoshop. A blurry photo can be fixed in Photoshop to give the pictures a professional look. So let’s get started learning how to fix blurry pictures photographs without further delay.
How to Fix Blurry Pictures in Photoshop
You can fix a fuzzy image in one of two distinct methods by doing the things listed below. But using Adobe Photoshop would be ideal. It is best to correctly learn both techniques and apply them as necessary. In the first way, we’ll go through how to make an image sharper by reducing blurriness. We’ll learn how to use noise reduction tools after that. So let’s get right to work without wasting any more time.
Method 1 (Fixing blurry pictures in Photoshop): Utilize the sharpening tool for fuzzy photos:
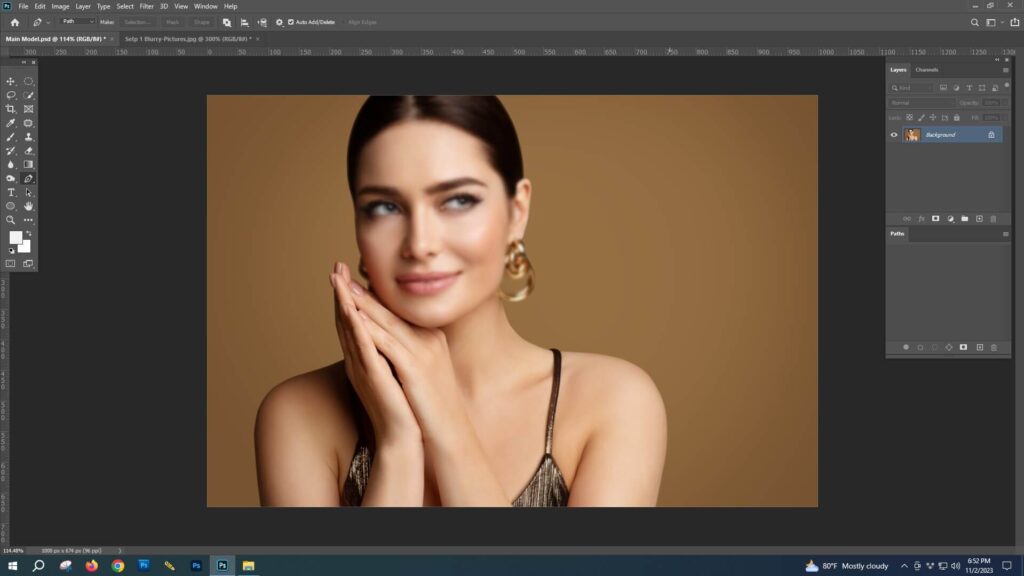
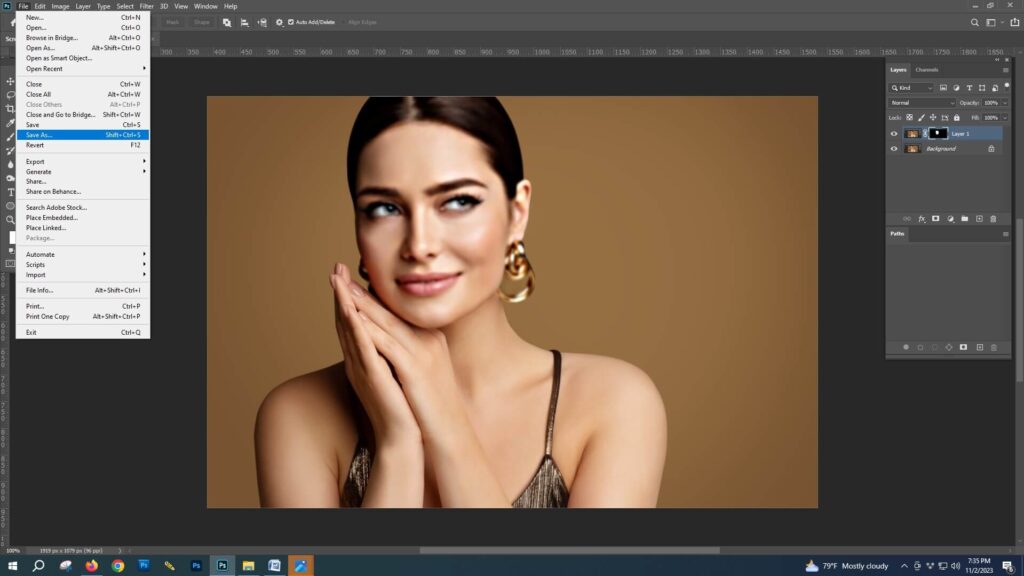
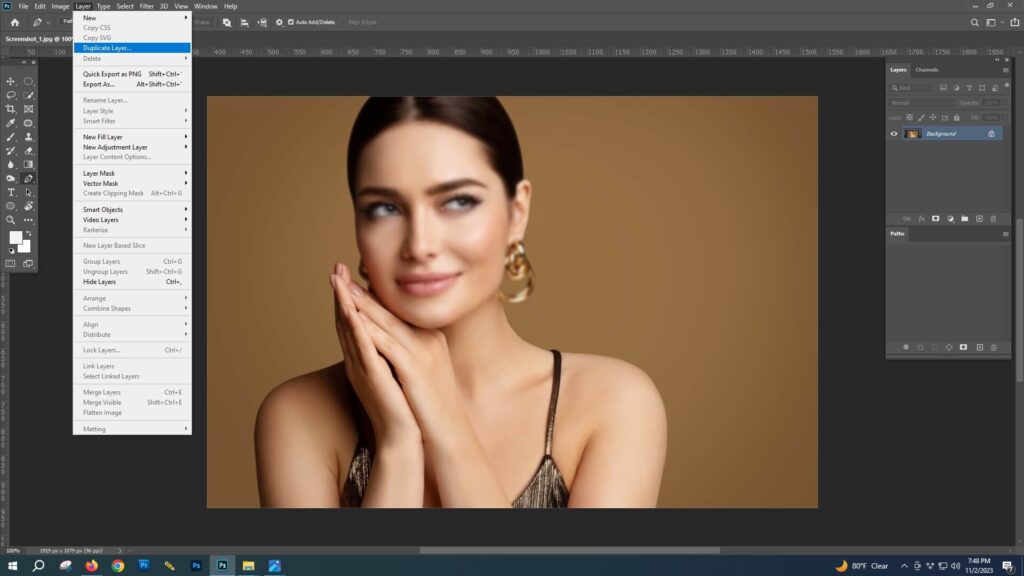
Step 1: Open Your Image in Photoshop: opening your blurry pictures in Photoshop is the first step in fixing your blurry pictures. Click “File” and then “Open” to choose your image. Working on a duplicate layer is always a smart idea. So right-click your image layer in the Layers panel and select “Duplicate Layer.”
Step 2: Unleash the Power of Unsharp Mask:
- Navigate to the “Filter” Menu: In the top menu, pick “Filter,” then scroll down to “Sharpen” and choose “Unsharp Mask.”
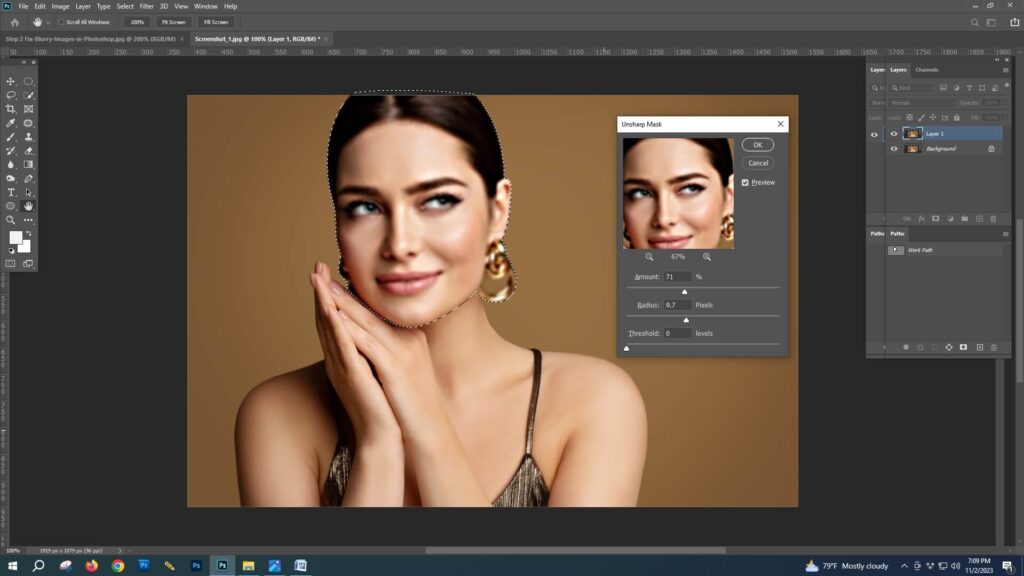
- Adjust the Amount: Increase or decrease the amount by first moving the Amount slider. This regulates how strong the sharpening effect is. Start off cautiously and increase progressively until you get the desired level of sharpness.
- Fine-Tune the Radius: Adjust the Radius setting to your preferred level for the sharpening area’s size. While larger values have an impact on greater areas, smaller values concentrate on finer details. To get the ideal balance for your photograph, experiment.
- Threshold Magic: The Threshold setting stops sharpening in regions with low contrast. Play with it until you get the right combination between sharpness and a natural look. Carefully adjust the threshold to avoid losing information if it is set too high.
Step 3: Dive into Smart Sharpen:
- Explore the “Smart Sharpen” Filter: Return to the “Filter” menu and pick “Sharpen,” this time choosing “Smart Sharpen.” Comparing this filter to Unsharp Mask, more sophisticated settings are available.
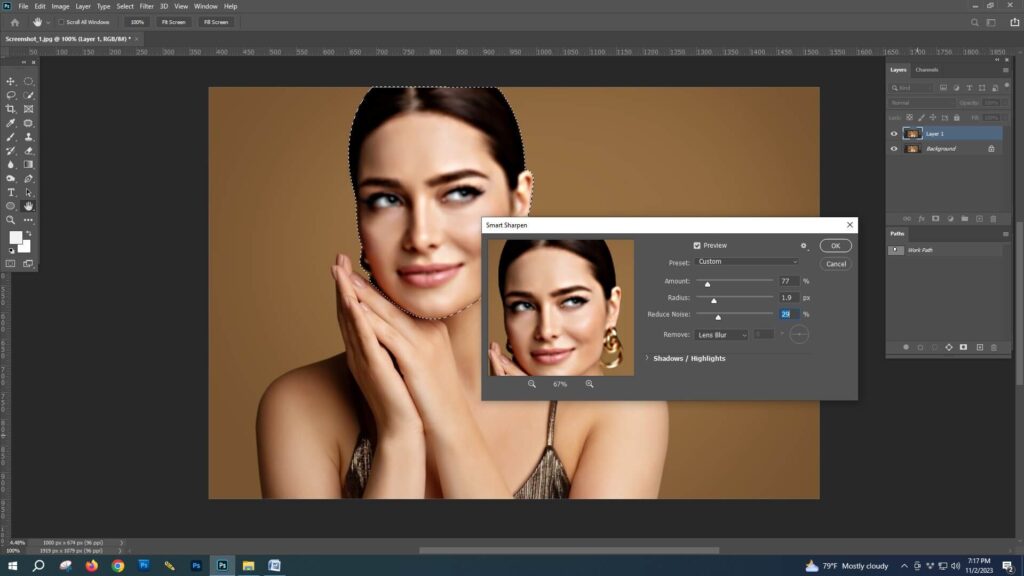
- Adjust Amount and Radius: Amount and Radius sliders should be adjusted similarly to Unsharp Mask. The Radius affects the sharpening area’s size, while the Amount determines its intensity. You should experiment to get the ideal balance for your image.
- Embrace Noise Reduction: One benefit of Smart Sharpen is its simultaneous noise reduction capability. When sharpening, use the Noise Reduction sliders to keep the image clear and sharp.
Step 4: Embrace the Shake Reduction Filter:
- “Shake Reduction” can be found under “Filter”: Then click “Sharpen,” then “Filter,” and then “Shake Reduction.”
- Let Photoshop Analyze: Allow Photoshop to analyze the photo to make smart changes that will lessen the impact of camera wobble. To perfect the outcome, change the settings as necessary.
Step 5: The High Pass Filter for Fine Edges:
- Duplicate the Image Layer: In the Layers panel, duplicate the image layer.
- High Pass Filter: With the copied layer selected, select “Filter” from the drop-down menu, then “Other,” then “High Pass.” Increase the radius till your subject’s edges are more obvious.
- Set the Blend Mode: Set the copied layer’s blend mode to “Overlay” or “Soft Light.” This improves the edges, making everything look crisper overall.
Step 6: Refine with Levels and Curves:
- Navigate to “Image” > “Adjustments”: Investigate the “Levels” and “Curves” changes in the Image menu to precisely modify the brightness and contrast.
- Adjust Levels: Adjust the levels by dragging the sliders to improve the contrast and tonal range. This may also help people see your picture as being sharp.
Step 7: Reduce Noise for a Clean Finish:
- Filter out Noise: If your image contains unwelcome noise, go to the “Filter” menu, choose “Noise,” and then select “Reduce Noise.” Reduce noise without sacrificing too much detail by adjusting the parameters.
Step 8: Final Touches:
- Assess Your Image: Take a moment to assess your image. Zoom in to look for any sharpening-related artifacts or loss of detail.
- Additional Adjustments: To get the ideal look for your image, make any extra modifications to saturation, color balance, or other parameters.
- Save Your Work: When you are happy with the modifications, save your work. You might wish to make a copy of the document in case you decide to make more changes later.
Method 2: Using the noise reduction tool in Photoshop: Blurry pictures often come with an unwanted companion: noise. Noise can lower the overall quality of your photographs, whether it comes from the graininess brought on by low lighting or a camera that is having trouble capturing fine details. But don’t worry! The Noise Reduction tool in Adobe Photoshop is your secret weapon for restoring clarity and producing beautiful, clear images. We’ll walk you through a step-by-step process on how to utilize the Noise Reduction tool effectively in the following steps.
Step 1: Open Your Image in Photoshop: Open up the blurry, noisy photo in Adobe Photoshop to start your journey to noise-free bliss. Select “Open” from the “File” menu to select your image. In order to create a duplicate layer, it is recommended to right-click on the picture layer in the Layers panel and choose “Duplicate Layer.”
By doing this, you can have a backup to compare the modifications in the future.
Step 2: Locate the Noise Reduction Tool:
- Navigate to the “Filter” Menu: When your image is opened, go to the top menu and choose “Filter.”
- Find “Noise”: Locate “Noise” by scrolling down and looking for that option. It can be clicked to display a submenu.
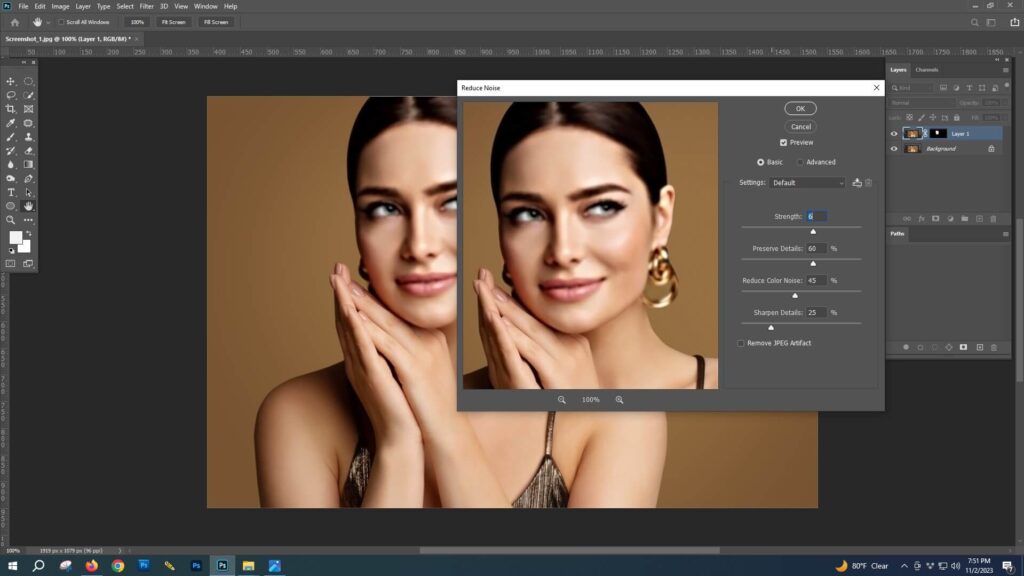
- Choose “Reduce Noise”: Go to the “Noise” sub-menu and select “Reduce Noise.” You will be given several options to deal with noise in a new dialog box that will emerge.
Step 3: Understand the Noise Reduction Dialog Box:
- Strength Slider: The “Strength” slider regulates the noise reduction’s total intensity. Find the sweet spot between noise reduction and detail retention by starting with a conservative setting and gradually raising it.
- Preserve Details Slider: The “Preserve Details” slider is essential for keeping your image sharp. Adjust it cautiously because too little preservation could lose out on crucial information while too much could leave behind noise.
- Reduce Color Noise: To reduce any color-related noise in your image, select the “Reduce Color Noise” checkbox. The accompanying slider should be adjusted until color noise is adequately reduced.
- Sharpen Details: To undo any softness brought about by noise reduction, use the “Sharpen Details” slider. To increase general sharpness, use it sparingly.
Step 4: Preview and Fine-Tune:
- Use the Preview Option: The dialog box’s preview option should be used as much as possible. Turn on and off the preview checkbox to instantly see the results of your changes.
- Zoom In: Zoom in on specific areas of your image to closely inspect the changes. Finding the ideal balance between noise reductions and keeping essential information depends in particular on this.
Step 5: Additional Adjustments:
- Masking Option: The Noise Reduction tool provides a “Masking” slider. You can choose which parts of the image are subject to noise reduction with this feature. Slide the masking control to the right if there are specific details you want to keep hidden.
- Advanced Mode: For users seeking more control, there’s an “Advanced” mode checkbox at the bottom of the dialog box. You have considerably more control over the noise reduction process when this mode is activated since it makes additional sliders available for fine-tuning.
Step 6: Apply and Save:
- Click “OK” to apply the noise reduction to your image if you’re pleased with your adjustments.
- Compare with the Original: In contrast to the Original to evaluate the effect, switch the duplicate layer’s and original layer’s visible states in the Layers panel. This enables you to compare the before-and-after results and guarantees that no important elements were missed.
Step 7: Final Touches:
- Check for Artifacts: After noise reduction, carefully examine your image for any unintended artifacts or loss of important details. Make additional adjustments if necessary.
- Save Your Work: Once you are satisfied with the outcome, save the edited image. To keep the original, unedited copy of your work, take into account making a copy.
Which Works Better in Photoshop: The Sharpen Tool or the Noise Reduction Tool?
Therefore, we’ve demonstrated two ways for you to restore a blurry image in Photoshop. Which one performs better, you might be wondering? Both of the instruments are the solution. Users will utilize various photographs, therefore the sharpen tool will enhance some images more than others.
Once more, some people will benefit most from noise reduction tools. However, the experts in editing advise utilizing the sharpen tool more frequently than the noise reduction tool. Because employing the sharpen tool typically produces the desired outcomes for repairing blurry images.
FAQ’s on how to fix blurry images in Photoshop:
Why are my photos blurry in the first place?
A number of things, including shaky hands, low light or camera autofocus issues. The best repair can be chosen by identifying the root cause.
Is Photoshop the only program that can restore blurry photos?
Photoshop is an effective tool. Other photo editing programs and smartphone applications also include tools for improving clarity. However, Photoshop offers a wide range of tools for in-depth modifications.
Can I edit a photo to remove all kinds of blurriness?
Photoshop can address many types of blurriness, including motion blur and focus issues. Extreme cases may have limitations, especially if crucial details are lost during capture.
What is the difference between the Unsharp Mask and Smart Sharpen?
Both tools improve sharpness. Smart Sharpen offers more sophisticated options, including the ability to reduce noise simultaneously. It’s a more refined option for fine-tuning.
Can I fix blurriness caused by camera shake?
Photoshop’s Shake Reduction tool is made to analyze and fix blurriness brought on by tiny camera movements, providing a fix for shaky captures.
How does the Noise Reduction tool help?
The Noise Reduction tool reduces unwanted graininess, commonly found in photos taken in low-light conditions. It provides a smoother, cleaner appearance.
How do I smooth edges quickly in Photoshop?
Photoshop makes it simple to fix this problem. To access the “Properties” window option, first create a mask from the selection. After that, sliders to increase the “Smooth” will be written. The sharp edges will be perfectly smoothed off.
Can a smartphone photo that is blurry be fixed?
Absolutely! The mentioned methods, such as Noise Reduction and Unsharp Mask, work well for smartphone photos. Photoshop is adaptable and handles photos from many sources well.
Conclusion:
We’ve discovered the tricks to turn blurry moments into clear, captivating memories. From the Unsharp Mask to the Noise Reduction tool, each click and adjustment transforms imperfections into brilliance. Remember, a gentle touch goes a long way. When you preserve those restored images, see them as tales conveyed via pixels – stories of victory over graininess. Show off to the world your newly acquired editing skills, emphasizing the clarity, vibrancy, and originality you’ve added to each shot. So, here’s to the end of blurry woes and the beginning of a clear, visually stunning chapter. Photoshop is more than simply a tool; it’s your creative partner, assisting you in creating compelling visual stories with each shot. Happy editing, and may you never again have to deal with blurry photos!


