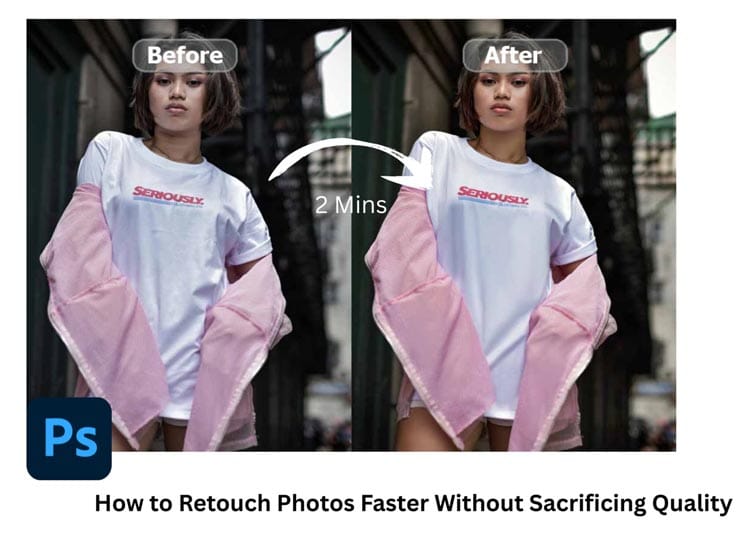
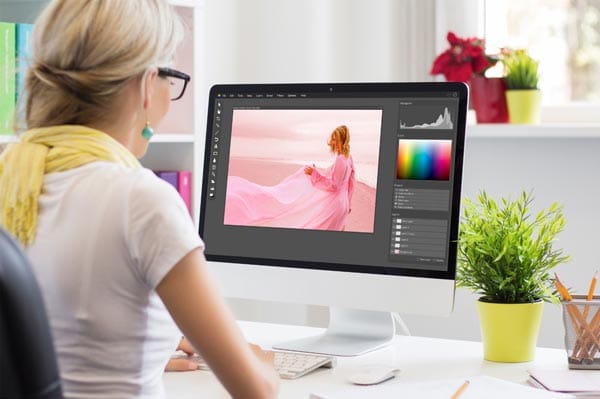
Making photos look good fast is key. Keep it clean, not messy. It saves time for fun stuff. Retouching isn’t hard with the right tricks. Fix colors and skin, but keep it real. Balance speed with quality.
Fast doesn’t mean bad quality. You can be quick and still do it right. It’s like riding a bike fast but safe.
Don’t try to fix everything at once. Pick the big problems first. Then do small fixes after. This way, you don’t waste time on tiny things nobody sees. Good computer programs help a lot by doing things quickly without messing up the picture. Remember, clean photos make people happy when they see them.
Let’s dive below!
Some Key Image Editing Techniques
Image Editing Techniques improve visual quality. Interpolation Methods affect pixel clarity. Nearest Neighbor and Bicubic adjust smoothness. Frequency Separation separates texture from color. Blending Modes change the image mood. Clone Stamp Tool removes imperfections. The Healing Brush Tool removes unwanted elements.
Photo Editing Tools & Software
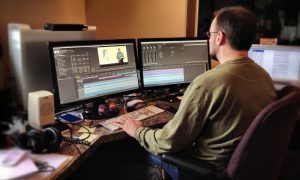
Photo editing tools enhance images. Adobe Photoshop provides full editing. Adobe Lightroom adjusts light and color. ON1 Resize AI enlarges images with quality. AI Retouching speeds up edits. AI Face Editor improves facial features. AI Makeup enhances looks. Smart Previews simplify edits. Portraiture Plugin smooths skin. Spot Healing Brush fixes small issues. The Healing Brush removes imperfections. Clone Stamp replaces unwanted elements. These tools complete workflows.
Techniques for Faster Retouching
Faster Retouching improves editing speed. Frequency Separation maintains textures. Dodge and Burn adjust tones. High-Pass Filter refines details. High Frequency Layer targets details. Low Frequency Layer adjusts tones. Layer Masks allow precise corrections. Batch Retouch automates tasks. Retouching Workflow becomes more efficient. Gaussian Blur smooths skin. Curves Adjustment Layers improve contrast. These steps save time and maintain quality.
The Techniques are Given Below in detail:
Organize Your Workflow Before You Start
Getting your stuff ready first makes everything faster later. It’s like packing a bag for school so you are not late. Open all the pictures you need to fix. Put them in order so you know which one comes next. This stops you from searching and wasting minutes. Make folders on the computer for different jobs. Like “Beach Photos” or “Party Pics”. Then you find things easily when you need them. Dumping all the photos messily is a bad idea. You get confused and slow.
Also, close apps you are not using. They make computers slow like turtles. Have your tools ready on screen before you start clicking. Like brushes or color things. Know what you wanna do for each picture. Maybe write a little list: “Fix sky, make face bright, take out trash can”. Then you just do the list, not think hard each time. This plan helps you zoom through pictures fast. You feel good when work is done quickly and no mistakes from rushing messy.
Use Presets and Actions to Save Time
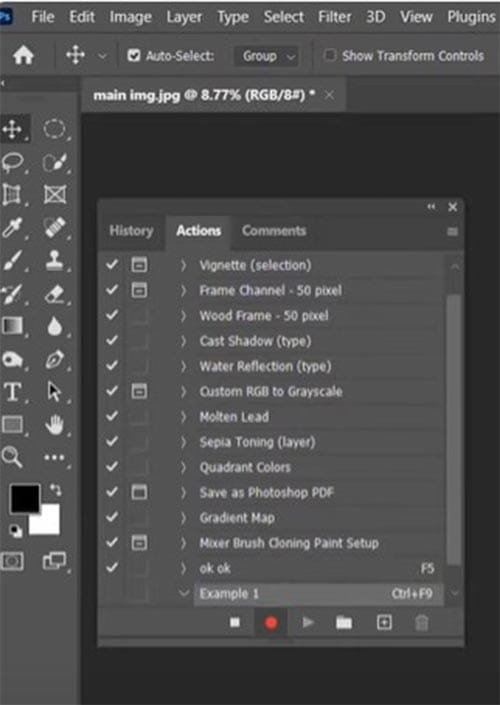
Presets and actions are magic buttons for fixing photos. You push one button and it does many things fast. Like a robot helper. You make a preset one time for a look you like. Say, making outside pictures sunny and bright. Then next time, just click the preset button! All your new pictures get that sunny look quickly. Not doing the same steps over and over. Saves many, many minutes. Actions work similarly but do more complex stuff.
You can find free presets online or make your own. Making your own is best because it fits your style. Try different presets to see which makes the photo good. But remember, not every preset works well for every photo. Sometimes you need to change a little bit after using the preset. Like if the sky is too blue, make it less. Presets start, not always finish. Use them smart, not lazily. They help you do boring parts fast, so you have time for special touches on each picture.
Batch Edit Similar Photos
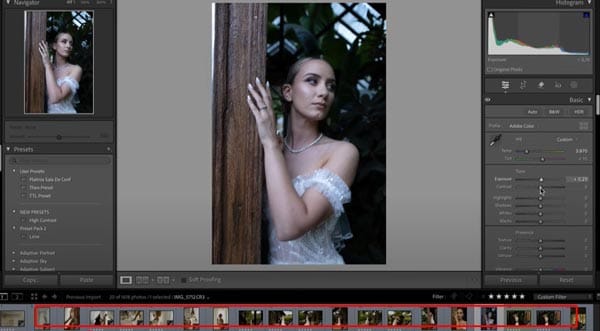
Batch edit means fixing many photos at once. Like all pictures from a birthday party. Instead of fixing each cake photo one by one, do it all together! First, pick photos that look alike. Same light, same place. Then, use your program to change them all at the same time. Make all a bit brighter or fix the color. Boom! All done quickly. This is a super-fast way. Saves you hours like a magic trick.
But you gotta pick the right photos for the batch. If one picture is dark and one bright, batch editing causes problems. They all need a similar starting point. Look carefully before batching. Use the tools in the program for “select similar” photos. After batch editing, you can still fix each photo a little bit if needed. Like maybe one photo needs a red eye fix. Batch does big changes, then you do small stuff after. It makes you feel like a speedy worker bee getting much done.
Master Keyboard Shortcuts for Your Editing Software
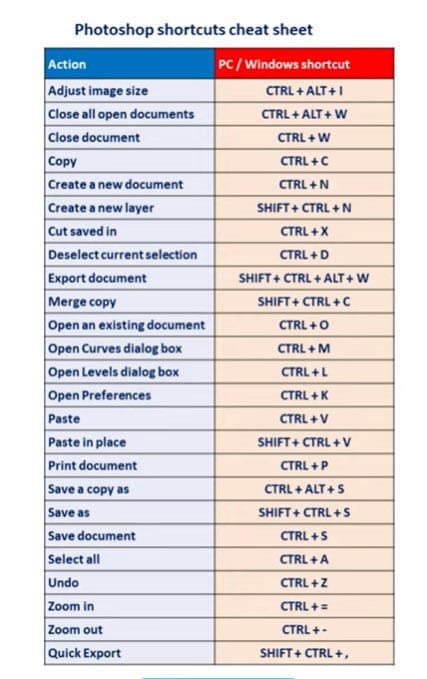
Keyboard shortcuts are secret codes for going fast. Instead of clicking the mouse many times, you press the keys quickly. Like “Ctrl+C” for copy, “Ctrl+V” for paste. Every program has its shortcuts. Learn them! It makes you edit like a superhero. No more hunting for tiny buttons on screen. Your fingers fly on the keyboard. Saves so much time each day. Make a list of common shortcuts you use. Tape it near the computer.
Start learning a few shortcuts first. Like undo or zoom. Then learn more as you go. Soon you will remember them easily. Practice makes perfect. Soon you do not even think, just press keys fast. Your mouse gets lonely cause you use it less! This speeds up work a lot. You get less tired, too, because your hands move less. Like playing fast piano but for photos. Ask friends or look online for the best shortcuts for your photo program. It’s worth learning for sure.
Create a Retouching Checklist or Routine

A checklist is like a map for fixing photos. You write the steps you always do. Then follow the list every time. Don’t forget things! Like: Fix color, Brighten face, Remove spots, Sharpen eyes. Do the same steps and order each photo. This makes you faster because the brain does not have to decide what to do next. Just a list. Routine is a good habit. Soon you will do it automatically without thinking much.
Your list keeps you from missing important fixes. Like, sometimes you forget to clean dust spots. List reminds you! Make the list simple at first. Add more steps later if needed. Put a list where you see it while working. Maybe on a sticky note. After finishing the photo, check the list quickly to see if it’s all done. This makes sure the quality is good even when fast. No “oops, I forgot” moments. Good for beginners and pros. Like a cake recipe, following the steps gets good results every time you bake.
Focus on Non-Destructive Editing Techniques
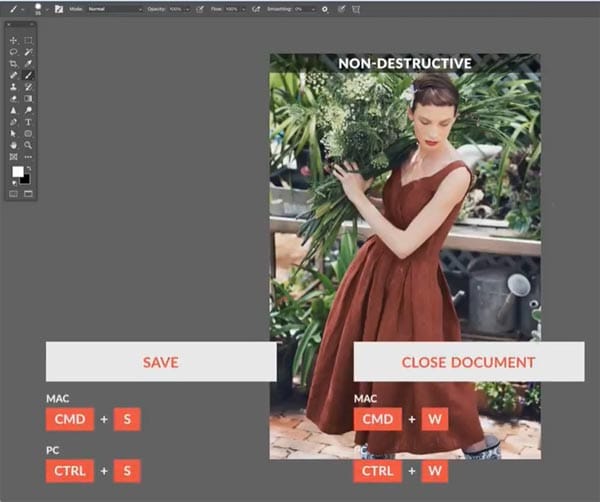
Non-destructive editing keeps the original photo intact. Changes are made without altering the base image. You make changes on top, like a clear plastic sheet. Original stay safe under. So if you make a mistake, no problem! Just remove the plastic sheet (layer). Photo back to start. This saves time because no one starts over if they mess up. You try brave things. Use layers and masks in the program. They let you paint changes only where you want.
Smart objects are also good. They keep photo info safe when you change size or stuff. Always work on copies, not original files. Save originals in a safe folder. Then play with copies. This way, you always get a clean start if needed. Non-destructive slows you tiny bit at first, but saves a big time later. No crying over a bad edit you can’t undo! Makes work less scary. You learn more because you try new things. Keep photos looking their best quality always, even after many changes.
Use AI-Powered Tools for Quick Fixes
AI Enhancements revolutionize editing. Image Optimization uses Machine Learning for precision. AI Face Detection selects faces accurately. Smart Subject Detection targets edits. Neural Filters offer creative transformations. AI Muscle Generator adds details. No Beard Filter changes look. Smart Previews speed up editing. Workflows become more efficient.
AI isn’t perfect. It can make skin look fake. It might erase key details, too. So you gotta watch carefully after AI help. Use it for easy jobs like brightening teeth or removing small pimples. Hard things still need human eyes.
Don’t just trust AI to do all the work. Check every change it makes. Maybe the AI makes the tree disappear when you just want clean trash. Oops! You can fix that manual. Think of AI like a helper, not a boss. It does heavy lifting, so you are free to do fun, creative stuff. But if you are lazy and let AI run wild, photos look fake. People say, Why is the face so smooth? Look like a doll!” Not good. So use AI smart for quick wins, but stay in charge always. You get happy when a photo is done quickly and still looks nice.
Zoom with Purpose
Zooming in is a big deal for fixing tiny problems. But zooming too much makes you crazy! You see every pore and hair and think, “must fix all!” No no. That takes forever, and photos end up looking weird. Like a plastic mannequin. Real people have skin texture and tiny lines. That’s okay! Only zoom when you see a real problem, like a big spot or dust speck. Fix that one thing, then zoom out quickly. See how the whole photo looks. Better!
If you stay zoomed in for hours, you miss the big picture. Maybe the color is wrong or the shadow is too dark. But you are busy fixing invisible dots. Silly! Zoom for purpose: find issues, fix fast, zoom out. Do before-and-after” checks lots of times. Ask a friend, “Does this look strange?” If they squint their eyes and say “huh?”, you overdo it. Remember, photos seen are normal size, not microscope view. Keep pores and wrinkles a little bit. That makes people look human and photos feel true. No one likes a slippery face.
Know When to Stop Editing
The hardest part is now when it’s finished. You keep tweaking and tweaking and tweaking. Then suddenly the photo was worse than it started! Oh no. Set rules for yourself. Like “only 3 tries for color fix” or “spend 10 minutes max per photo”. When you think “maybe done?”, stop. Save it. Go play outside. Come back later with fresh eyes. Often, you see it well now. No need for more change.
Signs you over-edit: colors look radioactive, skin like wax, background blurry mess. If you think “just one more brush…”, danger! Walk away. Better slightly imperfect than ruined. Think of Grandma’s cookies. The little burnt edge is still tasty. But if you cook too long, it’s all charcoal. Same with photos. Love the flaws a little bit. They tell a story. Perfection is boring. Plus, you save time to eat snacks. When you feel angry at a pixel, close the computer. Done is a beautiful word.
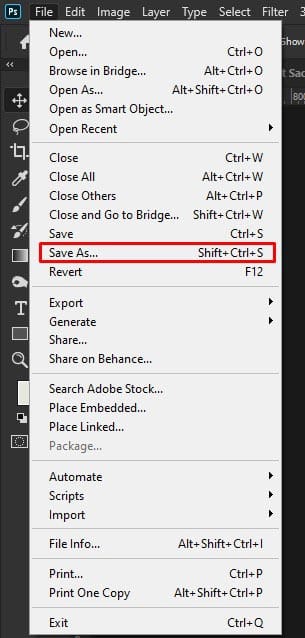
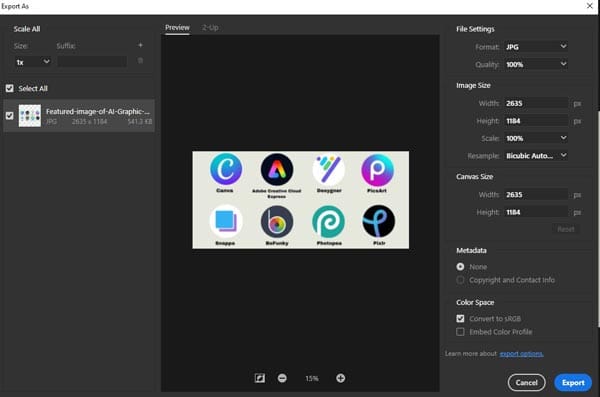
Export Settings That Balance Quality and Speed
File Management keeps images organized. File Size ensures optimal storage. File Format affects quality. RAW Files allow maximum editing. Export As saves in multiple formats. Bulk Web Resizer speeds up resizing for online use.
Exporting wrong makes all your work sad. Big files are slow to send, and small files look blocky. You need to find a sweet spot. For the web, use JPEG medium quality. File not too fat, not too skinny. 72 DPI is okay for phones and computers. But if you print a big photo, you need a TIFF or a high JPEG. 300 DPI! Otherwise, the picture is fuzzy like monster fur. Ask the client “where to use the photo?” before export. Save time guessing.
Name files are clever, too. Like “SarahGrad_Final_web.jpg”, not “IMG_2345EDITFINALREALLY.jpg”. Find fast? Yes! Batch export saves time if many photos have the same settings. But check the first file before doing it all. Make sure colors do not shift or crop wrong. Compress only what is necessary. Quality like birthday cake – too much squeeze, it smoosh. Balance makes everyone happy. Fast sharing, still pretty. You dance when the upload finishes quickly.
Photo Retouching Enhancements for Specific Needs
Photo Retouching Enhancements turn basic pictures into polished images. Portrait Enhancements balance tones. Skin Smoothing creates a flawless look. Teeth Whitening brightens smiles. Glare Removal fixes lighting issues. Blemish Removal removes imperfections. These enhancements improve the photo’s appeal.
Social Media showcases photography skills. Instagram Stories share behind-the-scenes moments. Social Media boosts engagement. A Wedding Photographer creates stunning visuals. HDR Photography improves image quality. Content Creation ensures visuals stand out. These steps help build a lasting impression.
Web Management builds online presence. Digital Media Management optimizes content for engagement. Web Development focuses on Website Performance. Responsive Design improves user experience. Page Load Times reduce Bounce Rates. Hosting Costs are managed efficiently. Digital Carbon Footprint is minimized. A well-optimized website drives success.
Image Quality creates professional results. Image Optimization balances Image Size with Image Quality. Skin Smoothing improves complexion. Teeth Whitening brightens smiles. Blemish Removal fixes imperfections. Wrinkle Removal smooths skin. Glare Removal clears distractions. Colour & Tone adjustments enhance images. Noise Reduction clears details. Enhance Details sharpens images. Bicubic Sharper improves clarity. Optimized images leave a strong impression.
Frequently Asked Question
What are the best tools for fast photo retouching without compromising quality?
The best tools include Adobe Photoshop. Adobe Lightroom is another top choice. ON1 Resize AI provides AI-powered editing. AI Retouching enhances images. Smart Previews speed up workflows. Batch Retouch automates tasks. AI Face Detection ensures accurate selection. These tools deliver speed with quality results.
How can AI improve my photo retouching speed and quality?
AI speeds up retouching. It automates tasks like blemish removal. Skin smoothing is done faster. Color correction is simplified. AI Face Editor enhances portraits. Neural Filters improve photos with minimal effort. Results stay natural.
What is frequency separation, and how does it help in faster retouching?
Frequency separation splits an image into two layers. One layer is for color and texture. The other is for detail. This technique corrects skin tones quickly. Imperfections are smoothed without affecting details. It ensures speed and accuracy.
How can I optimize my images for web use while keeping the quality high?
Use ON1 Resize AI to resize images. Adobe Lightroom compresses without losing quality. Adjust image size to reduce file size. Apply noise reduction to clear details. Use image optimization for faster loading. Maintain high quality in all edits.
What are the key photo retouching techniques to master for better results in less time?
Dodge and burn enhance details. Skin smoothing creates a clean look. Curves adjustment layers refine tones. Batch retouching speeds up editing. Master these techniques for fast results. It provides high-quality outcomes.
Final Thoughts
Fast retouching does not mean rushing like fire. Mean smart work. Like turtles win races. Plan first, use tools wisely, and know limits. Every photo does not need museum perfection. Fix what matters, leave the rest natural. Smiles are more important than being perfect. The time you save can take more photos or eat ice cream. Both are good!
Retouch photos fast without losing quality. Zenith Clipping delivers precise results every time. Save time and maintain top standards. Start now and experience the difference.