
How to do Skin Retouching in Photoshop?
You would have noticed the flawless portraits and makeup of models in magazines and on billboards. They are definitely the fine products of the perfect photo editing process. More specifically, their skin looks absolutely smooth, even tone with no visible blemishes, uneven skin tones, or imperfections. This is the result of professional skin retouching in Photoshop, where the editor has carefully removed imperfections of skin.
So…if you are interested in learning the easiest and simple process of doing high-end skin retouching, this guide is expanded for you. Let’s see how to do skin retouching in Photoshop. Interestingly, you can give skin retouching services to your clients in the future.
Let’s retouch skin in Photoshop to get the picture-perfect results that we are looking for!
Steps for Professional Skin Retouch in Photoshop:
We’ll use the Spot Healing Brush in Photoshop for removing pimples and blemishes from the skin. Then, we’ll smoothen and soften the photographs skin while preserving important details. Remember, the natural and realistic texture of the digital photography will be maintained during these steps.
So, let’s begin with the guide required for professional skin retouching in Photoshop.
Step 1: Prepare the Image for Retouching
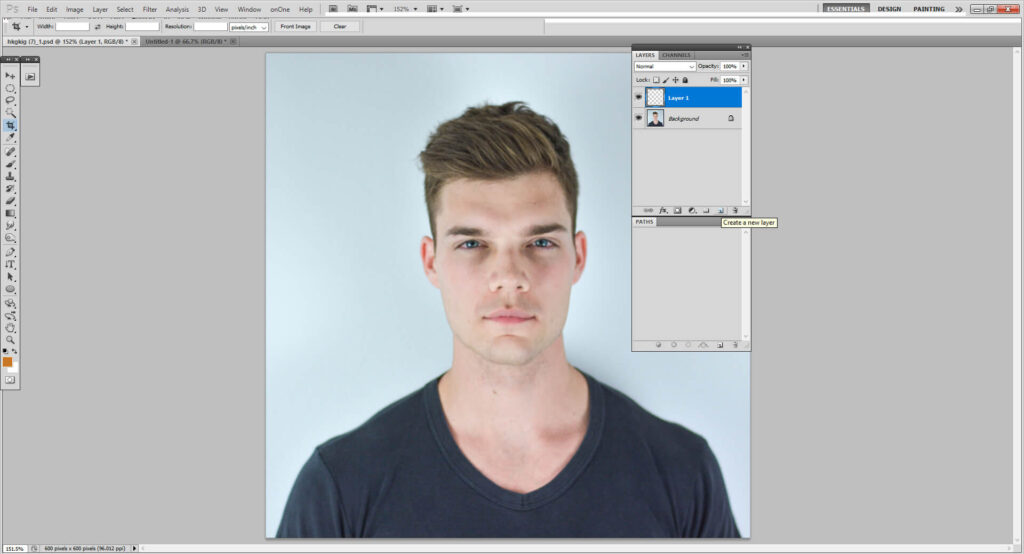
- Open the image in Adobe Photoshop to retouch the skin and get the original pixels out.
- Duplicate the background layer by right-clicking on the layer and selecting “Duplicate Layer.” You can also use the keyboard shortcut Ctrl+J (Windows) or Command+J (Mac).
- Then, rename the duplicated layer to “Retouching Layer” or a similar name to distinguish it from the original layer opacity.
Make sure the Retouching Layer is selected as the active layer for flawless skin editing.
Step 2: Select Spot Healing Brush for Removing Pimples and Blemishes
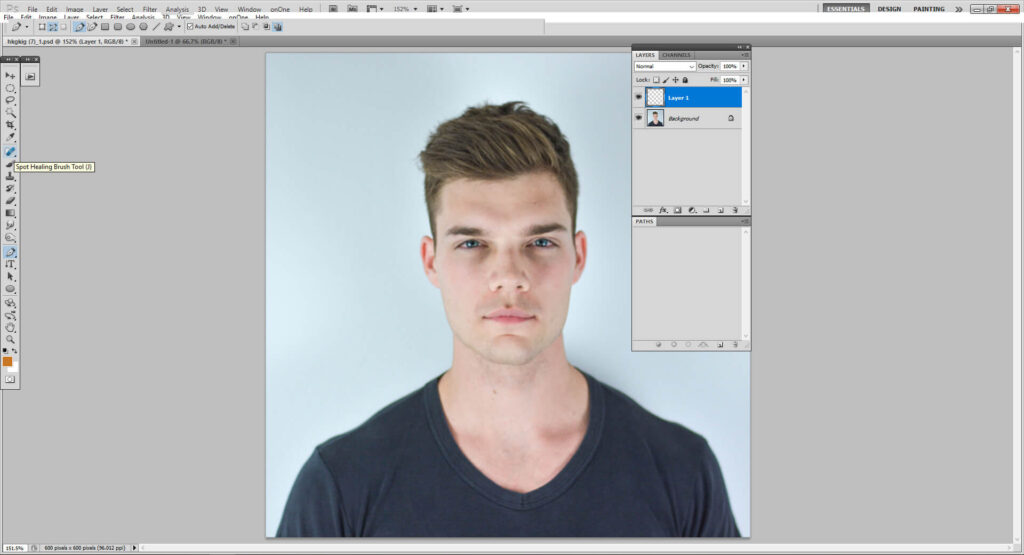
- For initial skin cleanup, select the Spot Healing Brush Tool from the toolbar or use the keyboard shortcut J.
- In the top toolbar, set the Type option to “Content-Aware” for professional skin retouching in Photoshop.
Adjust the brush size and hardness to suit the blemish size and skin texture.
Step 3: Remove the Blemishes Now

- Click on the pimples, moles, blackheads, blemishes, or any other flaw in the image (or smart object) in order to remove them permanently from that photo. Just allow Photoshop’s Content-Aware algorithm to work its own frequency separation.
- For getting optimal results of skin retouching in Photoshop, use a brush size slightly larger than the pimple or blemish itself for quick actions.
- Photoshop will instantly heal the pimples and blemishes and give you beautiful skin. It will blend the surrounding skin texture to create a soft and natural-looking result after editing skin.
- Continue clicking on individual blemishes from the blotchy skin until all desired imperfections are removed.
Important Note: Try to remove only minor imperfections like pimples and acne. Preserve permanent features and natural textures that make the person unique, attractive, and beautiful. Always strive for a natural look and skin touch-ups that enhances the image without altering the person’s authentic appearance and features.
Step 4: Duplicate Layer for Skin Smoothing
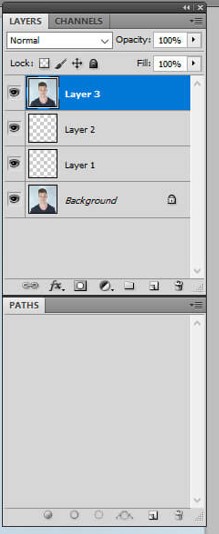
- Select the retouched layer (where you removed blemishes) to get clean skin.
- Duplicate it by right-clicking and choosing “Duplicate Layer.”
- You can also use the keyboard shortcut Ctrl+J (Windows) or Command+J (Mac) as an alternative in the process of retouching skin in Photoshop.
- Name this new layer “Skin Smoothing” or similar. This name will distinguish it from the original retouched layer.
This duplicate layer will be used to smooth skin. Meantime, it’ll preserve the original retouched layer for reference.
Step 5: Smoothen Skin with High Pass Filter
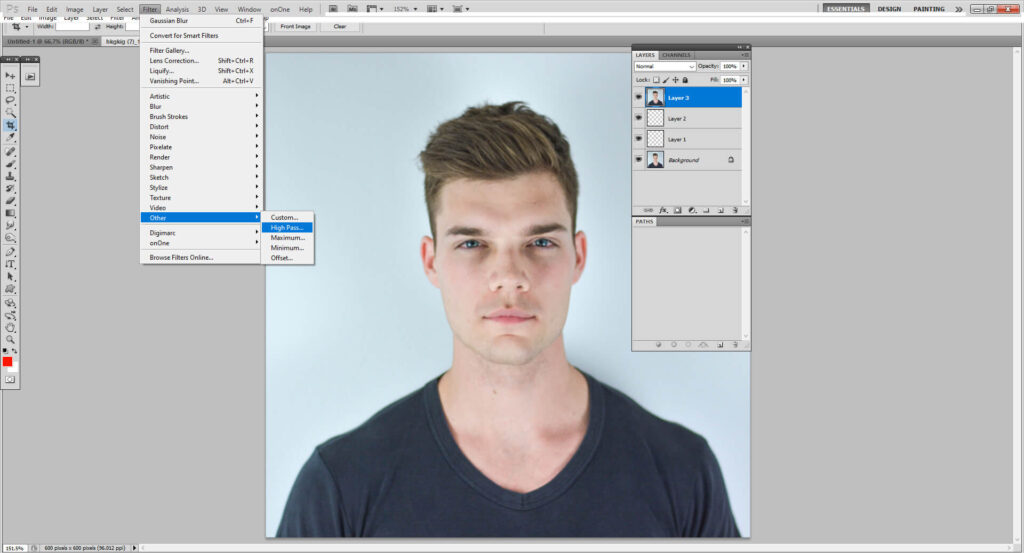
- Go to the top menu and select Filter > Other > High Pass to open the High Pass filter dialog box.
- Set the Radius value to 10 (or adjust it to your liking, but 10 is a good starting point).
- Click OK to apply the High Pass filter to the “Skin Smoothing” layer.
This filter for editing skin will help smooth out skin texture. It will reduce fine lines and wrinkles while preserving important details. In the end, you get fine, blemish-free skin.

Note: The High Pass filter for editing flaky skin works by finding the edges in the image and reducing the mid-tone frequencies. Adjusting the Radius value will change the amount of smoothing applied.
Step 6: Refine Skin Smoothing with Gaussian Blur
Gaussian Blur is a gentle blur that will help blend the skin tones and reduce any harsh lines or imperfections with a larger brush. Designers use it to get close-up shot portraits, flawless model portraits, and headshot portraits. You can also filter your everyday photos, family photos, or any fancy photos into high-res photos.
Many people use it for feature retouching like changing facial features, getting clarity in features, removing strands of hair or chin hair or grey hair, and fading flakes of makeup.
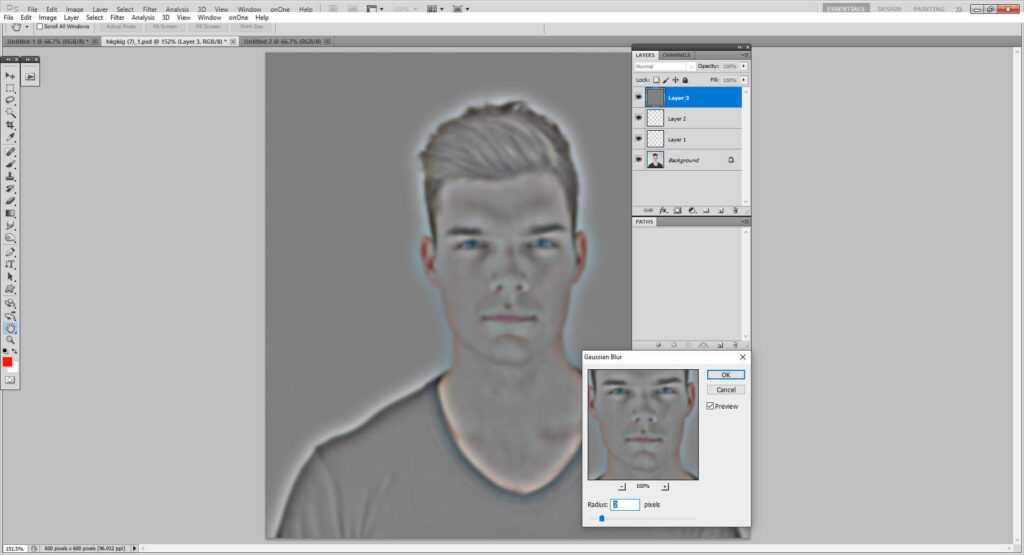
- Go to the top menu and select Filter > Blur > Gaussian Blur to open the Gaussian Blur dialog box.
- Set the Radius value to 2 (this will add a subtle blur to the skin to see essential details).
- Click OK to apply the Gaussian Blur filter to the “Skin Smoothing” layer.
- This step will further refine the skin smoothing process. Plus, it will reduce any remaining imperfections and give the skin a natural and soft appearance.
Be Cautious: A radius value of 2 is usually sufficient, but you can adjust it to your liking. However, don’t use larger radius to get flawless photographs. Do not over-blur. Just give attention to essential details or finest details. Otherwise, this can create a messy and unnatural look.
Step 7: Enhance Skin Tone with Vivid Light
Vivid Light is a blending mode that combines the brightness and saturation of the layers. It helps to create a vibrant and natural-looking result. This step will refine the skin tone and make it healthier and more radiant.
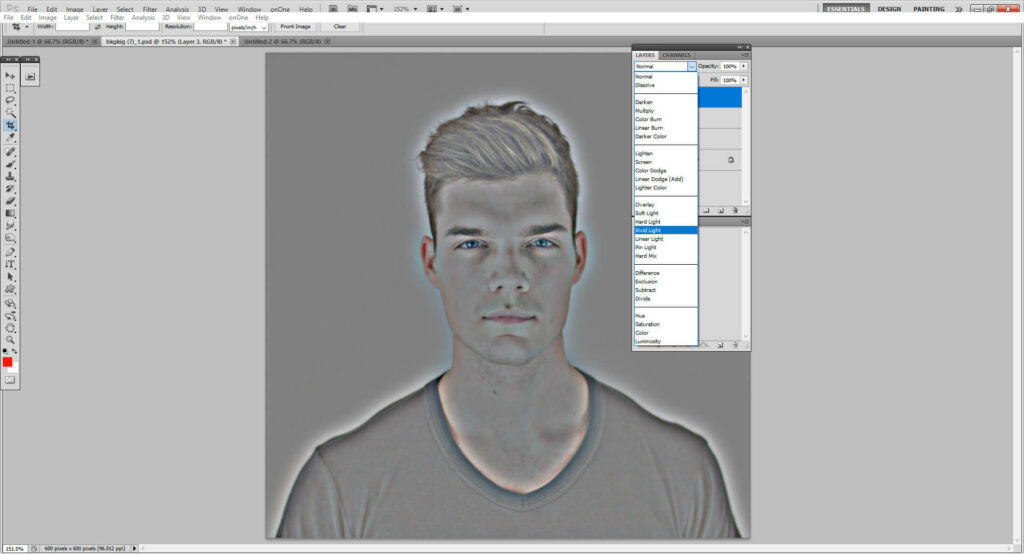
- Select the “Skin Smoothing” layer to do high-end skin retouching in Photoshop.
- Go to the top menu and select Image > Adjustments > Vivid Light.
- Alternatively, use the keyboard shortcut Ctrl+Shift+B (Windows) or Command+Shift+B (Mac).
- This will change the blending mode of the “Skin Smoothing” layer to Vivid Light.
In this way, Vivid Light will illustrate the skin tone through skin retouching actions. It will add a natural glow and subtle warmth to the digital photographs.
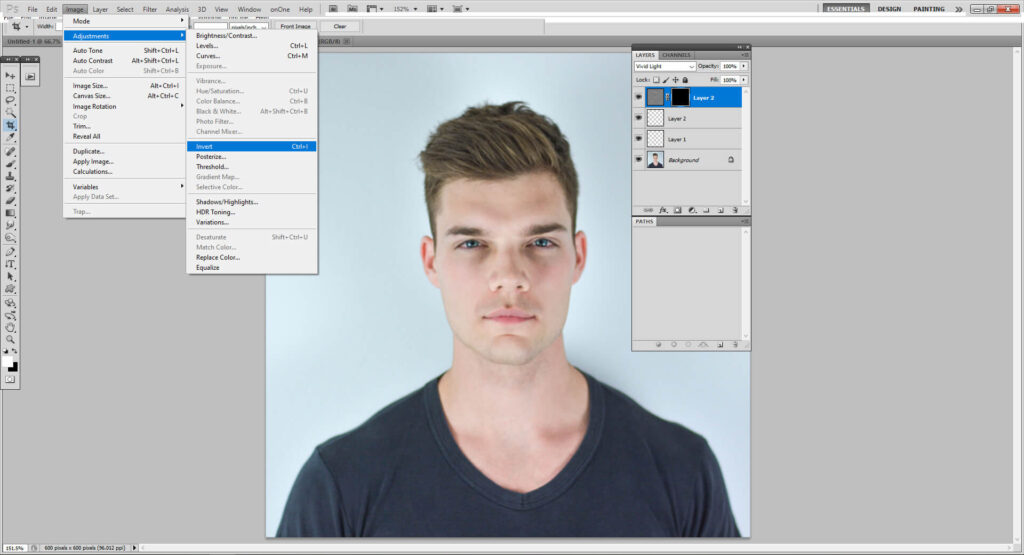
Step 8: Conceal Smoothing with Layer Mask

- Add a layer mask to the “Skin Smoothing” layer to hide the effect from view.
- Paint on the mask with a soft-bristled brush (20-30% opacity) to conceal smoothing in areas like:
- Eyes, eyebrows, and mouth
- Hair, clothing, and accessories
- Use black to hide, white to reveal, and gray to partially conceal the effect.
In this Photoshop skin retouching tutorial, I’m going to use white color from the brush tool in step 9.
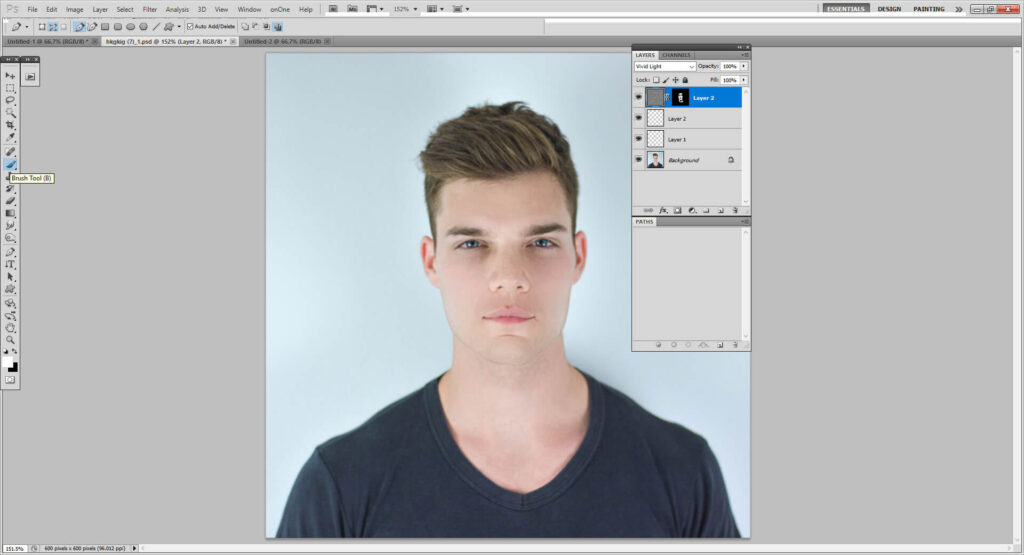
Step 9: Reveal Skin Texture with Brush Tool
With the white brush, you will be able to precisely control where the smoothing effect is applied. It gives you a natural-looking finish.
- Select the Brush Tool from the toolbar or press the ‘B’ key on your keyboard.
- Set the brush color to white by clicking on the color swatch in the toolbar. Contrarily, select white from the color picker.
- Make sure the layer mask is still selected, as you’ll be painting on it to reveal the original skin texture.
Make sure the Brush Tool is set to:
- Blend Mode: Normal
- Opacity: 100%
- Flow: 100%
Then, Gently paint over the skin with a soft-bristled brush to reveal the smoothing effect. It’ll feather the edges for a natural blend.
Alternate Method:
Alternatively, go to Filter > Noise > Dust & Scratches to subtly refine the skin texture. Adjust the Radius and Threshold settings to get professional skin retouching service without spending money.
Step 10: Final Check and Refinement
This final check will fine-tune the smoothing effect according to your liking or disliking. You’ll get high-quality photo editing results that meet your standards.
- Click on the Layers panel to view the layer mask.
- Assess the smoothing effect:
- If satisfied, proceed to the next step.
- If not, refine the effect by:
- Painting on the layer mask to reveal more of the original texture.
- Lowering the opacity of the masked layer to blend it with the original image.
- Adjust the opacity slider (0-100%) to achieve your desired level of skin retouching on Photoshop.
So…there you go! Your skin-touched photograph is successfully edited. All pimples and blemishes are successfully and easily removed.
Why is Retouching Skin Important for Your Photos?
Retouching is a subtle yet powerful technique that refines your photography. Importantly, it draws attention to the subject by making minor but impactful changes. For instance, skin editing and retouching expertly removes distractions like flyaway hair, wrinkles, and blemishes, while preserving the natural beauty of the image.
This precise enhancement makes the subject stand out. Plus, skin retouching in Photoshop emphasizes their unique features and gives you a captivating visual experience. Let’s discuss a few tips to get the best results from the skin retouching process.
Bonus Tips:
- The extent/level of skin retouching on Photoshop varies. It depends on the intended application of the image. For example, a photograph that is shot for a magazine cover or editorial spread typically requires more extensive and professional skin retouching to get a high-end finish. On the flip side, an image meant for social media requires more subtle retouching. This is because the platform’s informal nature allows for a more natural, soft, and authentic look.
- Always avoid over-editing or over-retouching the skin. You need to create a balance of authenticity and enhancement. As I have mentioned before, your goal must be to keep the subject looking natural and realistic. So, try to avoid over-editing, which can lead to unrealistic results.
- The different ways, methods, and techniques give you an idea of how to work on the most important photo editing services: skin retouching. However, you need to develop a style of your own. It’ll help you to make your work stand out from the crowd.
- Always work on a duplicate layer or a copy of the original image. In this way, you will do different experiments and make changes without affecting the original image.
- Collect reference images of different skin types, textures, and tones. This can help you understand how skin looks in various lighting conditions. It will also guide your retouching decisions.
- Skin retouching can be a tedious and detailed process. Take breaks to refresh your eyes and come back to your work later with a fresh perspective. This tip will help you catch mistakes or areas for improvement that you have missed initially.
Final Word on How to Retouch Skin in Photoshop?
We have come to the end of our easy-to-follow tutorial that solves your query: How to retouch skin in Photoshop. We understand that the entire process of skin retouching in Photoshop can be a bit of a difficult task, especially if you are a beginner. Therefore, the above-mentioned steps laid the foundation for mastering skin retouching in Photoshop using its layers.
However, I’m sure these steps would be enough for removing pimples and blackheads and performing the essential skin retouching steps. Now, these models-like edited photos are ready for marketing purposes, uploading on your social media, or use for your desired purpose. Also, there are no doubts left behind that Photoshop can top off any other tool due to its vast array of features and techniques to retouch your photos.
Have a happy photo editing and skin retouching !