Photoshop X-Ray Effect: How to Make Clothes See-Through
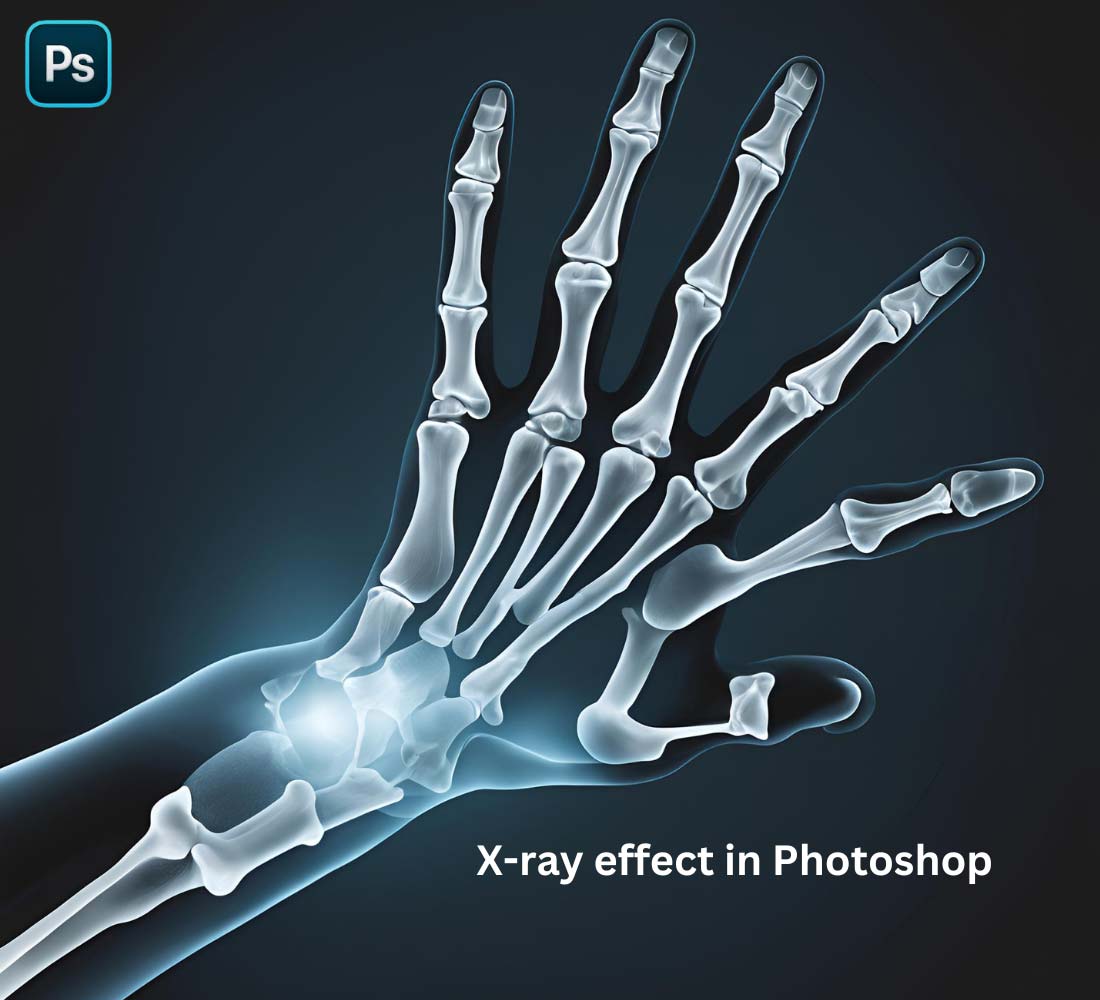
Photoshop revolutionizes image editing with effects like the X-ray effect, which creates striking, transparent visuals that reveal inner details. This powerful tool expands creative possibilities beyond traditional photo editing.
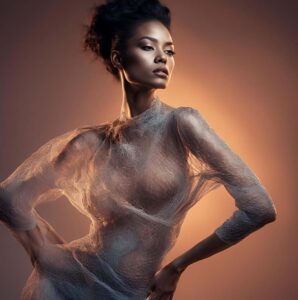
The Photoshop X-ray effect lets editors see beyond backgrounds, revealing details behind bodies, objects, or clothing. This technique works like a virtual body scanner, making complex edits easier and more creative.
What is an X-Ray photo in Photoshop?

Did you know there are many thin layers in photos? They are mostly;
- Curtains
- Drapes
- Tablecloths
- Clothing
- Clouds
- Smoke
- Fog
How To Make See Through Clothes In Photoshop?
How to see-through clothes in Photoshop: A step-by-step guide
Step 1: Selecting an image
Step 2: Open the image in Photoshop
Step 3: Select the clothing that you want to transform
Make some adjustments on the screen to select the clothing.
After that, select the ‘Quick Selection Tool’ from the left sidebar and drag it over the clothing. (You can do this step with the help of many other tools, like lasso tool, wand tool, etc.)
Before selecting cloth, adjust the tool size to 14 pixels. Now, select the (+) option from the Options panel bar. With the pen tool, select the whole clothing from the image.
Select (-) options to remove the unnecessary parts and reveal the hidden pixels.
Note: When choosing clothing in areas with small objects, change the size of the pixels by 4–9. For example, a model’s hair is zoomed out of the parts of the image to select the clothes perfectly. Also, don’t choose wrinkled fabrics.
Step 4: Create a new layer
At this stage, return to the lower sidebar options on the right and select ‘Create a new background layer.’ You can also use the Ctrl+J keyboard shortcut to add a new layer to reveal solid pixels.
Step 5: Make the clothing transparent
Click the ‘Adjustment button’ in the lower section bar at this stage to perform image manipulation technique. Select ‘Level’ and then go to the upper-side layer button.
Click ‘New adjustment layer’ here and select ‘levels.’
Again, go to the lower sidebar option ‘level’ from the adjustment button. Then, select level 1 and drag the mouse button lower.
Set the RGB to the highest point for color balance. Now, go to the brightness/contrast adjustment button. Set brightness to 0 and contrast to (-30).
Step 6: Finalize & Save Your Image
After modifying the clothing layer, don’t forget to refine the overall suitable image. Make final adjustments to brightness, contrast, or other aspects to get a cohesive, balanced, and visually appealing result.
After finalizing and optimizing the image, now come to the final stage. Click ‘File’ and select the ‘Save as’ option from the menu bar. The final and finished image will now be saved on your computer or device.
Now, let’s capture images and perform fantastic image manipulation technique.
Online Tools for See-Through Clothes Effects
Creating see-through effects doesn’t always require Photoshop expertise. Several online tools offer simplified solutions for achieving similar results. These web-based alternatives provide accessible options for users who don’t have access to or experience with professional editing software.
Online photo editors like Pixlr, GIMP online, and PhotoPea have gained popularity for their ability to create transparency effects. These platforms offer intuitive interfaces and pre-built filters that can simulate x-ray or see-through effects with just a few clicks.
While they may not provide the same level of control as Photoshop, they serve as excellent alternatives for quick edits or casual users.
Popular Online Photo Editors
Most online photo editors follow a similar workflow for creating see-through effects:
- Upload your image to the platform
- Access the transparency or opacity tools
- Adjust levels and filters to achieve the desired effect
- Download the finished image
These tools often include built-in tutorials and preset effects that make the process more straightforward than traditional desktop software. However, it’s important to note that the quality and precision of the results may vary depending on the platform used.
Advantages of Online Tools
Online photo editors offer several benefits for creating see-through effects:
- No software installation required
- Access from any device with an internet connection
- Often free or low-cost alternatives
- User-friendly interfaces
- Quick results for basic editing needs
While professional photographers and editors may prefer Photoshop’s advanced capabilities, online tools provide a valuable alternative for casual users or quick edits. They’re particularly useful for those who need occasional access to photo editing features without committing to expensive software subscriptions.
Why Use X-Ray Photoshop Online?
This is a fun technique to use an X-ray effect in Photoshop for many Photoshop X-ray effect clothes. Moreover, it is used for a number of other things. For example, it is perfect for:
- Professionals and artists who want to push the boundaries of Photoshop. So, this technique helps create mesmerizing and one-of-a-kind effects that will leave viewers amazed.
- Create a “Magic Eye” effect that brings out subtle details and hidden elements in your photos. This technique is ideal for uncovering aspects of an image that were previously invisible to the naked eye.
- Use this technique to enhance specific areas of a photo. It allows you to see more accurately and gain a deeper understanding of the image. It’s perfect for photographers, researchers, or anyone who wants to explore the details of a picture.
- Master the art of digitally removing or replacing clothing to give your models a fresh new look. This technique helps you to experiment with different styles and outfits without the need for physical changes.
- Learning this technique is a great way to prepare for your Photoshop expert exam, specifically for the X-ray vision effect section. By mastering this skill, you will be able to demonstrate your proficiency in creating see-through clothes effects that will impress examiners and clients alike.
What do you think are the other reasons X-ray effect technique and X-ray Photoshop tools are gaining reputation? Share your views!
(FAQs): Photoshop clothes xray
1. How do you make clothes transparent in Photoshop?
You can make clothes transparent in Photoshop by following the basic steps listed below:
- Tap “Click+O” on the keyboard to get the selected image in Photoshop instantly.
- Select the ‘Quick Selection Tool and drag it over the clothing.
- Press the Ctrl+J button shortcut to create a new layer.
- Click on the ‘Adjustment button’ in the lower section bar. Select ‘Level’ and then go to the upper-side layer button.
Make the clothing transparent with the RGB at the highest point.
Go to the brightness/contrast adjustment button. Set brightness at 0 and contrast at (-30).
- After getting the transparent look, you can save the file in jpg or jpeg form.
2. Can Photoshop AI remove clothes?
No, a Photoshop AI can replace or edit clothes. It can’t remove clothes from an image. You can wear transparent clothes with Photoshop clothes and an x-ray effect.
This image editing technique allows you to see behind the clothes. You need to make some brightness or contrast adjustments here.
3. How to X-ray clothes in Photoshop?
First, select light-colored clothes. Use a ‘Quick Selection Tool’ to drag the whole clothing. Next, create a new layer. Now, go to the adjustments layer button. In this stage, adjust RBC at the highest level. Then, set brightness at 0% and color contrast at 100%.
4. Can I create see-through clothes on my iPhone without Photoshop?
Absolutely Yes! There are many apps available for download on your iPhone. They are pretty easy to use and they can help you achieve the X-ray effect. Interestingly, you don’t need any Photoshop editing skills to create see-through clothes! Just head to the Apple App Store and explore your options.
5. Is there a filter in Photoshop to make clothes see-through?
Yes, Photoshop offers an X-ray effect that allows you to make clothes transparent. It reveals the background or the body beneath. This technique creates a translucent illusion and effectively makes clothing see-through in your images.
6. Can I use the X-ray effect in Photoshop for commercial purposes?
Yes, you can use the X-ray effect in Photoshop for commercial purposes. However, make sure you have the necessary permissions and rights to use the images.
7. How can I avoid over-editing when using the X-ray effect in Photoshop?
To avoid over-editing, start with subtle adjustments and gradually increase the intensity of the effect. Also, compare your edited image with the original to see if it still looks natural.
8. Can we use the X-ray effect in Photoshop on non-clothing items, like objects or textures?
Yes, you can use the X-ray effect on non-clothing items to create unique and creative effects. Plus, you can experiment with different objects and textures to achieve interesting results.
9. What are the best online tools for making clothes see through?
Popular online tools include Pixlr, GIMP online, and PhotoPea, which offer user-friendly interfaces for creating see-through effects. These platforms provide basic transparency and opacity adjustments, though they may not offer the same level of control as professional software like Photoshop.
10. Can I create x-ray effects without downloading software?
Yes, several web-based photo editors allow you to create x-ray-like effects directly in your browser without downloading any software. These online tools typically offer simplified versions of professional features, making them accessible to users of all skill levels.
Final Words
Photoshop offers the latest tools and techniques these days. The X-ray effect in Photoshop is a technical way to edit images. If you master the X-ray effect in Photoshop, it will open doors to creative photo editing steps. So…the step-by-step guide given above will help you understand the basics.
To learn more about Photoshop tutorials, you require more focus and practice. However, you need to remember that lighter clothes are easier for this technique. With a little patience, you will be creating captivating “see-through” effects in no time.
Now, I hope you’ve mastered the right and easy way to see through clothes smoothly using Photoshop. Do you need help to continue the process? Leave a comment, and I’ll help you.


