Don’t you want the unwanted background in your image? The only solution is to remove the background from image and replace it with the desired background. It could be difficult for beginners to understand how to remove background Photoshop processes.
That’s why we discuss the 7 easy methods to reduce stress while Remove Background from Image in Photoshop in a few minutes. Stay tuned till the end.
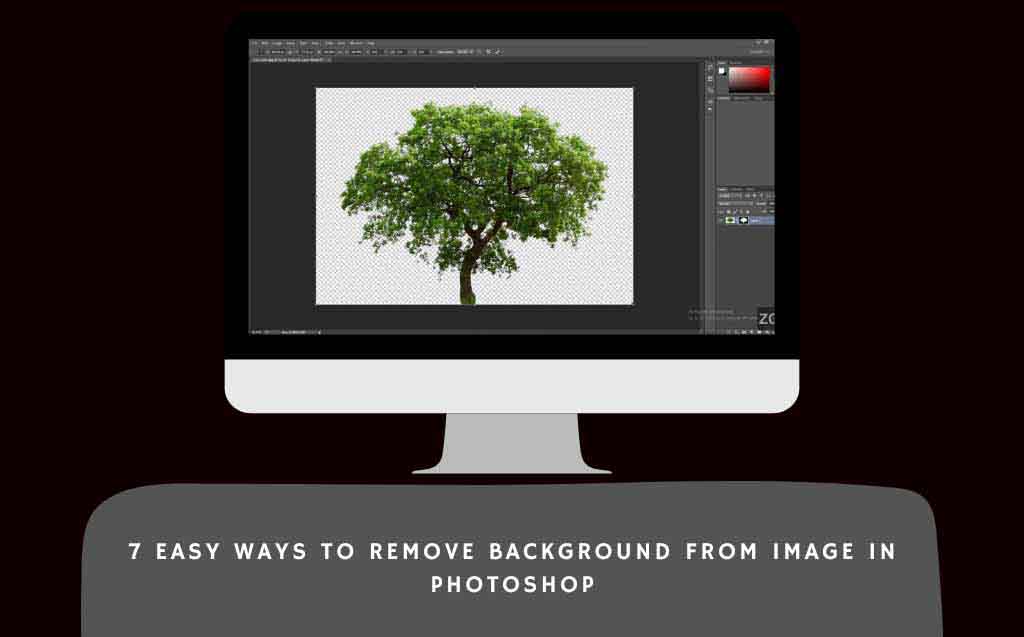
Method 1: Remove Background Using Photoshop AI Feature
Step 1: Download the Photoshop Beta
First, download the updated Photoshop 2024, which has a built-in AI feature. Then, open the Photoshop beta and proceed to the next step.
")
Step 2: Select the subject
First, open the image and click “Select Subject” from the bottom panel. Then, click on the subject in the image.
With this AI feature, it’s so fast to select the whole subject without any defects.
")
Step 3: Press the Invert Selection Icon
Here, you’ll find a Generative Fill option on the screen. To use it, press the ‘Invert Selection Icon’, which will unselect the background. Now, you can generate any background with this AI.
")
Method 2: Remove Background with Pen Tool
Step 1:Unlock Background Layer
First, open your image in Photoshop CC. Now, find the unlock option ‘Unlock Background Layer’ in the left sidebar. Press it, and then open the ‘Pen tool’ in the right sidebar.
")
Step 2: Create Mask Around the Object
Select Path from the top option bar and click ‘Path’. Here, you need to zoom in on the image. Press Ctrl+=] to better zoom the image.
It’s time to create a mask by selecting the whole object with a pen. Continuously drag the pen tool around the object. After masking the object, zoom out the image.
")
Step 3: Update Feather Radius
Right-click on the image and select Make Selection. Adjust the feather radius to 0.5 pixels and click “Okay.”
![]()
Step 4: Go to the Refine Edge Option
Press “Select” after selecting the top option. Click “Select and Mask” after that. Here, you’ll have to adjust a few settings while using the ‘Refine Edge’ option. Go to the edge detection option and change the Radius- to 2.5 pixels.
")
Shortcut Tips: Hold on to the ‘Shift Button’ to get the Refine Edge option.
Step 5: Remove defects
Choose the Pen icon, and use the pen to minimize the defects or unwanted spots on the object’s mask.
You can also remove the unwanted background left on the image, such as the background left in the middle of the camera and model. Just mask that space around the object and remove it with one click.
Well, before saving the image, try to adjust a few settings.
- Shift Edge: -9
- Contrast: 4
- Smooth: 5
")
Method 3: Remove Background with Background Eraser Tool
Step 1: Open the image
Open the image and create a layer by pressing Ctrl+J. Then tap the solid color option. Select any solid color, like green.
")
Step 2: Select Background Eraser Tool
Return to the left sidebar tool and select the Background eraser tool from the option.
- Decrease the hardness by 50%.
- Set the limit- Continuous.
- Tolerance: 50%
")
Step 3: Change the background
Now, draw the background with a pen tool. Create another layer and then change it to use the selected image as the background.
")
Method 4:Remove background from Image with Refine Edge
Step 1: Start Selecting the Subject
First, select the pen tool and ‘Path’ and start drawing the subject you want to remove from the background. Hold ‘Alt’ and click to convert or delete anchor points. Tips: If you make a mistake while drawing the subject, use Ctrl+Z to undo it.
")
Step 2: Select Refine Edge
Now, press ‘Make Selection’ and click the ‘OK’ button. Then, go to the ‘Select’ option. Check out the image in “White mode.” Here you’ll find ‘Refine Edge’.
")
Step 3: Smooth the subject
Here, change the smooth to 20. Use the [ ] keys to increase or decrease the brush size. Now, use it for the hair and other stuff. It’ll detect small things and clear them soon.
")
Method 5: Remove the Background with the Magic Wand Tool
Step 1: Select Magic Wand Tool
Open the image and create a layer. Try to have a tolerance between 100. Now, select the Magic Wand tool and click on the image’s left side.
")
Step 2: Cut the Subject
Select the tolerance at 50. Now, press Ctrl+D for a more exact cutting shape. If the shape isn’t exact yet, get your tolerance at 20.
Zoom in and zoom out to see any issues through the image. If a problem arises, set the tolerance to 10 to get the ideal shape.
")
Step 3: Press the Delete option
Now, click Delete from the keyboard option. It’ll remove the background from the image. Or, You can press Shift and remove the layer from Selection. It will eliminate the image’s background after a few minutes of waiting.
")
Method 6: Remove the Background with a Magnetic Lasso Tool
Step 1: Open the Magnetic lasso tool
Create a layer of the image and open the magnetic lasso tool.
")
Step 2: Select the subject
Draw the border of the subject or model carefully. Then, draw the border of the full image as well. Next, click twice on the mouse pointer.
")
Step 3: Erase the rest
Select the eraser tool and remove the unwanted anchor point or scratch from the previous background.
")
Method 7: Remove the Background with Color Range
Step 1: Select Color Range
First, open your image in Photoshop and select the ‘Colour range’ option. Then, select fuzziness between 100 and 120.
")
Step 2: Select the Magic Lasso tool
Now, draw the subject carefully by selecting the magic lasso tool
")
Step 3: Create a layer mask
Go to the right side and click on the layer. It’ll create a layer mask for a selective model or object.
")
Step 4: Select the brush tool
Here, you need to select a brush tool and once again select a color picker. Now, click on ‘Mode’ and select ‘Overlay’
")
Step 5: Draw the background
Draw the background with a brush. After completing the covering layer, click the ‘layer’ button again. The background has already been removed.
")
Frequently asked questions (Faqs)
1. How to use the lasso tool to remove the background?
Here are some simple steps to remove the background:
- Select Magic Wand tool.
- Draw the border of the subject or model carefully.
- Next, you’ve got to click twice at the mouse pointer.
- Select the eraser tool and remove the unwanted anchor point or scratch from the previous background.
2. How do I remove an image background?
You can remove an image background with Adobe Photoshop. You can use the AI features to remove the background briefly. However, there’s also a manual remover option, such as a pen tool, color range, and magic lasso tool, to remove the background easily.
3. How do I use the background eraser tool in Photoshop?
You can use the background tool with the following easy steps:
- Select Background Eraser Tool from the left sidebar tool and select Background Eraser Tool from the option.
- Decrease the hardness by 50%.
- Set the limit- to continuous.
- Tolerance: 50%
- Now, draw the background with a pen tool.
- Create another layer, and then change the layer with the selected image as the background.
Final Word on 7 Easy Ways to Remove Background from Image in Photoshop
Removing the background from an Image in Photoshop is a creative task that requires technique and tools to achieve the best results. Advanced Photoshop knowledge helps you understand the best method for removing background in Photoshop from the image.
I hope you found the ultimate way to Remove Background from Image in Photoshop through our guide above. Don’t forget to share the result you’ve made with these powerful tricks in Photoshop.